Did you know that with the right setup, your Asus ROG Ally can become a powerful gaming handheld, giving you access to a library of over 100,000 classic games spanning multiple decades? In this Asus ROG Ally emulation guide, I’ll walk you through how to play retro games on the ROG Ally.
I’ll cover everything from installing EmuDeck to configuring your favorite emulators. I’ll also teach you a little bit about the various emulators, including Nintendo Switch, Xbox, PlayStation, and other consoles and devices you can access.
Have a Steam Deck instead? Check out my Steam Deck emulation guide instead.
Related: Steam Deck vs Asus Rog Ally comparison guide
How To Play Retro Games on Asus Rog Ally
Download Emudeck for Windows
First, you need to download the Emudeck app for Windows and place it in the downloads folder.
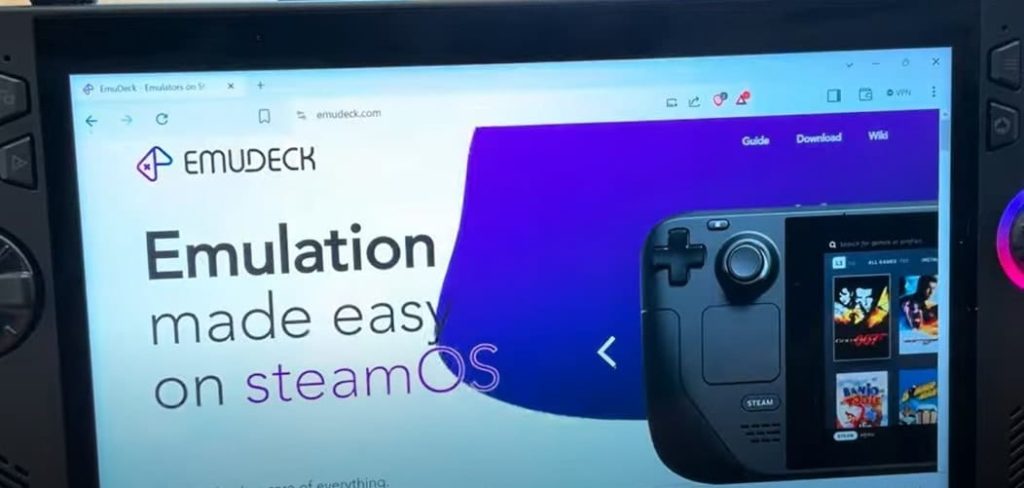
- Head to the web browser on your device and type in emudeck.com.
- Scroll to the bottom of the page and click the Windows + Android download option.
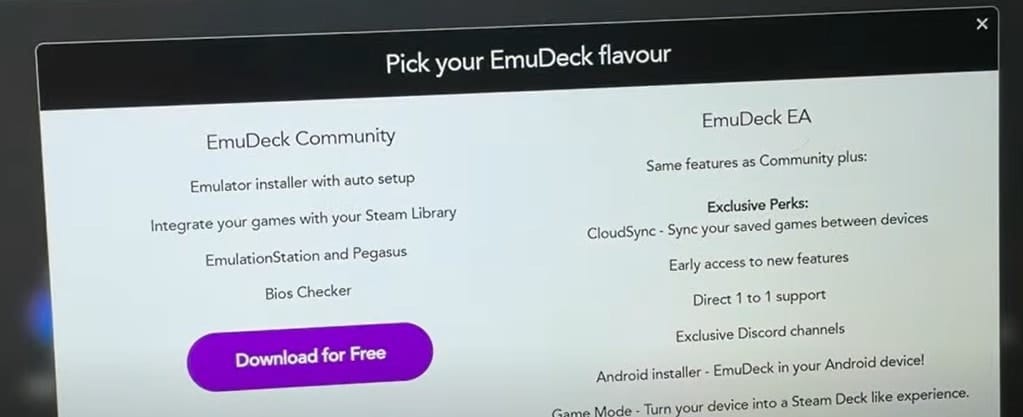
- Click Download for Free.
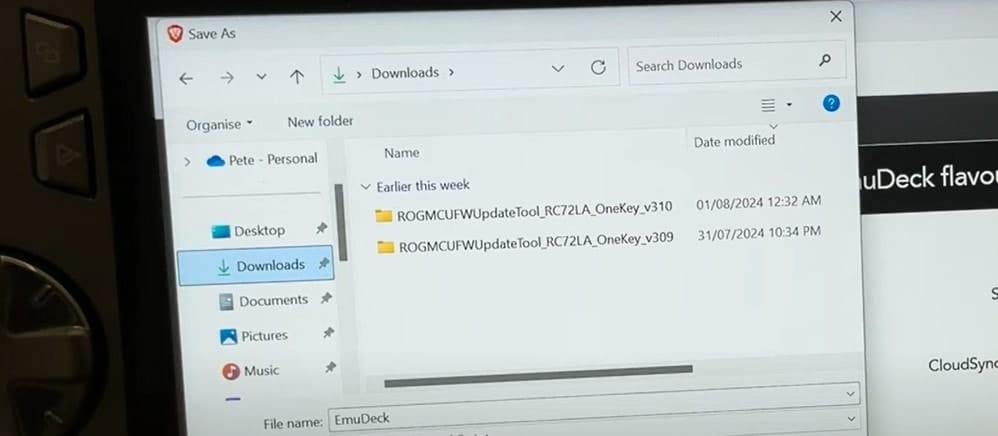
- Choose which folder to download to; in most cases, this will be the Downloads folder.
Install Emudeck
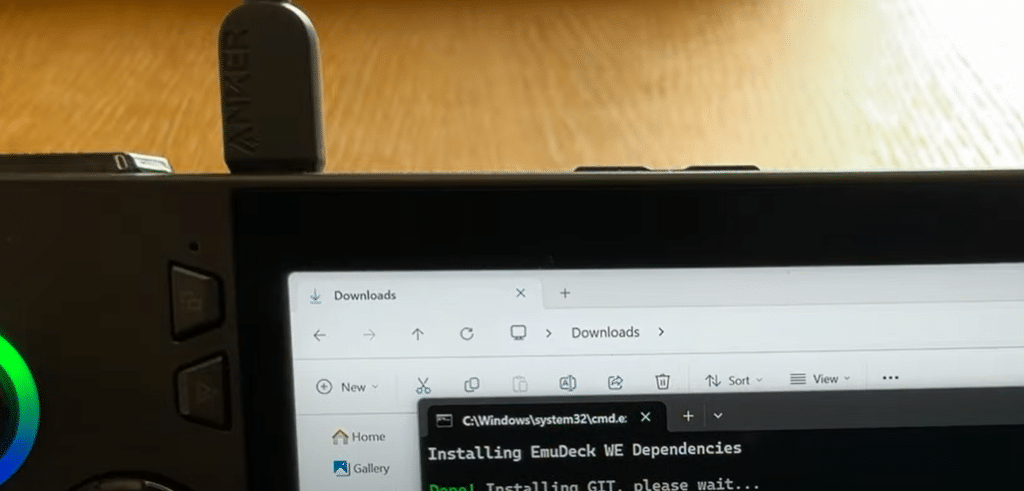
Next, you will need to run the .exe file and install the Emudeck app:
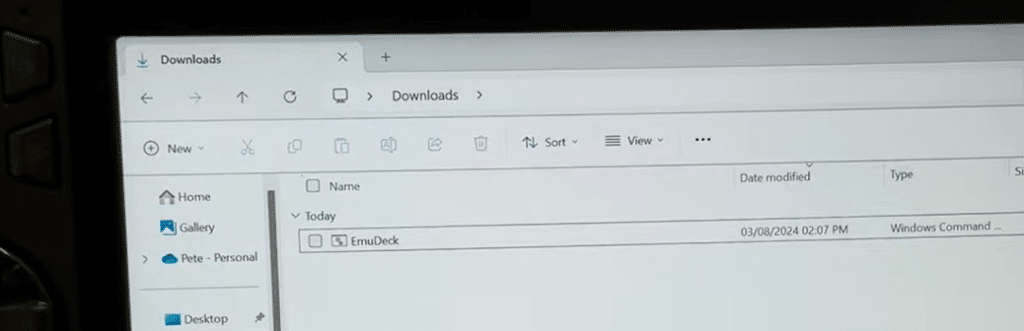
- Head to the Downloads folder.
- Double-click the .exe file.
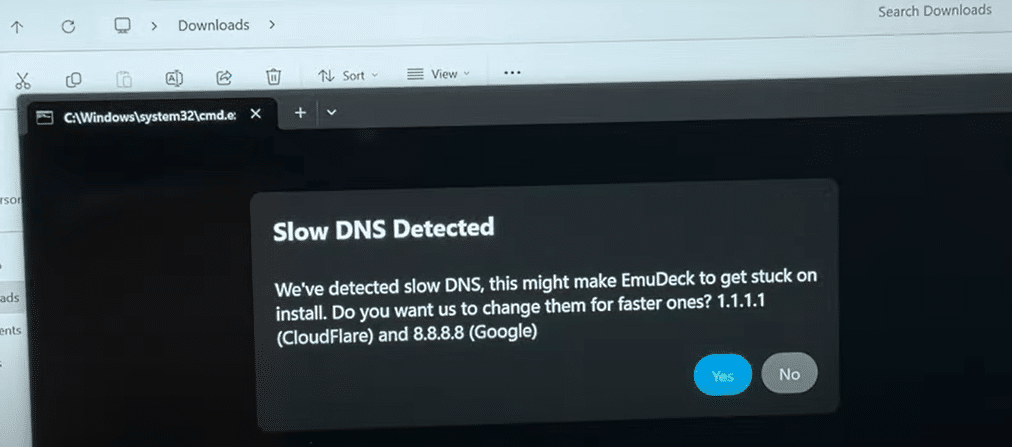
- You may get a “Slow DNS Detected” message, so click yes.
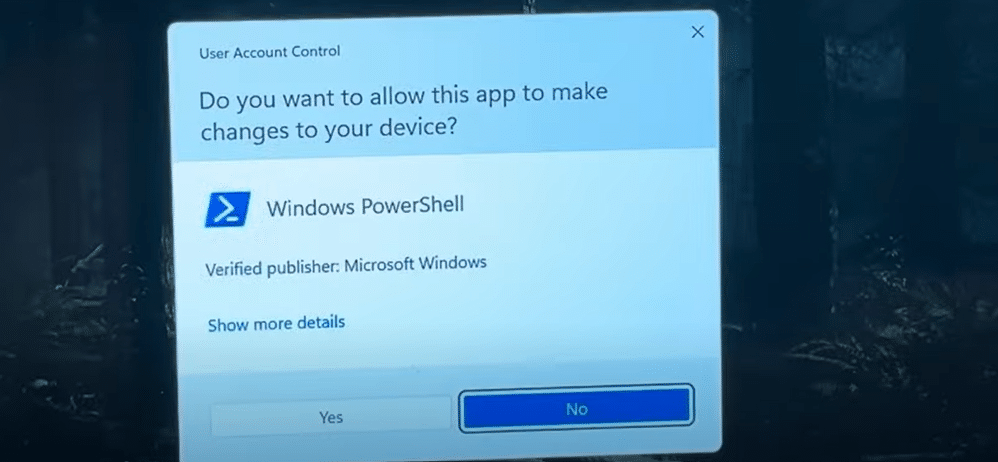
- Click yes on the Windows Powershell and Windows Git messages that will pop up.
- Make sure the device is charging during installation.
Configure Emudeck for Rog Ally Emulation
This next section outlines how to configure the Emudeck app once it is downloaded and installed. This section is essential for getting the correct settings in place before downloading any games:
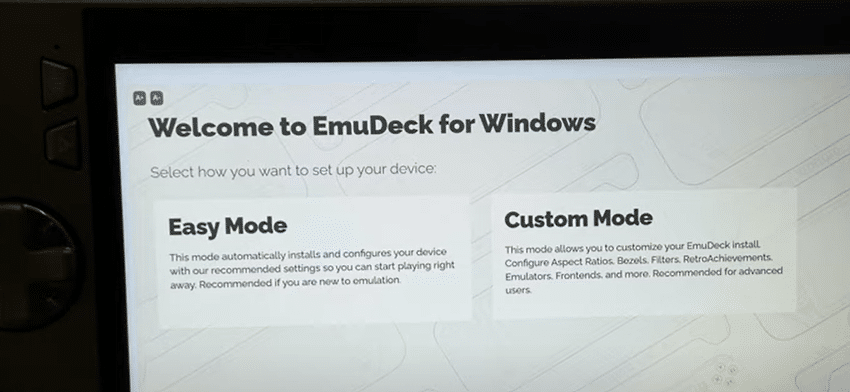
- When setting up Emudeck, click Custom Mode. This will allow you to change all of the settings to set up your emulators.
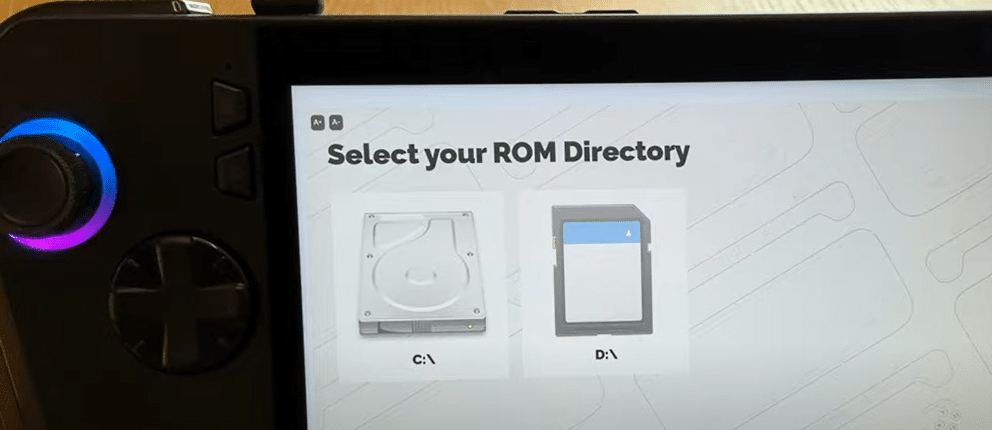
- Next, you need to select your ROM directory. If you have an SD card on your device, you can click the D: option.
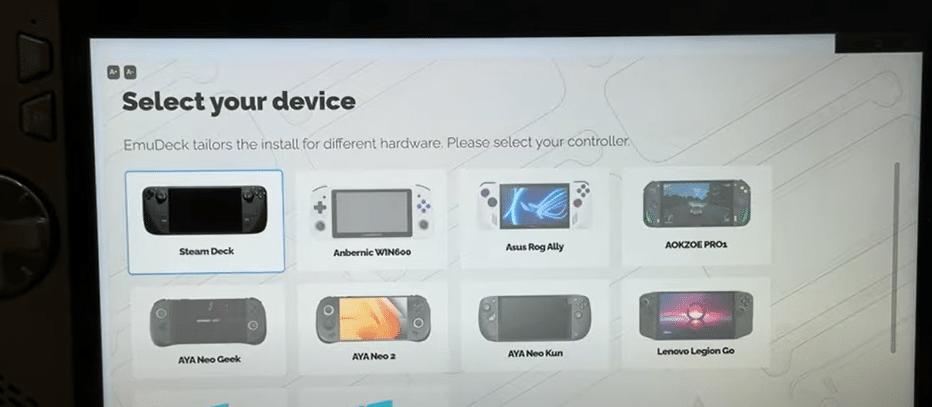
- Select your Asus Rog Ally as your device.
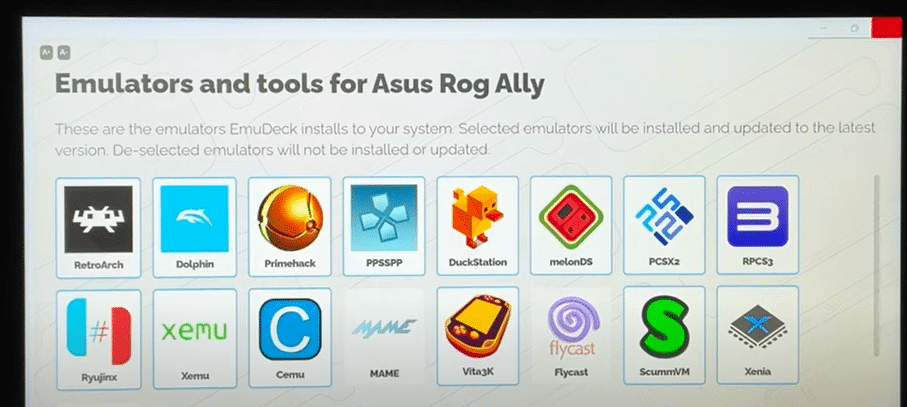
- Now, select all of the emulators you would like to use. I recommend RetroArch, Dolphin, Primehack, PPSSPP, melonDS, PCSX2, RPCS3, Ryujinx, Xemu, Cemu, MAME, Flycast, Vita3k, ScummVM, mGBA, and Xenia.
- Next is Emulator and Tools Configuration, where you can leave them selected. I recommend selecting Ryujinx and de-selecting Pegasus.
- Click on Configure Auto Save.
- Click On to Configure Game Bezels.
- Click your desired Aspect Ratios for each emulator.
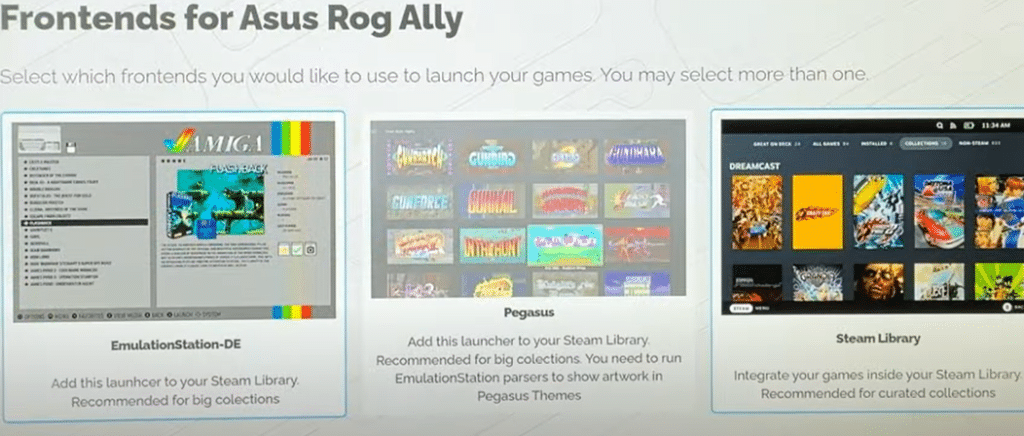
- De-select the Pegasus Front end, as this will not install correctly.
- Select your desired Theme.
- Keep the resolution at 1080p for each emulator.
- Click Finish, and Emudeck will download and install the emulators you desire.
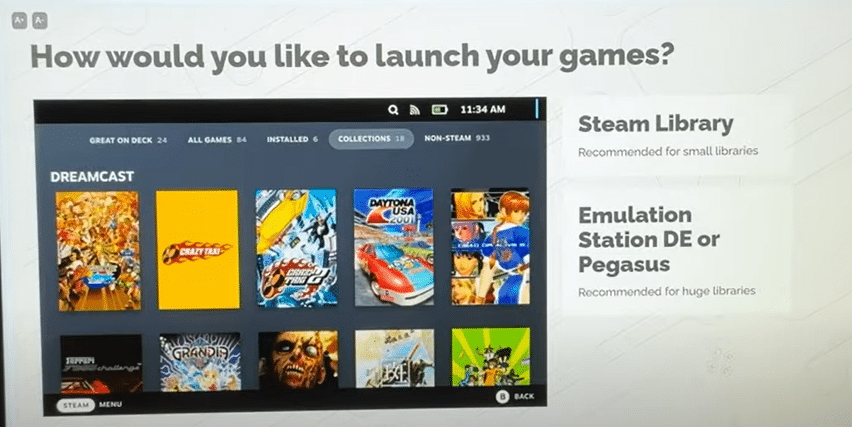
- Click next through the following few screens and choose Emulation Station DE for how to launch your games.
- Click yes to add to your Steam account.
- Click Add Games on the Parsers screen. Select Pass, Save to Steam, and then click the X in the top right-hand corner to exit.

Changing Emudeck Settings
Next, I’ll show you some different Emudeck settings to change to get the best resolution and also to select the emulators you want to use in the future:
- Launch Emudeck by clicking on the shortcut on your desktop.
- Selecting Quick Settings at the top left allows you to change any settings you previously set up.
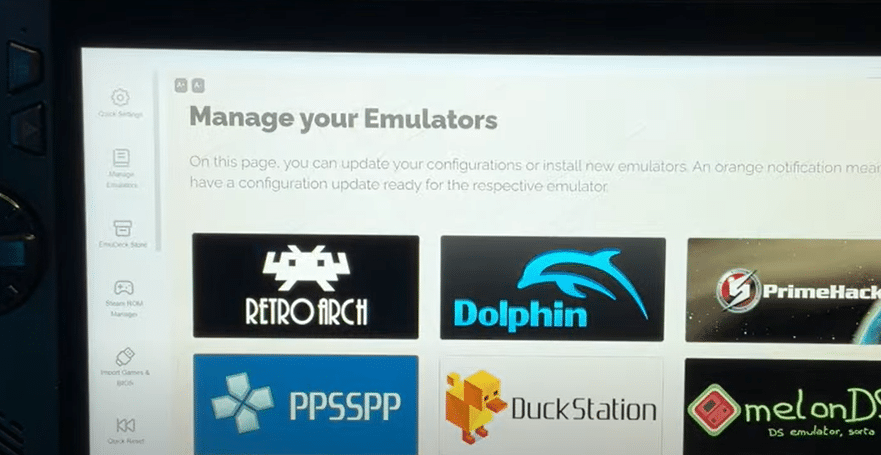
- Selecting Manage Emulators shows all of your emulators set. Keep an eye on these; an orange notification on any of them means an update is ready to install.
- You can change your Screen Resolution if desired and log into Retro Achievements.
Download Retro Games (ROMs)
This section outlines how to download the games you want for each system. You can easily transfer them into your ROMs folder to begin playing on your Rog Ally.
- Open up your web browser.
- Head to Google and type in the game you want, along with the system it was released on and the word ROM right after it.
- Download the game, extract it, and copy it while selecting the drive you installed Emudeck on (D:). Then, head into the Emulation folder, click ROMs, and paste the game into the correct system’s folder.
You can also use tools like Steam ROM Manager to integrate non-Steam games into your Steam library, making it easier to manage and launch them.
BIOS Configuration
A BIOS file is a copy of the hardware’s operating system to play each game on your system of choice properly. Here, I will go over how to download each one so that your games work properly:
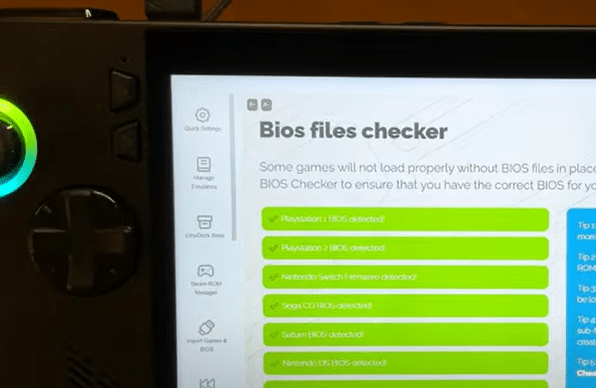
- Open Emudeck and scroll down to the bottom on the left side, where it says BIOS checker. If your BIOS is missing, these will all be red.
- Open up your web browser and head to Google.
- Type in the name of each system with “BIOS” at the end to download the BIOS files.
- Once downloaded, copy the files, head back into the Emulation folder, click on BIOS, and paste them into there.
- When you go back into the BIOS checker it will automatically apply them to each system.
Configure Steam ROM Manager
Next, I will outline how to configure your Steam ROM Manager to copy all your downloaded ROMs into your Steam library.
- Ensure that Steam is closed on your device.
- Head into Emudeck, scroll to the left and click Steam ROM Manager.
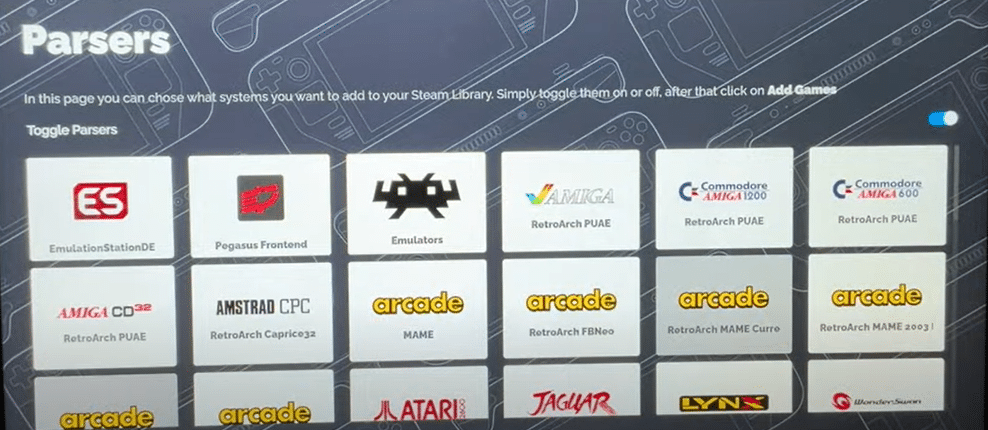
- The Parsers screen allows you to toggle which emulators and games you want to add to your Steam library. Make sure EmulationStationDE is toggled on.
- Click Add Games at the bottom.
- Click Parse to scan all the ROMs in your library, then click Save to Steam.

Set Up Emulation Station
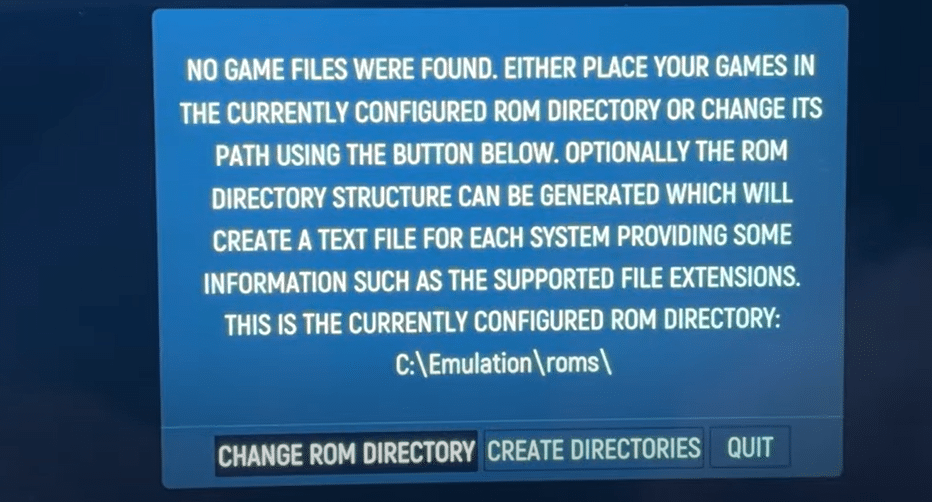
Here, you can change the ROM directory to the folder where you downloaded the files, and you can also change the Theme of your application to look how you want it to.
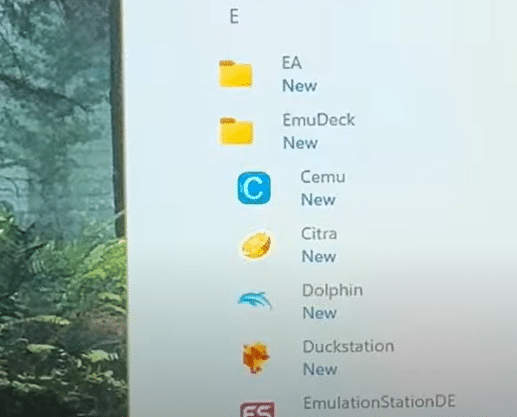
- Click the start menu, select all apps, scroll down to the Emudeck folder, and select it. You will then be able to click on Emulation Station.
- Change the ROM directory to the folder where you download them.
- Click the start button and then UI settings. In the Theme Downloader, you can download any theme you’d like.
Emudeck Tips for Rog ALly Emulation
These are great tips when playing retro games on the Rog Ally.
- Always make sure the Gamepad is selected in the Command Center for Control Mode; otherwise, your controls will not work properly.
- Clicking Select and RB simultaneously will auto-save the game you are currently playing.
- Clicking Select and LB simultaneously will load your saved state on each game.
- Clicking the Select and Start buttons simultaneously will quickly exit out of whatever game you are playing.
In addition to retro games, the ROG Ally also excels at running modern PC games, making it a versatile gaming device.
Also read: Asus Rog Ally vs Rog Ally X comparison guide
Frequently Asked Questions About Rog Ally Emulation (FAQs)
Is it legal to use emulators on the Asus ROG Ally?
Using emulators is generally legal, but downloading copyrighted ROMs without permission isn’t. Always ensure you own the original games or use legally obtained ROMs.
Can the Asus ROG Ally run GameCube and PS2 games?
Yes, the ROG Ally can emulate GameCube and PS2 games. Performance may vary depending on the specific game and emulator settings.
How much storage do I need for retro game ROMs on the ROG Ally?
Storage needs vary, but 128GB to 256GB is typically sufficient for a large retro library. Consider using an SD card for additional storage if needed.
Do I need to install a custom operating system to run emulators on the ROG Ally?
No, you don’t need a custom OS. EmuDeck can be installed and run on the ROG Ally’s standard Windows operating system.
Do I need to install a custom operating system to run emulators on the ROG Ally?
No, you don’t need a custom OS. EmuDeck can be installed and run on the ROG Ally’s standard Windows operating system.
Can I add non-Steam games to my Steam library on the ROG Ally?
Yes, you can use tools like Steam ROM Manager to integrate non-Steam games into your Steam library, making it easier to manage and launch them. This allows you to enjoy your non-Steam titles seamlessly alongside your regular Steam library.
Conclusion
You can now turn your Asus ROG Ally into a retro gaming paradise. I’ve covered everything from installing EmuDeck to fine-tuning your emulators. With its powerful hardware and versatile software, the Asus ROG Ally stands out as a top-tier gaming handheld for both retro and modern games.
Remember, the key to a smooth experience is in the details. Take your time with the setup, and don’t be afraid to experiment with different settings.
With your ROG Ally loaded up with classic games, you’re ready to relive gaming’s golden age anytime, anywhere.