If you want to make the most out of your Apple spatial headset, then you need to read all of my Apple Vision Pro tips in this guide. I’ve been learning every trick, shortcut, and hidden feature and posting short little tutorial guides so that you can easily follow along.
My tips for the Apple Vision Pro cover several categories:
Key settings you need to know
How to create, edit, and manipulate your windows more efficiently
How to activate key features or secrets hidden within the headset
Making the Vision Pro more comfortable to wear
If you have any other secrets to share, comment below and let me know!
Without further adieu, let’s get into my favorite Apple Vision Pro tips:
Apple Vision Pro Software Tips
Recall Windows
Apple Vision Pro allows you to store windows around your house in space, which are there the next time you walk around or interact with them.
However, you can swiftly retrieve and organize multiple open windows at a time. To recall your windows on the Vision Pro, long hold the digital crown button.
Close All Windows
To close all your open windows, you can get Siri to do this with a simple voice command! This tip is helpful for quickly decluttering your workspace and improving efficiency, especially when managing multiple applications simultaneously.
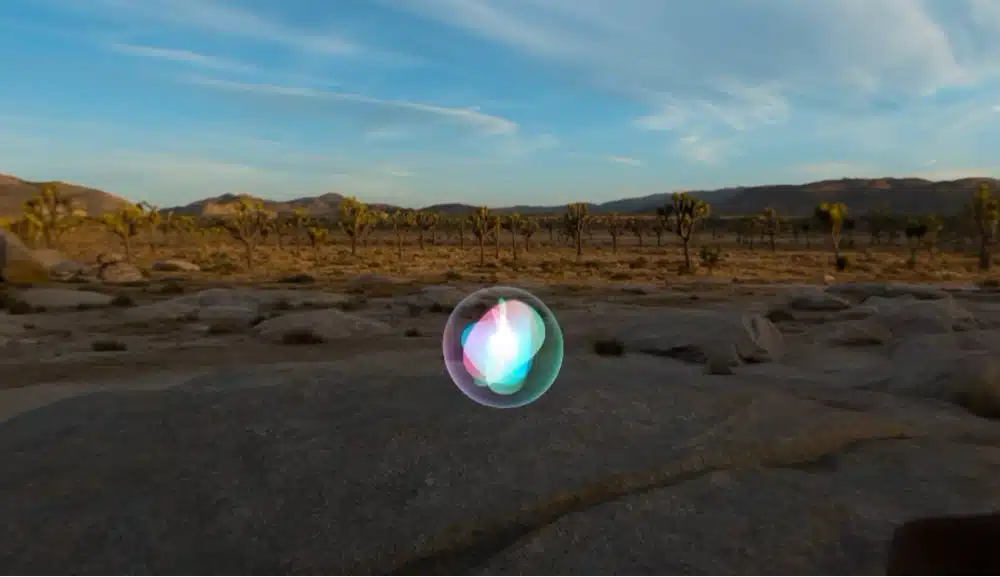
Move Siri
You can adjust Siri’s on-screen placement to your preferred location for a more personalized and convenient experience. This tip allows you to optimize Siri’s visibility, ensuring seamless interaction and easy access to voice-activated features.
Zoom Windows Tip
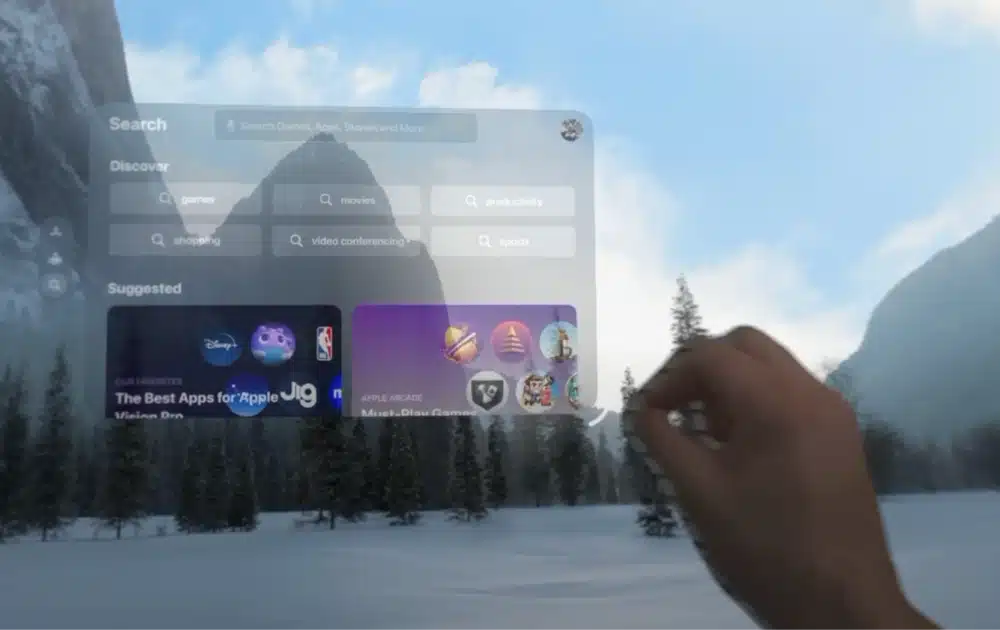
You can quickly and easily zoom in on windows and adjust them to any size on the Vision Pro. To do this, look at the corner of the window and then use your fingers to make an expansion or contraction pinch.
This gesture is really intuitive and allows you to customize your windows completely.
Home Button
Use the digital crown button for quick and easy navigation. Pressing it will toggle your apps to open up in front of you.
This enhances the user interface, making it more intuitive and user-friendly.
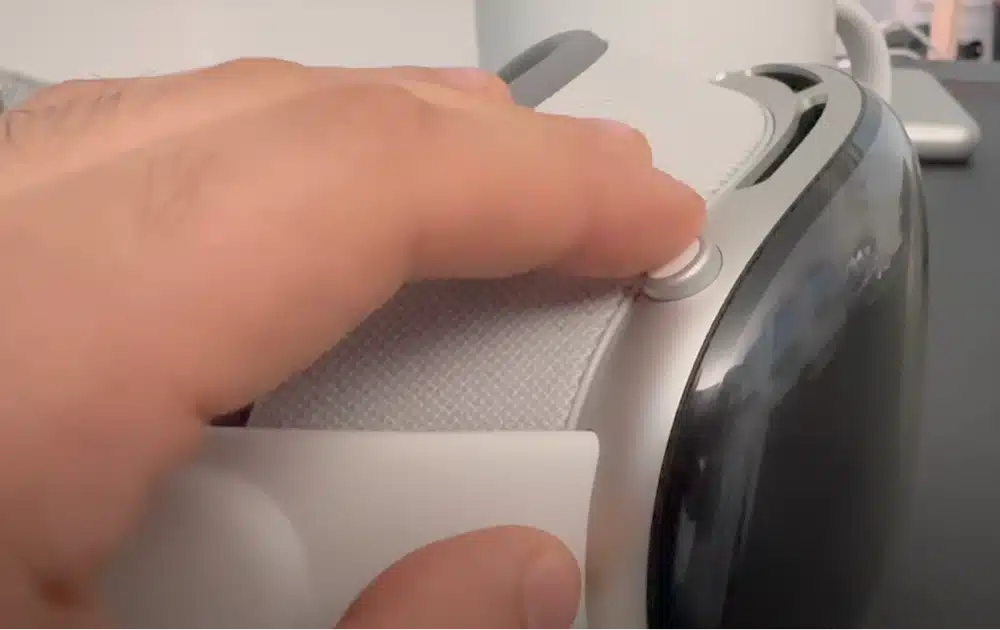
Activate Passthrough Mode
Double tap the digital crown to activate Passthrough Mode. This lets your device’s camera transmit the real-world environment directly into your display, enhancing situational awareness.
Passthrough mode is particularly useful for maintaining spatial awareness while using augmented reality applications or simply staying connected with your surroundings.
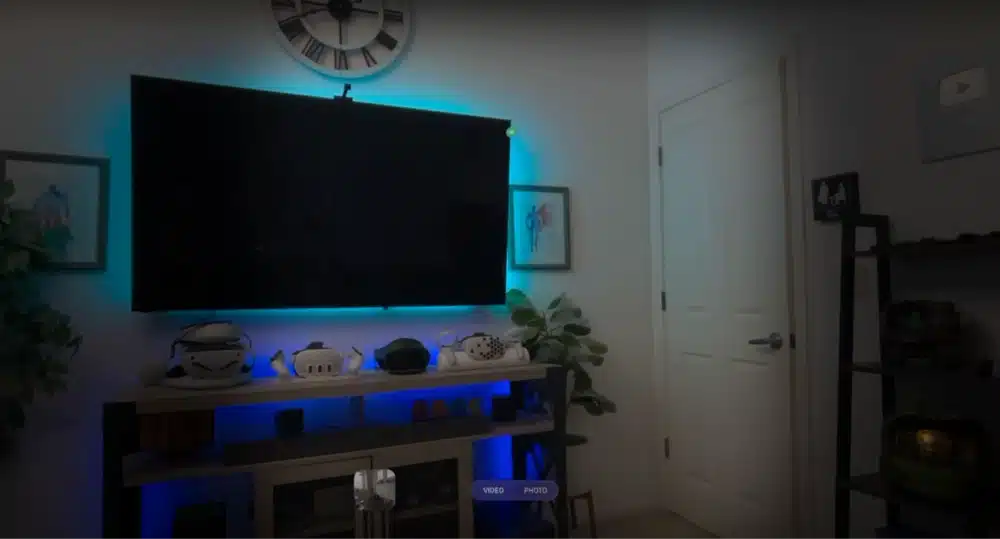
Access Shutter Button
Press the button opposite the crown, called the Shutter button, to capture moments seamlessly. This feature is a quick and accessible way to take photos or screenshots.
Digital Crown Adjust Volume and More
Utilize the Apple Vision Pro’s Digital Crown to adjust the volume and other settings, providing a multifunctional control option at your fingertips.
The crown allows for efficient adjustment of various settings on the Apple Vision Pro.
Access Hidden Volume Mixer
Discover the hidden volume mixer feature on Apple Vision Pro to adjust audio levels for various applications independently. To see this, look up at your roof and then select the volume icon on the right side of the row of icons that appear.
This allows for a personalized audio experience tailored to specific needs, ensuring optimal clarity and balance while using different apps or functionalities.
Force Close Apps
Learn how to forcefully close apps on your device by holding down the digital crown and the shutter button. A force quit window will open up and you can select which app to close.
This tip is essential for freeing up system resources by closing background applications on your Apple Vision Pro.
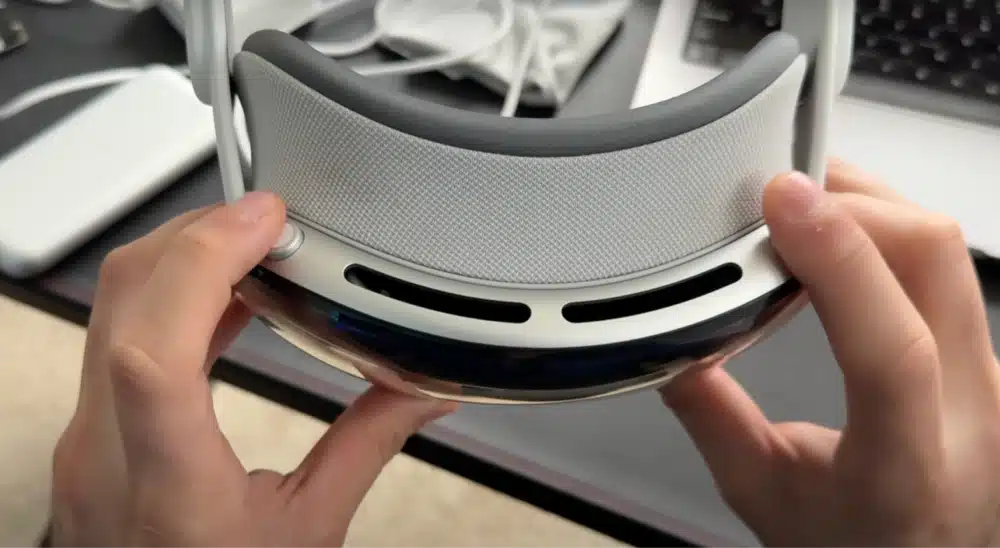
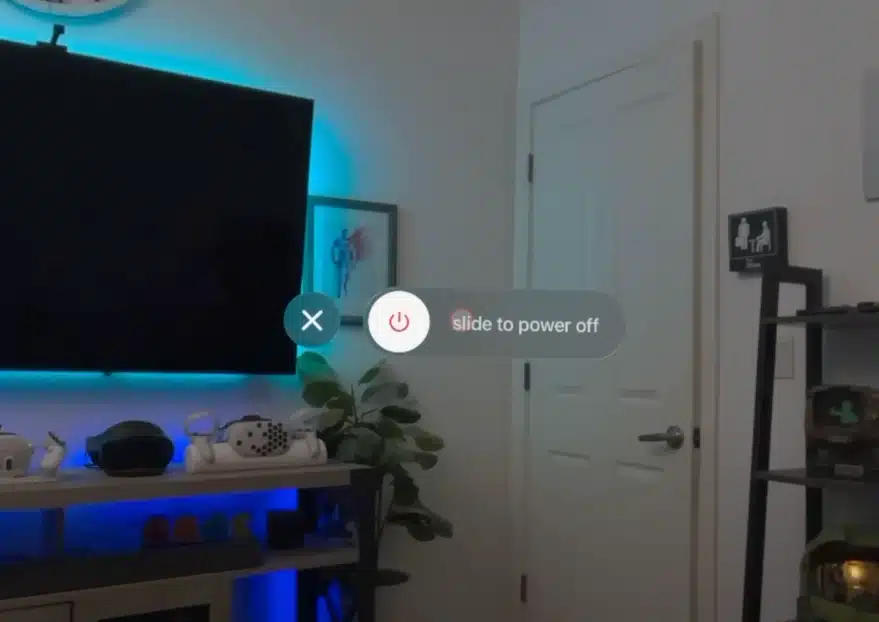
Turn Off Headset
Hold down the digital crown and the shutter button to turn off your Apple Vision Pro. After you see the force-close window I mentioned above, you will see Apple’s “slide to turn off” icon.
Quickly turn off your Apple Vision Pro when you aren’t using it to conserve battery.
Activate Standby Mode
Entering Standby Mode on Apple Vision Pro conserves power when not in use, ensuring an extended battery life. You can enter Standby Mode on the Apple Vision Pro by simply removing the headset and putting it down on a surface.
This is useful for optimizing energy efficiency, maximizing your device’s battery, and enhancing overall usability. After 24 hours, the Vision Pro will turn off by itself.
Control Center Long Hold
Hold down on Control Center icons to reveal additional options and shortcuts. This feature streamlines navigation, allowing you to perform essential actions directly from the Control Center without entering separate menus.
For example, I always long-press on my wi-fi icon to switch networks easily.
iMessage Functionality
iMessage on the Apple Vision Pro works very similar to how it does on your iPhone. That means you can long press on messages to reply or add reactions and quickly save or share messages.
Regularly Browse the App Store
Hundreds of new spatial apps are being released every day, so make sure that you check out the App Store on your Vision Pro headset. A lot of these are iPhone apps that have been ported over, but developers have been busy designing unique enhancements for the Apple Vision Pro as well.
Copy and Paste
Improve productivity by utilizing the copy-and-paste function on the Apple Vision Pro. To do this, you can select text with your eyes and hands.
You can paste information across different apps seamlessly, which I think is really cool.
Cast Your Device
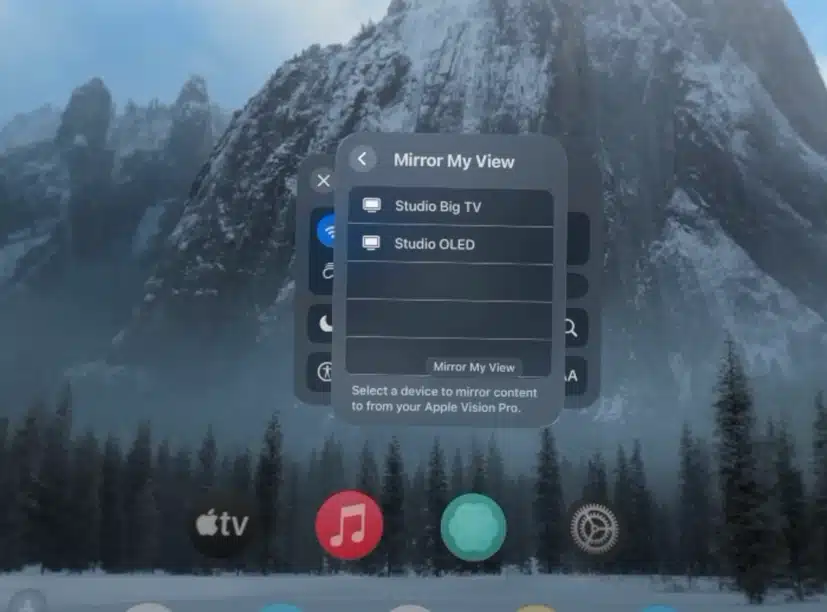
Check out the Casting icon in the Control Center to share your device’s content on compatible displays and TVs. This lets you show off your Vision Pro to your friends and family.
Enable a Pointer
Go to Settings > Accessibility > Interaction and enable a visual pointer for improved navigation and interaction. This feature is beneficial for those who prefer a visual indicator, enhancing the overall accessibility of the device.
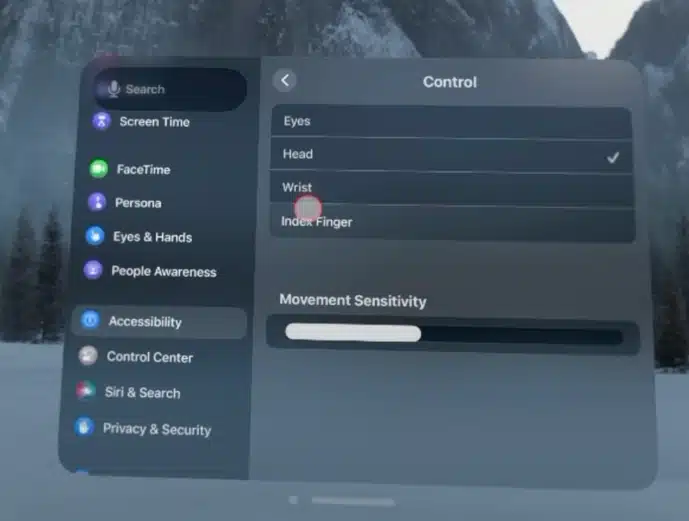
Switch Eye Control to Head Movement
In Settings > Accessibility > Interaction, you can switch between head movement control instead of eye control for a customized experience. This caters to your preferences, giving you flexibility in your interaction method.
Change Control Center Indicator
You can change your default Control Center position on your Apple Vision Pro by navigating to Settings > Control Center > Indicator Position. This adds a personal touch to the device interface, allowing you to tailor your experience.
Access Control Center Shortcuts
Also in Settings > Control Center, you can change what shortcuts appear in your interface. This significantly reduces the time and effort required to access vital features, promoting a more seamless and user-friendly experience.
Apple Vision Pro Hardware Tips
Remove the Battery Cable
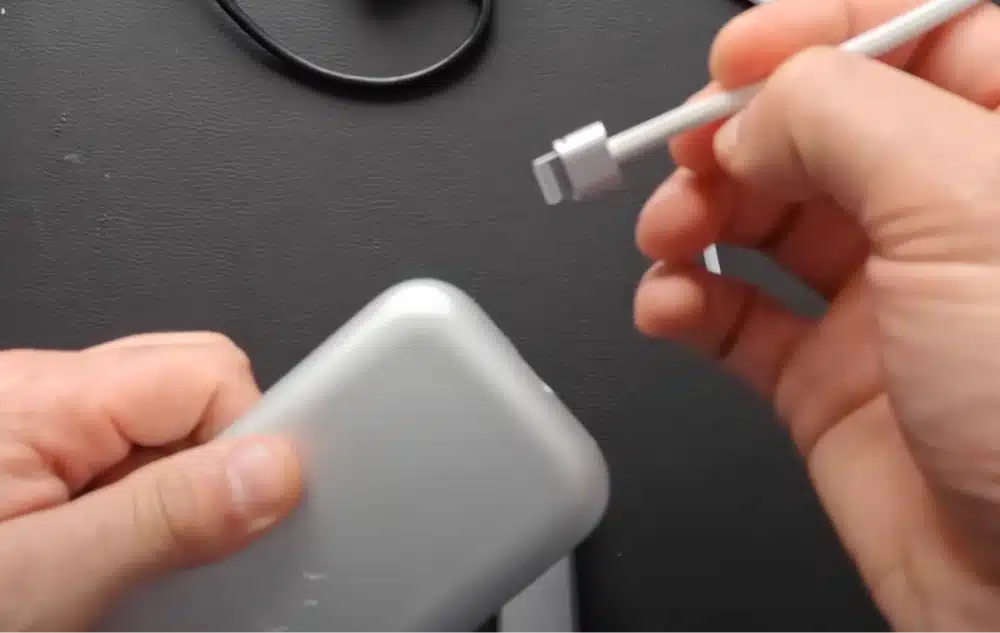
The cable that attaches to your Vision Pro battery is removable! Press a pin or an iPhone e-sim remover into the small hole beside your cable. This lets you remove the cable (a modified Lightning connector) from the battery.
Charge the Battery While You Play
You can plug your Apple Vision Pro battery into the wall and charge it while you play. You don’t need to remove the headset to charge it.
Apple Fast Charging is Supported
The Apple Vision Pro supports fast charging via a larger 100W Macbook wall block. Using this instead of the 33W block that comes with your Vision Pro wil let you charge up the battery even faster.
Remove The Entire Side Band
You can use the same e-sim removal tool to disconnect the side arms from your Apple Vision Pro. This lets you break down the device into an even smaller size for travel if needed.
Better Head Band Fit
Adjust the Apple Vision Pro for maximum comfort by customizing the fit and ensuring a snug feel. It might take a little bit of effort to adjust the band right, but experiment with the single-loop and double-loop bands and see what works for you.
Click here to view our tutorial on how to make the Apple Vision Pro fit better.

Attach Your Battery to the Headband
One thing to try is connecting the battery to the back of your headband to distribute the weight of the Apple Vision Pro more evenly from your face. If this gives you a better fit, you can use the device for longer periods at a time.
Connect Mac to Apple Vision Tips
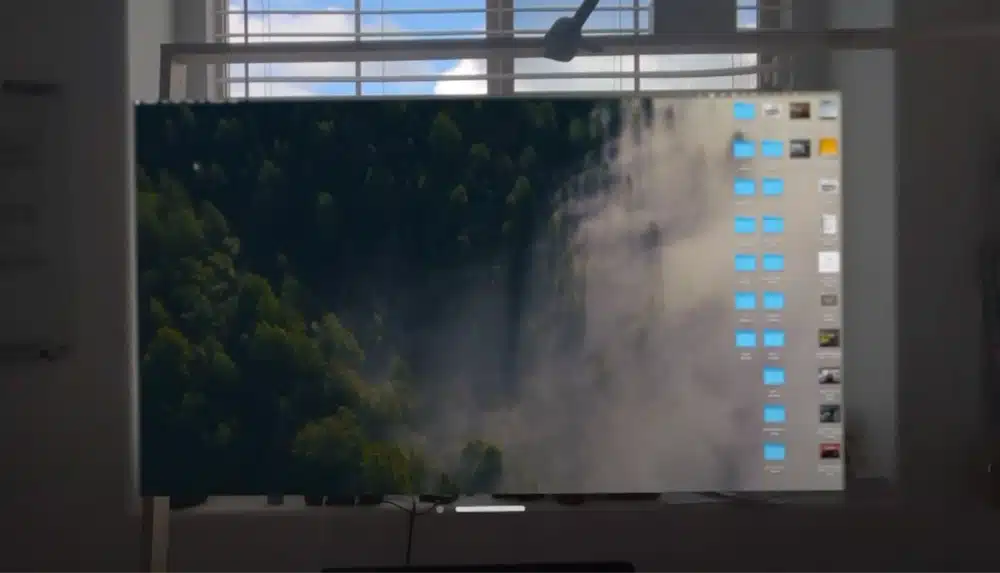
Establish a seamless connection between your Mac and Apple Vision for enhanced functionality. To connect your Mac to your Apple Vision Pro, a connect button should automatically appear above it when you look at your Mac in your headset.
If this doesn’t work, open up your Control Center and click the icon showing a Macbook with the Vision Pro goggles.
By establishing this connection, you can improve productivity, access files seamlessly, and leverage the combined functionalities of both devices for an integrated user experience.
Connect a Bluetooth Mouse and Keyboard
Connect a Bluetooth mouse and keyboard to your Apple Vision Pro for more precise control over your device. This is a more practical way to work on the Apple Vision Pro, rather than using the virtual keyboard and your eyes to click and type.
Personalize Your Fit
Adjusting the headset for a comfortable fit is critical. Faces come in various shapes, so don’t hesitate to move things around – up, down, backward, forward. The goal is to make the image clear and sharp.
Experiment with the fit until you find the sweet spot for your unique face shape.
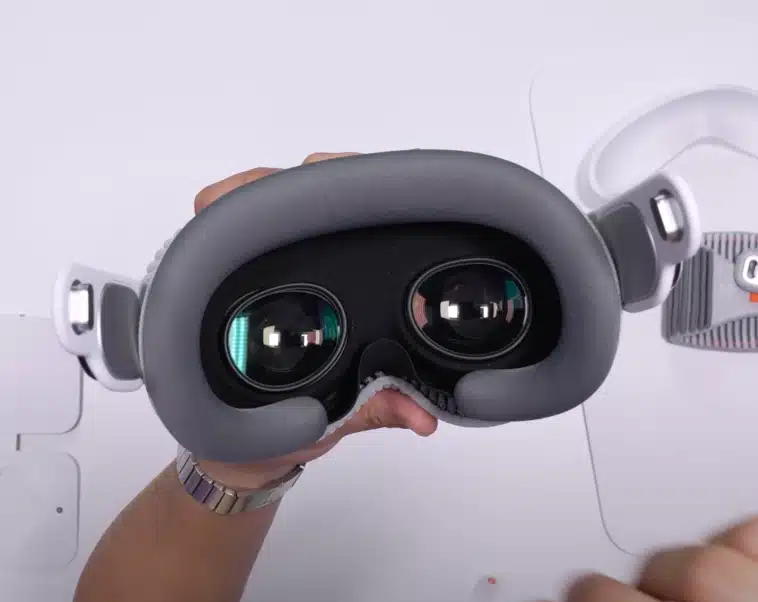
Light Seal & Sharing
The custom light seal is a personal touch that comes in the box by Apple. Remember that if you share your headset, others may need their own personal light seals.
This ensures everyone enjoys a tailored and immersive experience based on their unique facial contours. Plus, you get to control how much light leakage you want.
Miscellaneous Apple Vision Pro Tips
Understand The Different Terminology
Getting used to Apple’s unique terminology is a must. While it’s labeled a “virtual reality” device, Apple intentionally differentiates itself. Understanding this distinct language will help you navigate the Apple Vision Pro’s features and capabilities more effectively.
Patience is Key
Adapting to VR takes time. Sweating and a feeling of weight on your face are normal at first. Understand that VR is a unique and immersive experience, and comfort will increase as you spend more time with the Apple Vision Pro.
Find what feels right for you over time.
Embrace Diverse VR Content
Prepare for a wide range of content. VisionOS apps come in various shapes and sizes as developers continue to experiment.
Be open to exploring unconventional designs and unique experiences as the VR development community pushes the boundaries of the medium.
Conclusion
As you can see, there are tons of fun and unique ways to use your Apple Vision Pro headset. I hope that my Apple Vision Pro tips have given you some new things to try on your headset.
Still need to purchase your Vision Pro? Click here to buy yours today!
Let me know if you have any other tip and tricks to share.

