With the right tweaks, even modest PCs can deliver mind-blowing VR experiences. I’ve spent countless hours fine-tuning and experimenting, and I’m here to share my hard-earned secrets on how to improve PC VR performance on older computers.
From squeezing extra frames out of your GPU to optimizing VR software, we’ll explore every nook and cranny of performance boosting. It’s also crucial to keep your operating system updated to avoid decreased performance.
Ready to transform your VR experience without breaking the bank?
Related: The best gaming PCs for VR gaming.
PCVR Performance Requirements
I’ve learned the hard way that meeting the minimum specs doesn’t always cut it for a smooth VR experience. I’ve found that popular VR headsets like the Meta Quest and HTC Vive have vastly different demands on your system.
For instance, while the Meta Quest can technically run on a GTX 1060, I’ve noticed significant frame drops in more demanding titles. On the other hand, the Index really shines with at least a GTX 1070, but I’d recommend a 2070 Super or better for consistent performance across all games.
Common issues I’ve encountered on my low-end rig include:
- Stuttering and frame drops
- Blurry visuals due to dynamic resolution scaling
- Tracking hiccups
- Increased motion sickness
Through my testing, I’ve identified key components that can make or break your VR performance:
- GPU: The heart of VR rendering
- CPU: Crucial for physics calculations and game logic
- RAM: 16GB is the sweet spot, but 8GB can suffice for some setups
- Storage: An SSD can significantly reduce load times and texture pop-in
My recommendation? Focus on GPU upgrades first, followed by CPU and RAM. I’ve found that even if you improve PC VR performance modestly, it can lead to noticeable gains in VR smoothness and visual fidelity.
How to Optimize Your PC for VR
After spending countless hours tweaking my setup, I’ve discovered that to optimize VR performance doesn’t always mean spending big bucks. Let’s dive into some tried-and-true methods I’ve used to squeeze every last drop of performance out of my system.
Update Your Drivers
Keeping your drivers up-to-date is like giving your PC a free performance boost. Here’s my process:
- Graphics card drivers: I make it a habit to check for GPU driver updates monthly. For NVIDIA, I use GeForce Experience, while AMD users can rely on Radeon Software. Pro tip: I always opt for a clean install to avoid any conflicts. Updates often download automatically, but it’s advisable to verify their installation status.
- Chipset drivers: These often-overlooked drivers can significantly improve PC VR performance. I visit my motherboard manufacturer’s website to snag the latest version. It’s not as flashy as GPU updates, but I’ve noticed smoother overall system performance.
- VR headset firmware: Whether I’m using a Meta Quest or HTC Vive, I always ensure the headset firmware is current. This often resolves tracking issues and can even introduce new features.
Optimize Windows for Maximum Performance
Windows can be a resource hog, but with a few tweaks, I’ve managed to reclaim valuable processing power for VR: Using the NVIDIA Control Panel to adjust settings for your NVIDIA graphics card can significantly enhance virtual reality performance.
Disable unnecessary background processes
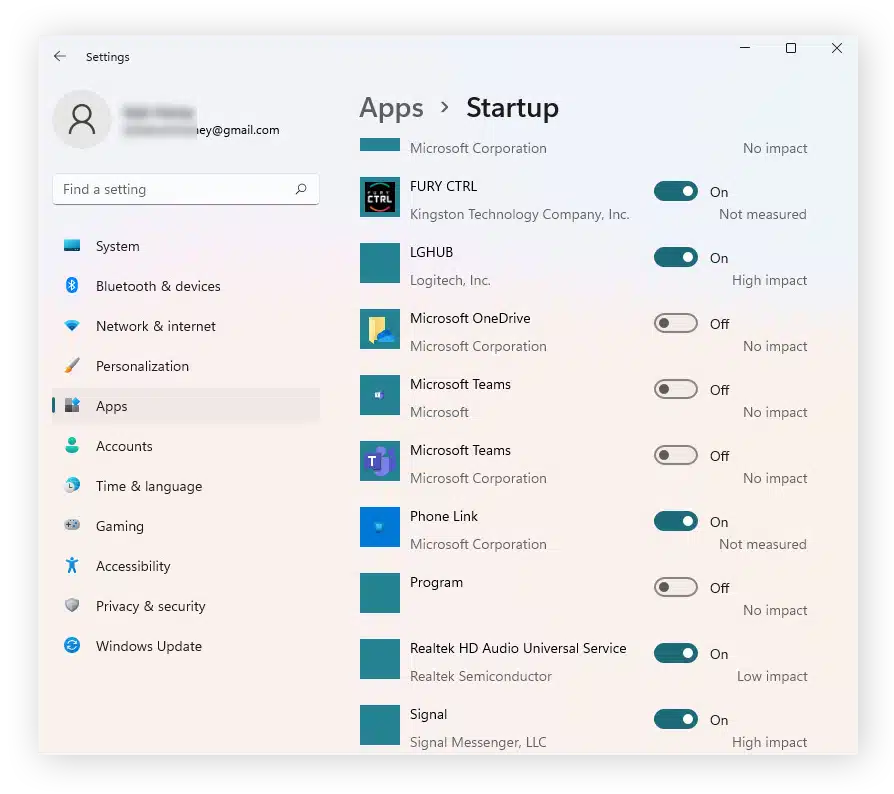
- Press Ctrl + Shift + Esc to open Task Manager
- Click on the Startup tab
- Disable any non-essential programs
Adjust visual effects for performance using Nvidia Control Panel
- Right-click on ‘This PC’ and select ‘Properties’
- Click on ‘Advanced system settings’
- Under Performance, click ‘Settings’
- Choose ‘Adjust for best performance’
Use Game Mode in Windows 10/11:
- Open Settings > Gaming > Game Mode
- Toggle ‘Game Mode’ on

I’ve found this combination of tweaks can free up to 10-15% more resources for VR applications.
Overclock Your Hardware (with caution)
Overclocking isn’t for the faint of heart, but it’s given my VR performance a significant boost.
Here’s my approach:
GPU overclocking basics
- Use MSI Afterburner or EVGA Precision X1
- Start with small increments (+50MHz core, +100MHz memory)
- Stress test after each increase
CPU overclocking considerations
- Access BIOS (usually by pressing Del or F2 during boot)
- Increase CPU multiplier gradually
- Adjust voltage if necessary, but be cautious
Importance of proper cooling
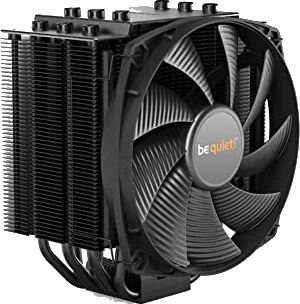
- Monitor temperatures closely (I use HWMonitor)
- Aim for GPU temps under 80°C and CPU under 85°C
- Consider upgrading your cooling solution if needed
Remember, every chip is different. What works for me might not work for you, so patience is key.
Upgrade Key Components
When it comes to upgrading, I’ve learned to prioritize wisely.
The biggest gains you can get is by upgrading your GPU to something new. A CPU is a close second, especially if you like to play intensive PC VR games.
Lastly, consider upgrading your RAM. I think a minimum of 16 GB is sufficient.
Cost-effective upgrade options
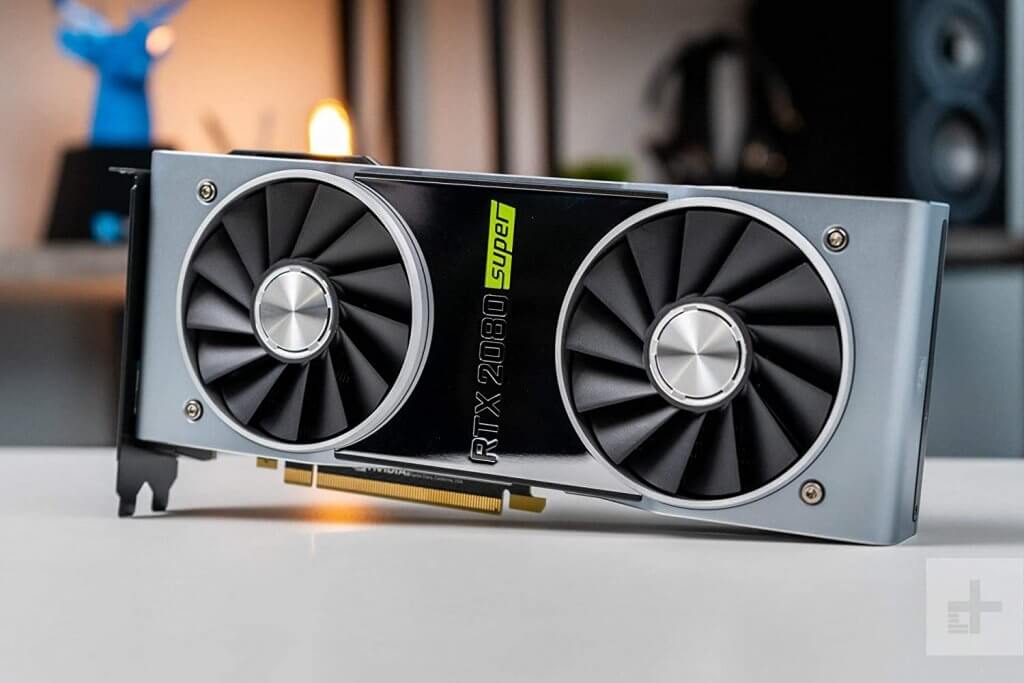
- Consider last-gen high-end GPUs (e.g., RTX 2080 Super) for great value
- Look for CPU deals, especially when new generations launch
- RAM is relatively cheap – don’t skimp here
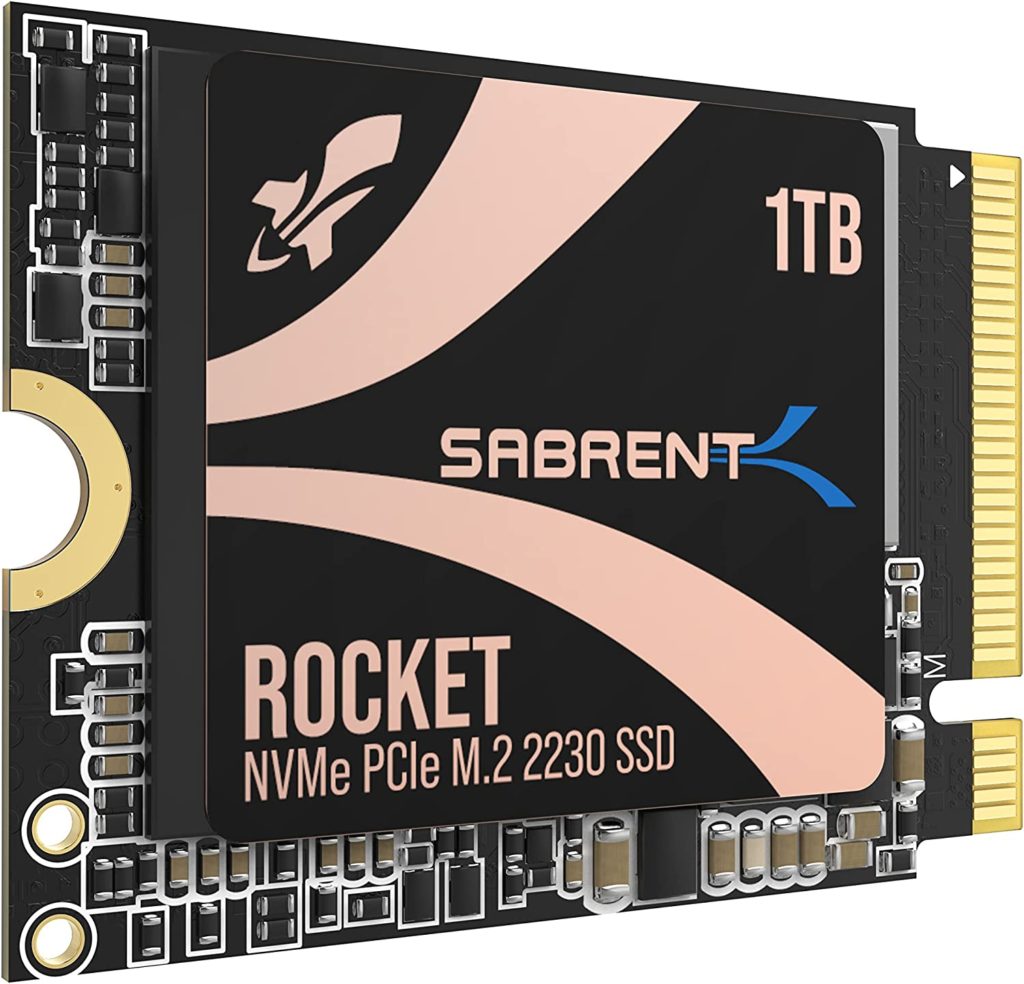
SSD installation for faster load times
The Crucial MX500 or Samsung 870 EVO are my go-to SATA SSDs. For a bigger boost, I recommend NVMe drives like the WD Black SN750
My gut says that if you’re on a tight budget, focus on the GPU first. Even with an older CPU, I’ve seen night-and-day differences just from a GPU upgrade.
How to Optimize VR Software and Games
After tweaking my hardware, I discovered that fine-tuning VR software can be just as impactful. Let’s dive into the settings I’ve found most effective for high performance without sacrificing too much visual quality.
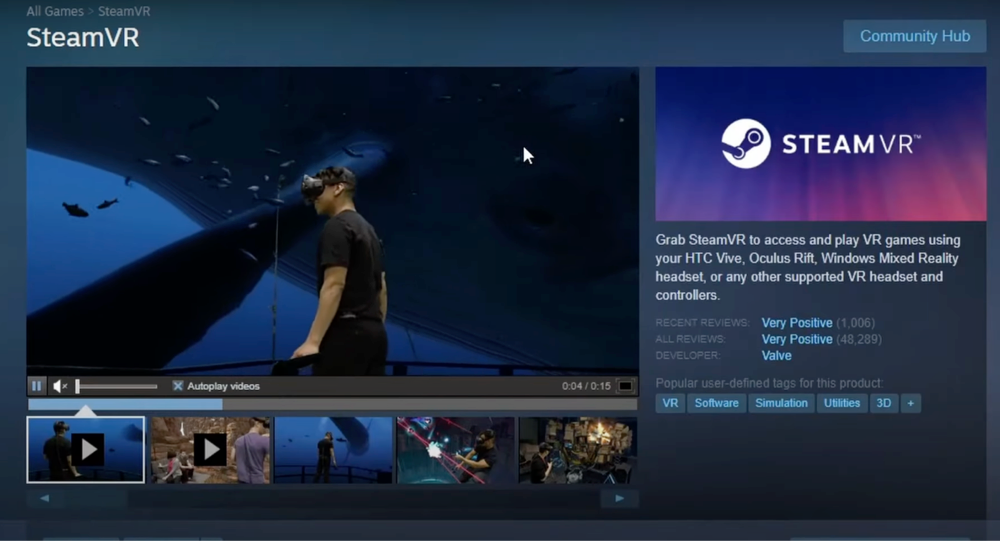
Steam VR Optimization
Steam VR is incredibly versatile, but it took me some trial and error to find the sweet spot. Choosing the correct settings on Meta headsets is crucial for optimal performance when playing Steam games.
Adjusting render resolution
- Open Steam VR settings
- Under ‘Video’, I typically start at 100% resolution and adjust based on good performance
- For my low-end PC, I found 80-90% often provides a good balance
Using motion smoothing
- In Steam VR settings, navigate to ‘Video’ > ‘Advanced’
- Enable motion smoothing
- I’ve noticed this helps significantly with frame rates below 90 FPS
Custom Steam VR settings for low-end PCs
- Right-click Steam VR > Properties > Set Launch Options
- I add “-vrmode openvr -novid -console -vconsole” for faster startup
- In the console (` key), enter “vr_perf_hud_show 1” to monitor performance in real-time
Pro tip: I create different Steam VR profiles for demanding and less intensive games, allowing me to quickly switch between optimized settings.
Meta Software Optimization (for Oculus/Meta headsets)
When using my Meta Quest with Link or Air Link, there are a few specific tweaks you need to complete. Additionally, adjusting in-game settings can enhance performance, as graphics optimization tools like Nvidia and AMD software automatically adjust these settings to simplify the often complex menus in popular video games.
Adjusting Oculus app settings
- Open Oculus Debug Tool (found in the Oculus installation folder)
- I set Pixels Per Display Pixel Override to 1.0 for better performance
- Encode Bitrate (Mbps) at 250 gives me a good balance of quality and performance
Using Oculus Tray Tool for advanced tweaks
- Download and install Oculus Tray Tool
- Under ‘Service’, I toggle ‘Mobile ASW’ for smoother performance
- In ‘Game Profiles’, I create custom settings for each game
ASW (Asynchronous Spacewarp) settings:
- In Oculus Debug Tool, I set ASW to ‘Auto’ for most games
- For seated experiences, I sometimes force 45 FPS with ASW to reduce GPU load
My recommendation is to experiment with these settings in less demanding games first to find your optimal configuration.
In-Game Graphics Settings
Each VR game is unique, but I’ve identified some universal tweaks that often yield the best results:
- Antialiasing: I usually set this to FXAA or the lowest MSAA option
- Shadows: Lowering shadow quality often gives a significant FPS boost
- Texture quality: I keep this as high as possible without impacting performance
- I start with the game’s ‘Low’ preset and gradually increase settings
- Using an FPS counter (like the one in Steam VR), I aim for a stable 90 FPS
- If I can’t maintain 90 FPS, I enable reprojection and aim for a solid 45 FPS
- Many VR games offer a dynamic resolution scaling option, which automatically adjusts resolution to maintain FPS
- I typically set the target FPS to 90 and the minimum resolution scale to 0.8
- This ensures smoother gameplay even in demanding scenes
One thing I’ve learned is that supersampling, while visually impressive, is often too demanding for low-end PCs. I focus on maintaining a stable frame rate first, then gradually enhance visuals as my hardware allows.
Remember, these settings aren’t one-size-fits-all. I always take time to fine-tune for each game, as the optimal configuration can vary widely between titles.

Advanced Techniques to Improve PC VR Performance
After exhausting the basic optimizations, I’ve delved into some more advanced techniques that have given my VR experience a significant boost. These methods require a bit more technical know-how, but the performance gains can be substantial.
Using VR Performance Toolkit
The VR Performance Toolkit has been a game-changer for my low-end setup. Here’s how I’ve implemented it:
- Download the latest release from GitHub
- Extract the files to a folder (I use C:VRPT)
- Copy the dxgi.dll file to your VR game’s installation folder
- Create a file named “dxgi.ini” in the same folder as dxgi.dll
- I start with these basic settings:
- [FFR]
- Enabled=1
- Radius=0.8
- [FSR]
- Enabled=1
- Sharpness=0.5
I always create game-specific configurations for optimal performance. For demanding games, I lower the FFR Radius to 0.6. FSR Sharpness between 0.5 and 0.7 gives me the best balance of clarity and performance
Pro tip: I’ve found that combining VRPT with in-game resolution scaling can yield even better results. I typically set in-game resolution to 80% and let VRPT handle the upscaling.
Foveated Rendering
Foveated rendering has been a revelation for my VR performance, especially on my modest GPU. This technique renders the center of your vision in high quality while reducing detail in peripheral areas. It mimics human vision, which is sharpest at the center of our field of view
For fixed foveated rendering, most modern GPUs are compatible. Dynamic foveated rendering requires eye-tracking hardware like in the HP Reverb G2 Omnicept. Software support varies, but SteamVR and Oculus runtime both offer forms of foveated rendering
In SteamVR, I enable Fixed Foveated Rendering in the Video settings. For Oculus, I use the Oculus Debug Tool to set Foveated Rendering Level (I find level 2 or 3 works best). Some games like “Half-Life: Alyx” have built-in foveated rendering options, which I always enable
My experience has shown that foveated rendering can boost performance by up to 20% with minimal visual impact, especially in fast-paced games where peripheral details are less noticeable.

Reprojection Techniques
Reprojection has been crucial in maintaining smooth VR on my low-end PC. Managing system resources effectively while playing VR games is essential to prevent performance drops and ensure a smoother and more immersive gaming experience. Reprojection generates intermediate frames when your PC can’t maintain the target frame rate. This helps maintain smooth motion even when performance dips.
Configuring reprojection settings
- In SteamVR, I enable motion smoothing in the Video settings
- For Oculus, I use ASW (Asynchronous Spacewarp) set to “Auto” in the Oculus Debug Tool
- Some games allow forcing reprojection to a lower frame rate (e.g., 45 FPS instead of 90)
I’ve found that for seated experiences or slower-paced games, forcing 45 FPS with reprojection often gives me better visual quality than trying to maintain 90 FPS at lower settings. However, for fast-paced games, I prioritize hitting 90 FPS natively whenever possible.
Remember, the effectiveness of these advanced techniques can vary depending on your specific hardware and the games you’re playing. I always recommend experimenting to find the best configuration for your setup.
Troubleshooting Common VR Performance Issues
After countless hours in VR, I’ve encountered my fair share of performance hiccups. Here’s how I’ve tackled some of the most common issues:
Stuttering and Frame Drops
- I start by checking my GPU and CPU temperatures. Overheating can cause severe performance dips.
- If temperatures are fine, I use the Task Manager to identify resource-hungry background processes.
- Sometimes, I’ve found that rolling back to a previous GPU driver version resolves stuttering issues.
One trick that’s worked wonders for me is setting VR games to high priority in Task Manager. Right-click the game process, select “Set Priority,” and choose “High.” For users of Windows Mixed Reality headsets, this can significantly optimize performance and reduce issues like low FPS.
Tracking Issues
- I ensure my play area is well-lit but avoid direct sunlight on the headset or controllers.
- Reflective surfaces can confuse sensors, so I cover mirrors or glossy posters.
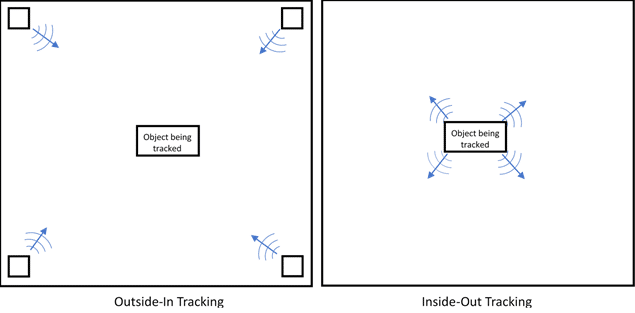
- For inside-out tracking, I’ve added some distinct visual markers around my room.
When all else fails, I’ve found that a clean reinstall of my VR software often resolves persistent tracking problems.
Minimizing Motion Sickness
I always aim for a steady frame rate over higher visual fidelity. Enabling motion smoothing or ASW has significantly reduced my motion sickness in demanding games. I’ve discovered that increasing the field of view slightly can help with comfort, even at the cost of some performance.
Pro tip: I use a small fan pointed at my face during VR sessions. Not only does it keep me cool, but it also provides a constant physical reference to avoid motion sickness.
Frequently Asked Questions About Improving PC VR Performance (FAQs)
What’s the minimum GPU for a decent VR experience?
For entry-level VR, a GTX 1070 or better is recommended for smoother performance.
Can overclocking my GPU significantly improve VR performance?
Yes, careful GPU overclocking can boost VR performance by 5-15%, depending on your specific hardware and cooling setup.
How does SSD affect VR gaming?
An SSD can drastically reduce load times and minimize in-game stuttering, especially in open-world VR titles.
What’s the most cost-effective upgrade for VR performance?
Upgrading your GPU typically offers the most significant performance boost for VR gaming.
Does RAM speed matter for VR performance?
While capacity is more crucial, faster RAM can provide a modest performance boost, especially in CPU-intensive VR applications.
Conclusion
If you want to improve PC VR performance on a budget, it is absolutely achievable. By optimizing your hardware, fine-tuning VR software, and employing advanced techniques like foveated rendering, you can dramatically enhance your virtual reality experience.
Remember, consistent maintenance and monitoring are key to long-term performance. Don’t be afraid to experiment with different settings – what works best can vary between systems and games. With these tips in your arsenal, you’re well-equipped to dive into immersive VR worlds, even on a low-end PC.

