This is the ultimate Meta Quest 3 setup guide, showing you how to unbox and run your new VR headset for the first time. Follow along with this guide as you setup your new headset, or use it as a preview for the Meta Quest you are about to buy!
Below I have put pictures and a tutorial for the complete setup process, including:
Unboxing the Meta Quest 3
Turning it on and setting it up for the first time
What VR games to try out first, including several free ones!
If you need any help, comment below and I would be happy to help you out!
- How to Unbox the Meta Quest 3
- Meta Quest 3 Setup Tutorial
- Adjust Your Head Streap
- Select Your Language
- Remove the Controller Battery Tab
- Test the Trigger Button
- Continue Setup in Meta Quest Mobile App
- Download and Continue Pairing on Your Phone
- Synchrone Your App With Headset
- Share Additional Data (Or Not)
- Select How to Connect Your Headset to Wi-Fi
- Enable Hand Tracking
- Wait for Pairing to Complete
- Confirm the Safety Message
- Create Your Boundary
- Adjust Your IPD
- Connect to Wi-Fi
- Adjust Your Headset Angle
- What’s Next
How to Unbox the Meta Quest 3
Open up the Quest 3 Box
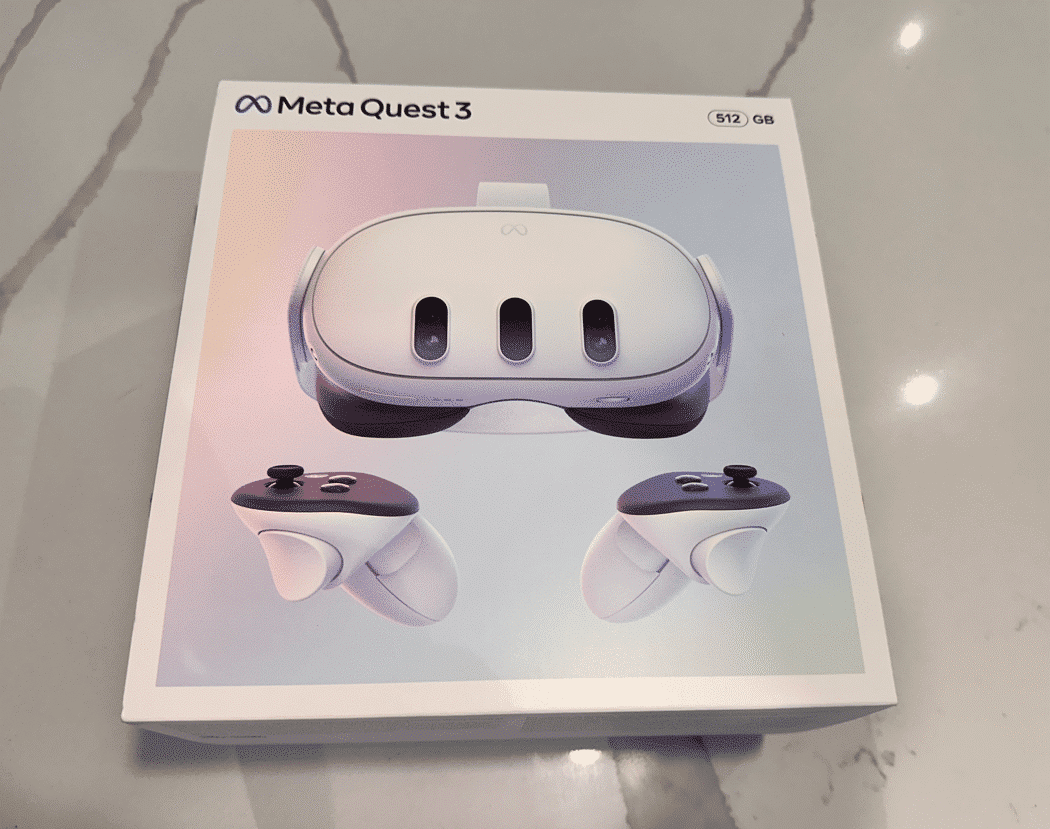
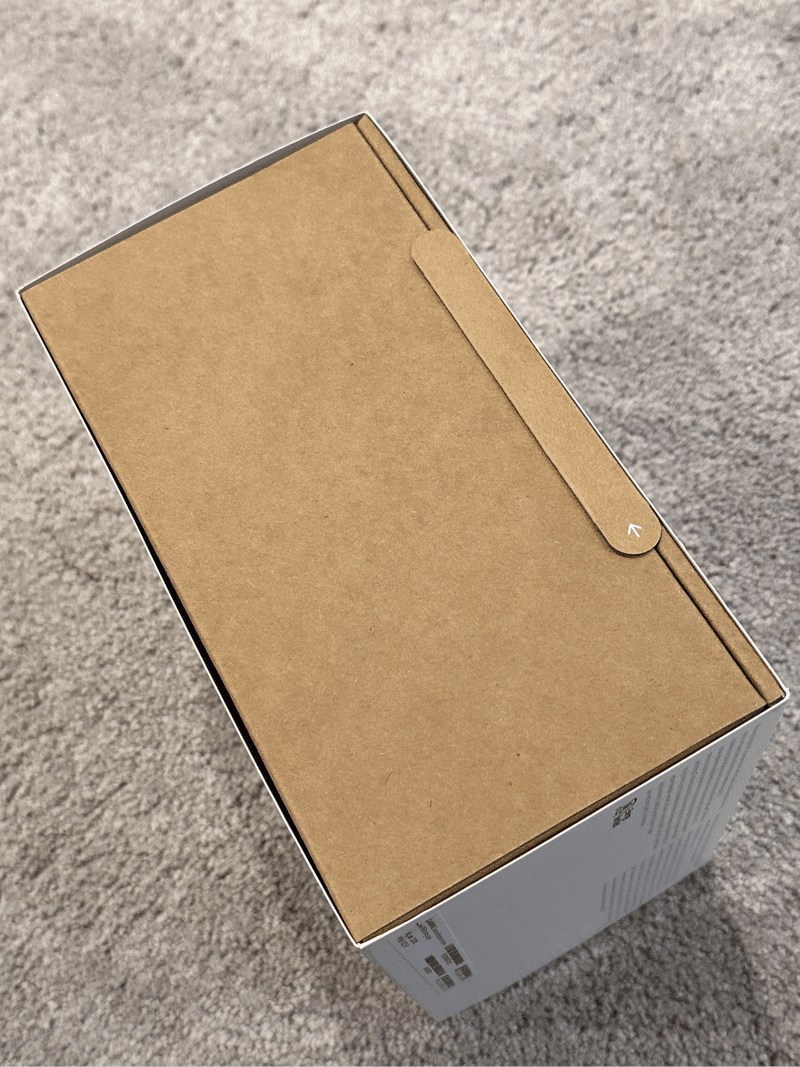
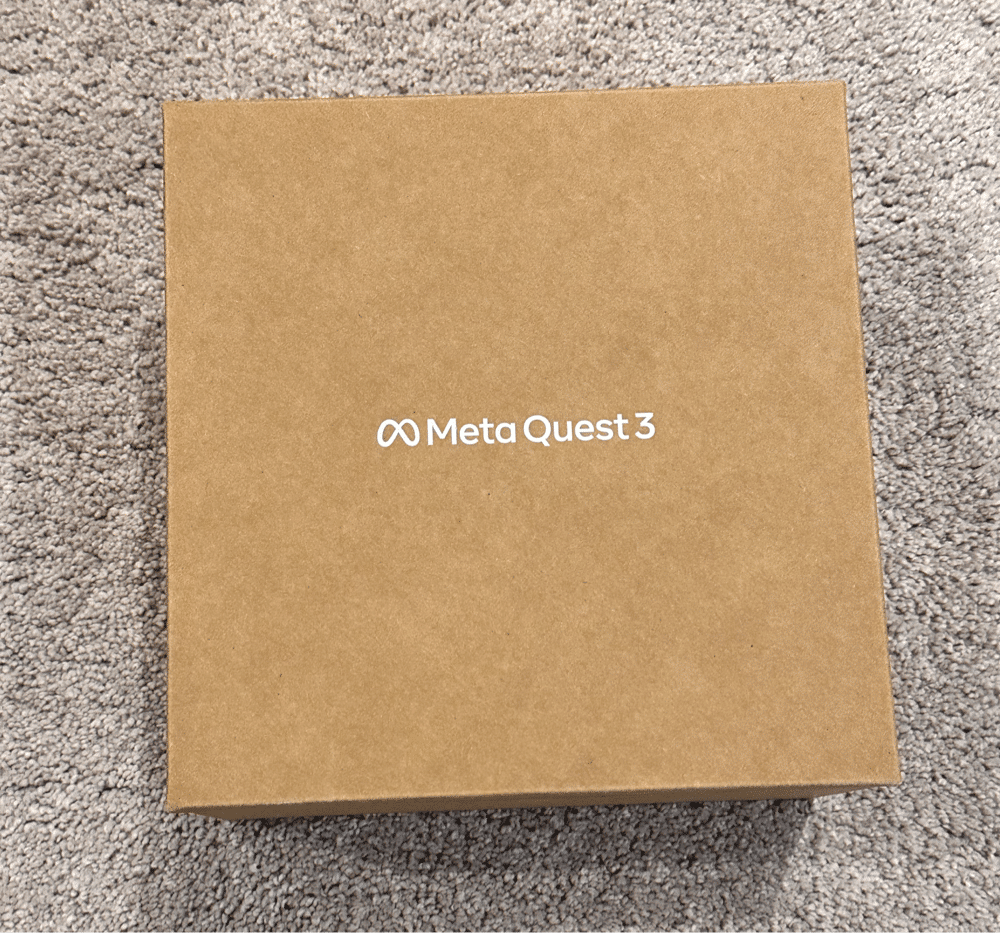
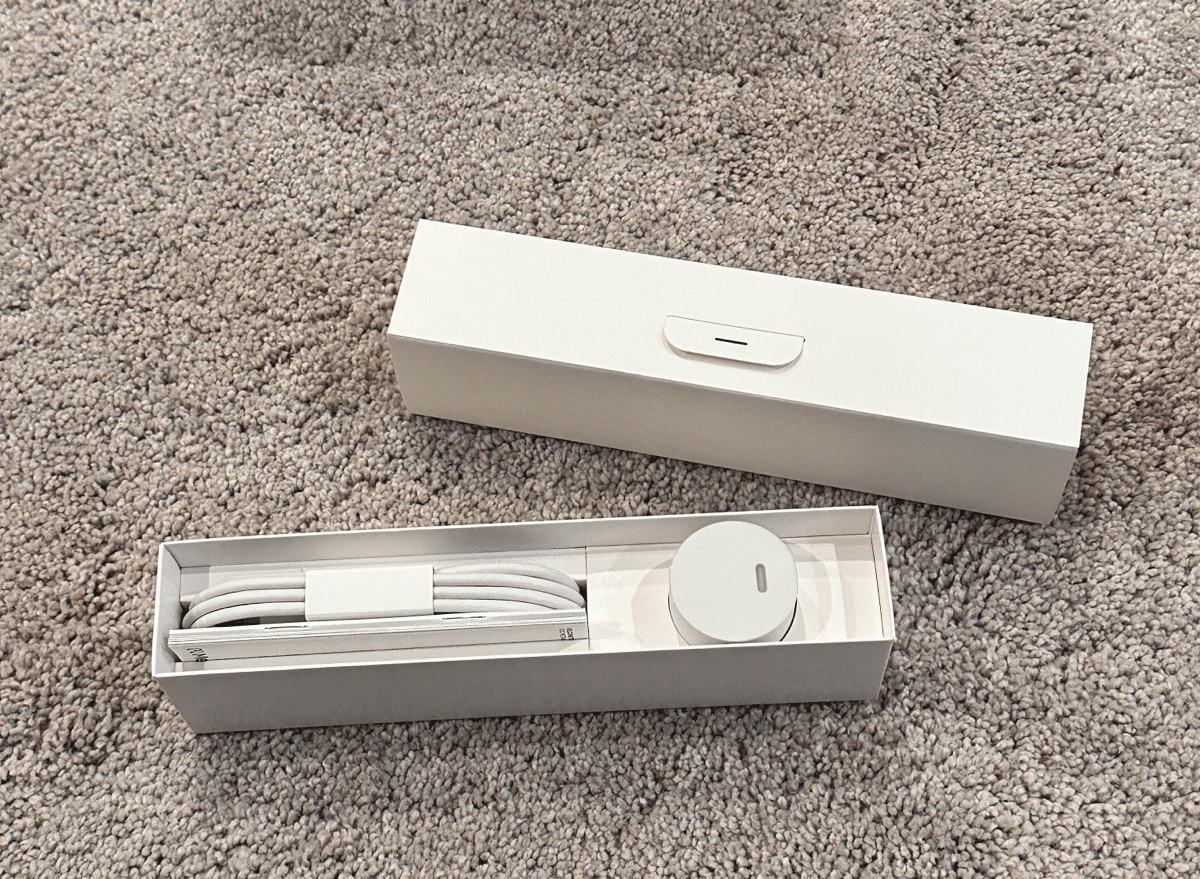
Start by carefully removing the exterior sleeve (if present) to reveal the brown inner box. This box should open easily to unveil the Quest 3 and its accessories. To do this, rip the tab.
Take Out Each Item From the Box
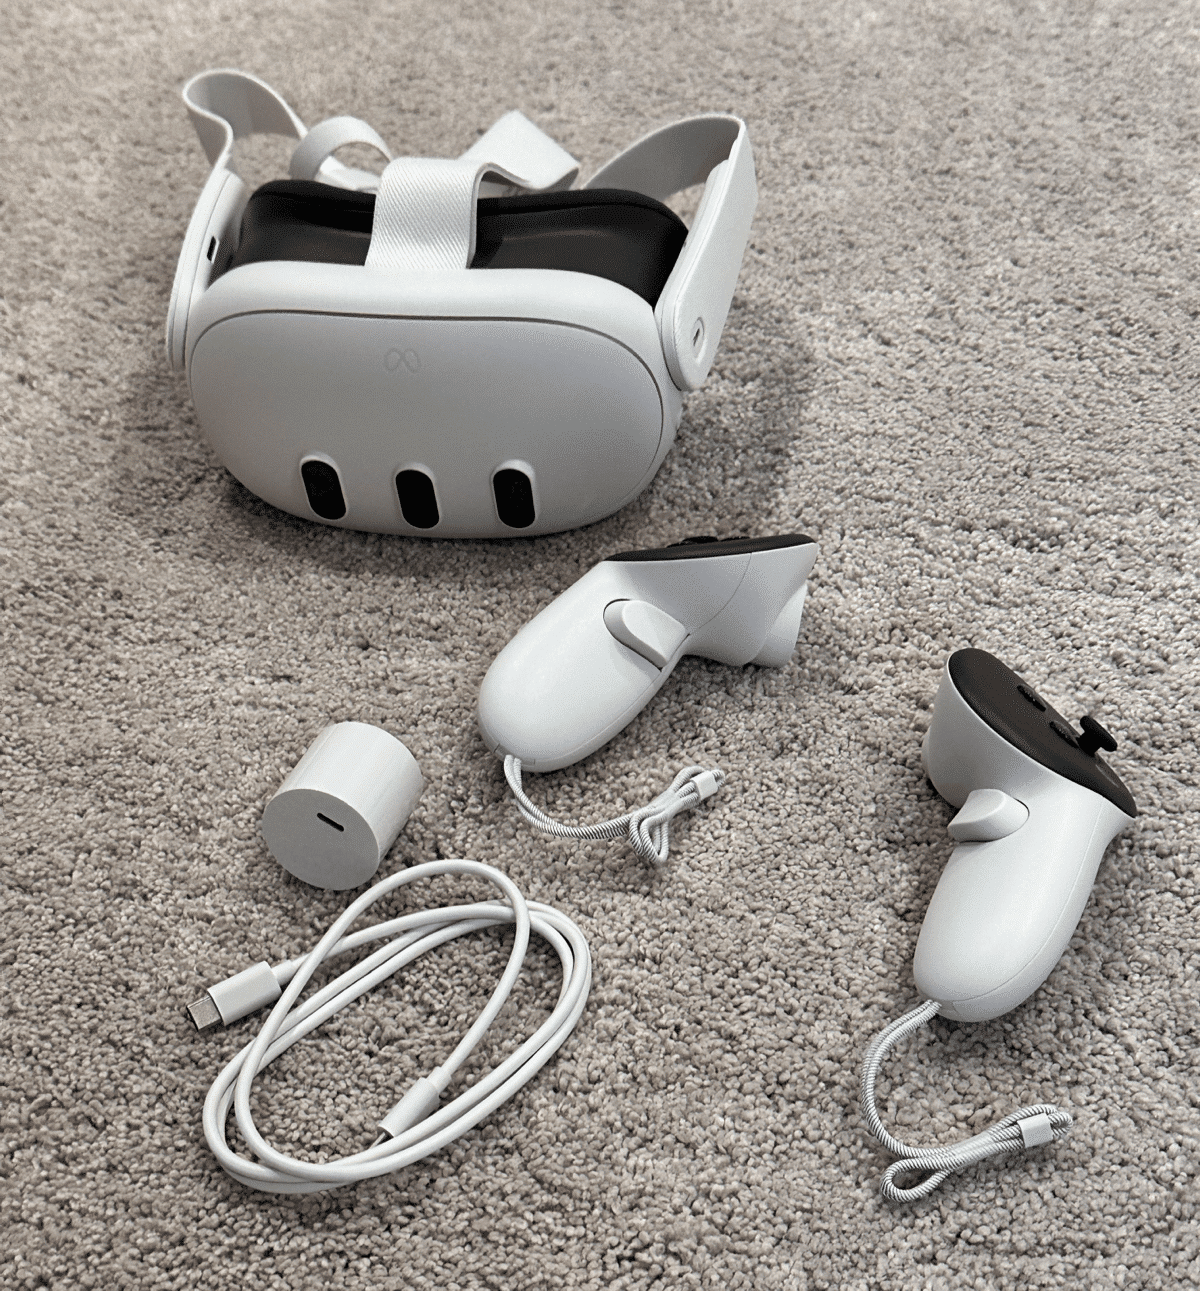
Every single Meta Quest 3 has the same items inside of it:
Meta Quest 3 headset
Two VR controllers
USB-C charging cable and power block
Instructions
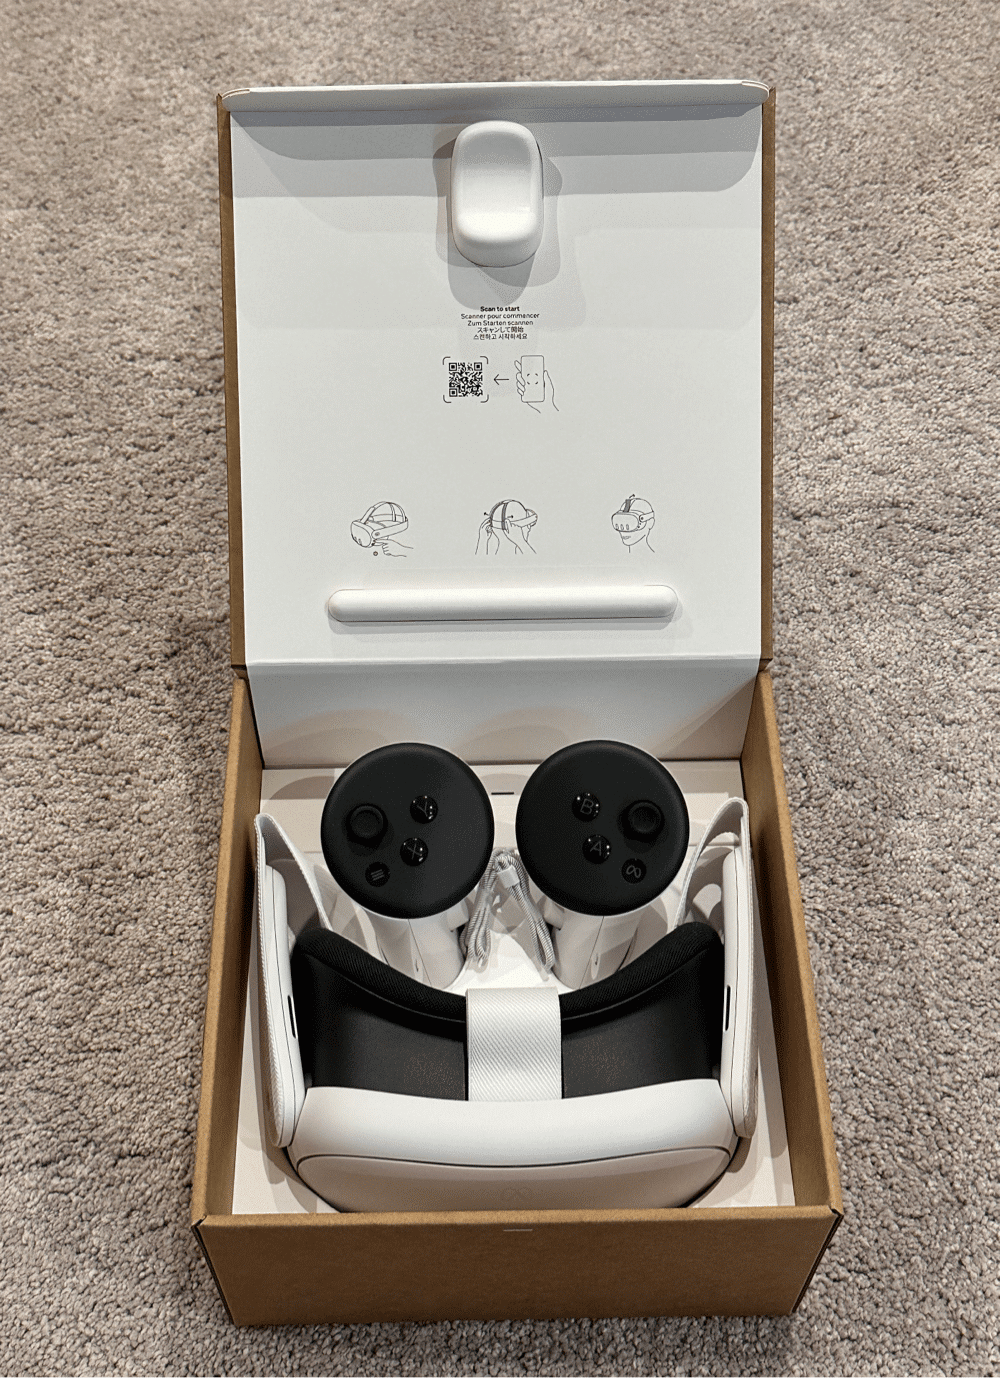
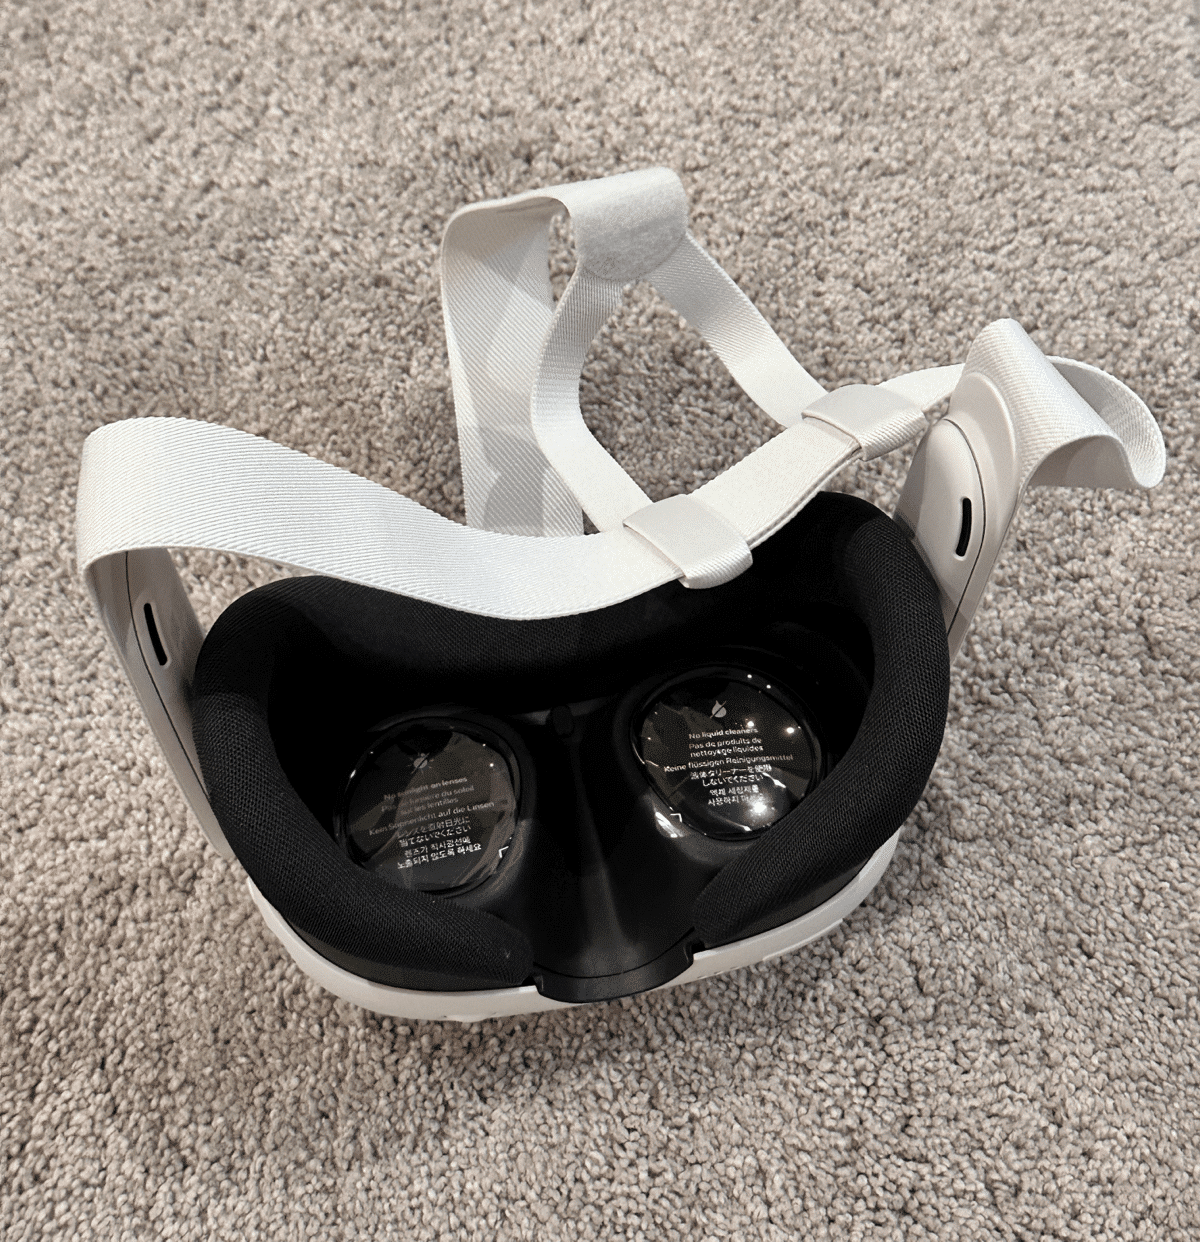
Familiarize Yourself with the Head Strap
On the back of the packaging, an illustration shows how to adjust the head strap. The Quest 3 features a soft split or ‘forked’ strap that differs from the previous versions. This design aims to distribute the weight evenly across the head for enhanced comfort.
If you need help getting things right, read our tutorial guide on how to tighten the Meta Quest 3 head strap properly!

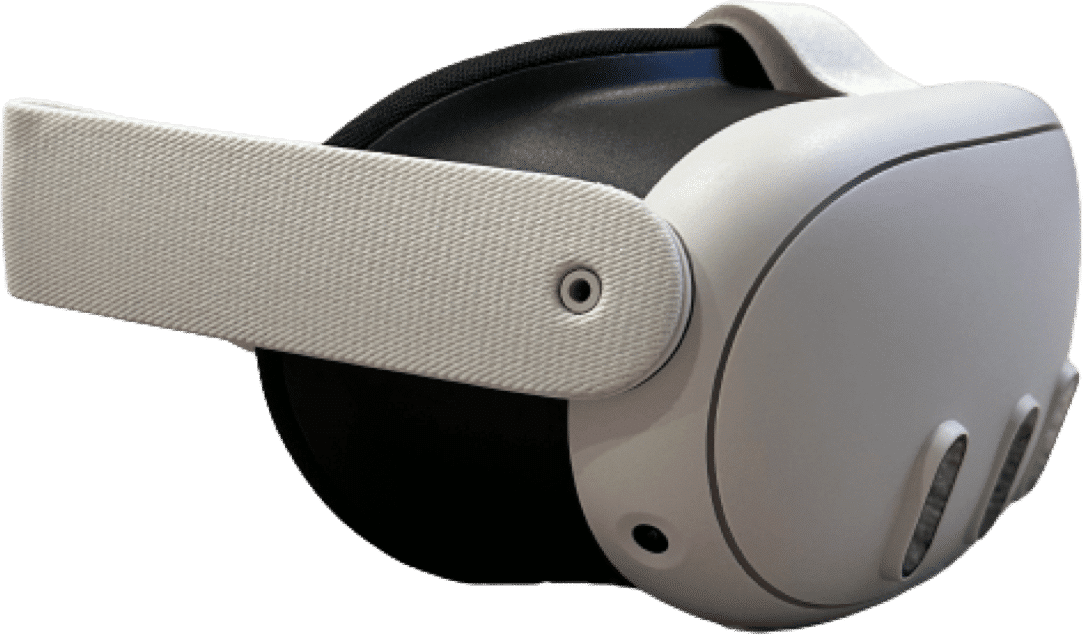
Exploring the Headset
Inspect the headset. You’ll notice:
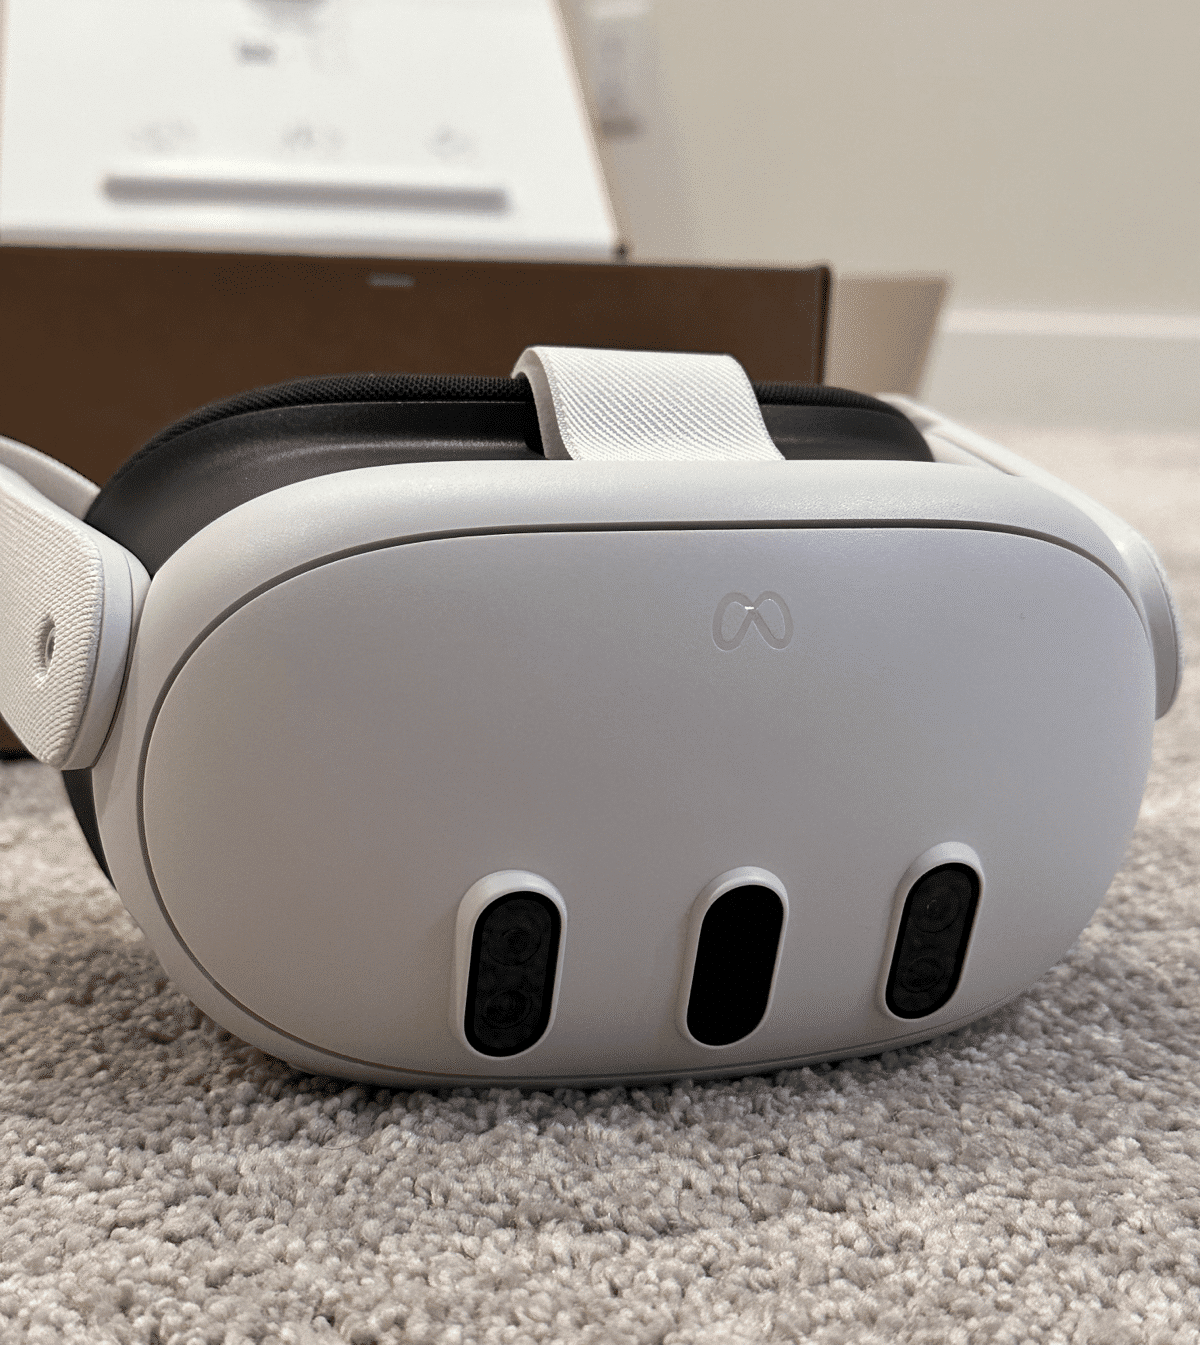
The power button: It’s now round and more pronounced on the left side of the headset.
Charging port: Located on the left side of the headset on the strap arm.
Volume rocker and IPD adjustment: These are found on the bottom of the headset.
Three golden dots on the bottom: Indicate compatibility with a charging dock.
Three cameras on the front: two passthrough cameras and a depth sensor.
Adjusting the Facial Interface
The Quest 3 has a unique feature allowing users to slide the facial interface not just side to side for IPD adjustment but also in and out. This adjustment is particularly useful for glasses wearers.
Look for an icon on the cardboard insert showing glasses and a hand grabbing the interface to understand the mechanism.
Check Out the Touch Controllers
The new touch controllers have a two-tone design. If you open the battery compartment, you will see that each controller includes a battery. Pull on the tab to activate the controller.
Powering On the Device
Locate the round power button on the headset to turn on your Quest 3 for the first time
Meta Quest 3 Setup Tutorial
After you power on the device, the operating system will take you through some specific setup steps to get your VR headset ready to use.
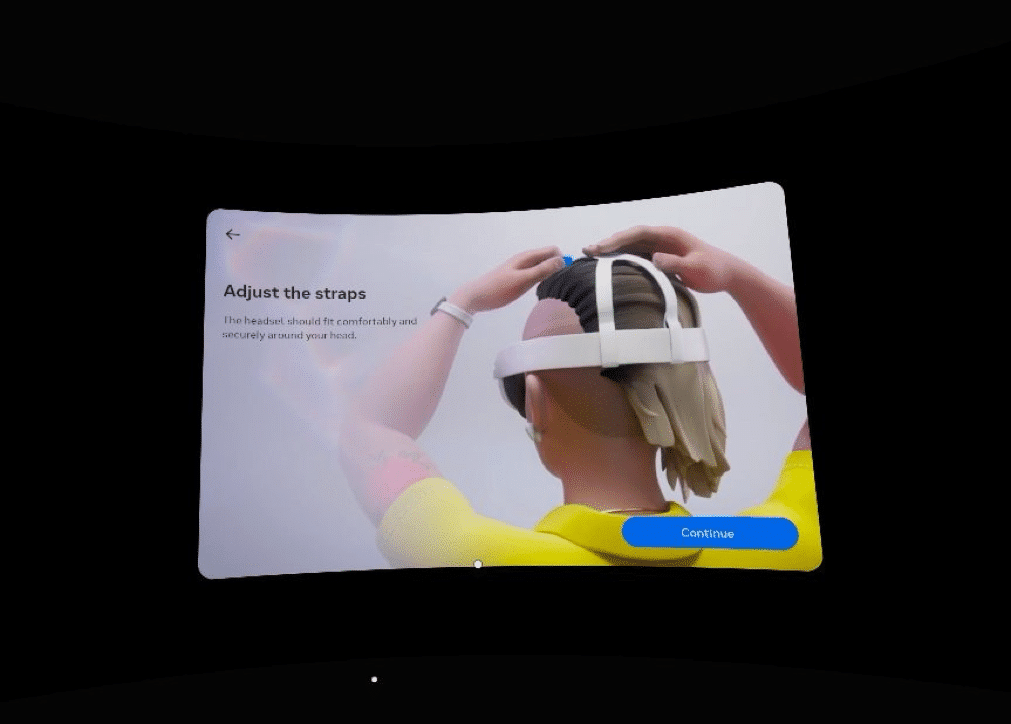
Adjust Your Head Streap
If you didn’t before, the first thing your VR headset will tell you is to adjust your head strap to get a comfortable fit.
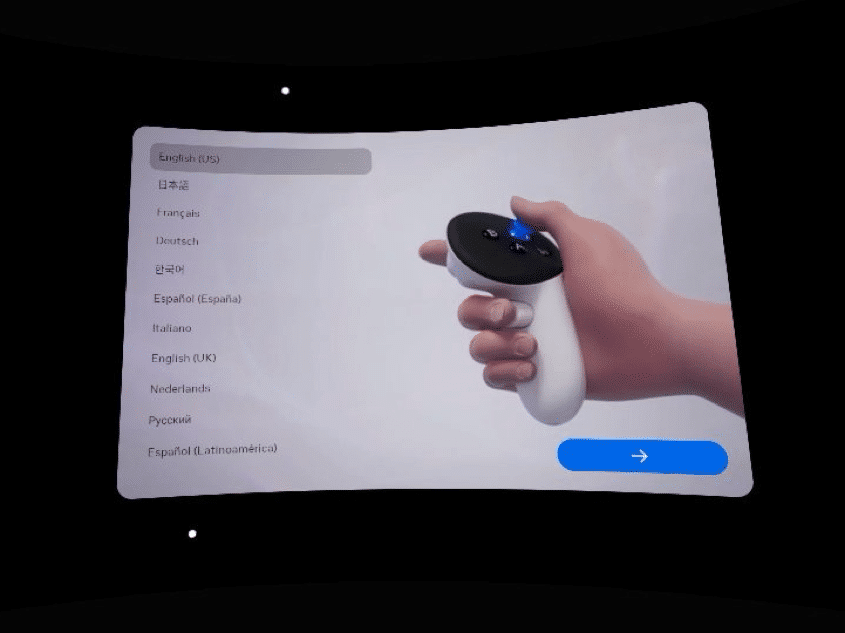
Select Your Language
Next, you have to pick the default language on your headset, which will determine the text you see in the home environment and the settings pages.
Remove the Controller Battery Tab
If you haven’t yet, you’ll be reminded to remove your battery tabs to activate your controllers.
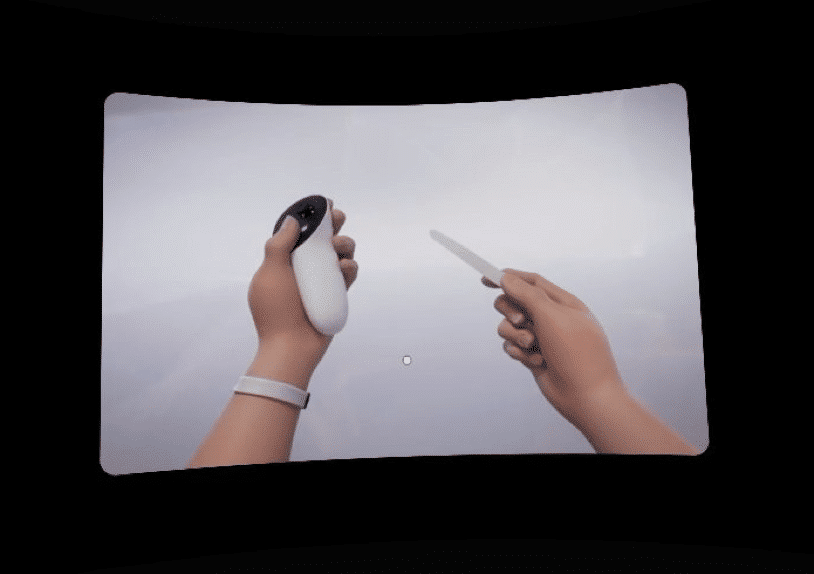
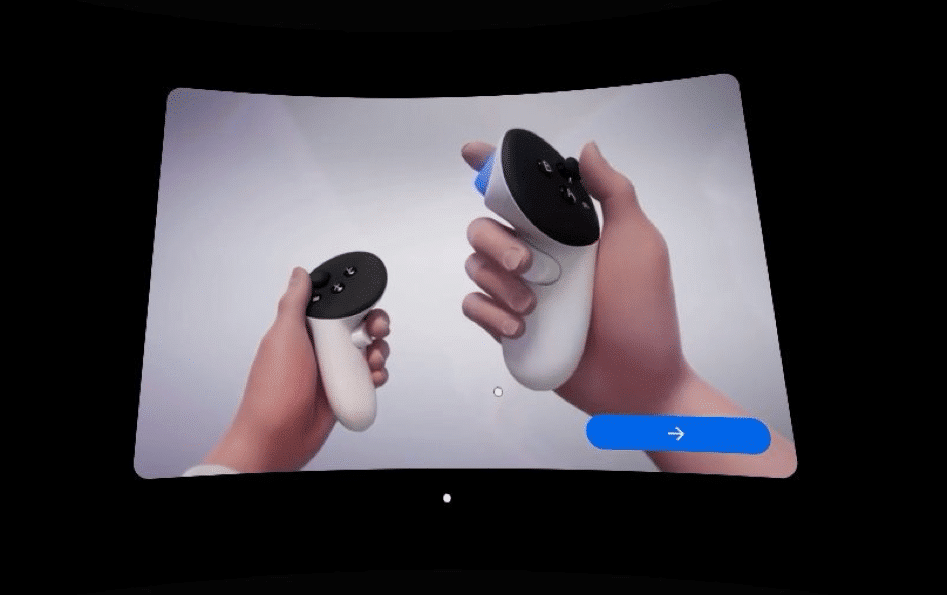
Test the Trigger Button
The back trigger on each controller is the “select” button on every app, game, and menu screen. Use the trigger to click the blue button here and to move on.
Continue Setup in Meta Quest Mobile App
The Meta mobile app will take things over from here to help you connect your headset to your home wi-fi network and complete setup.
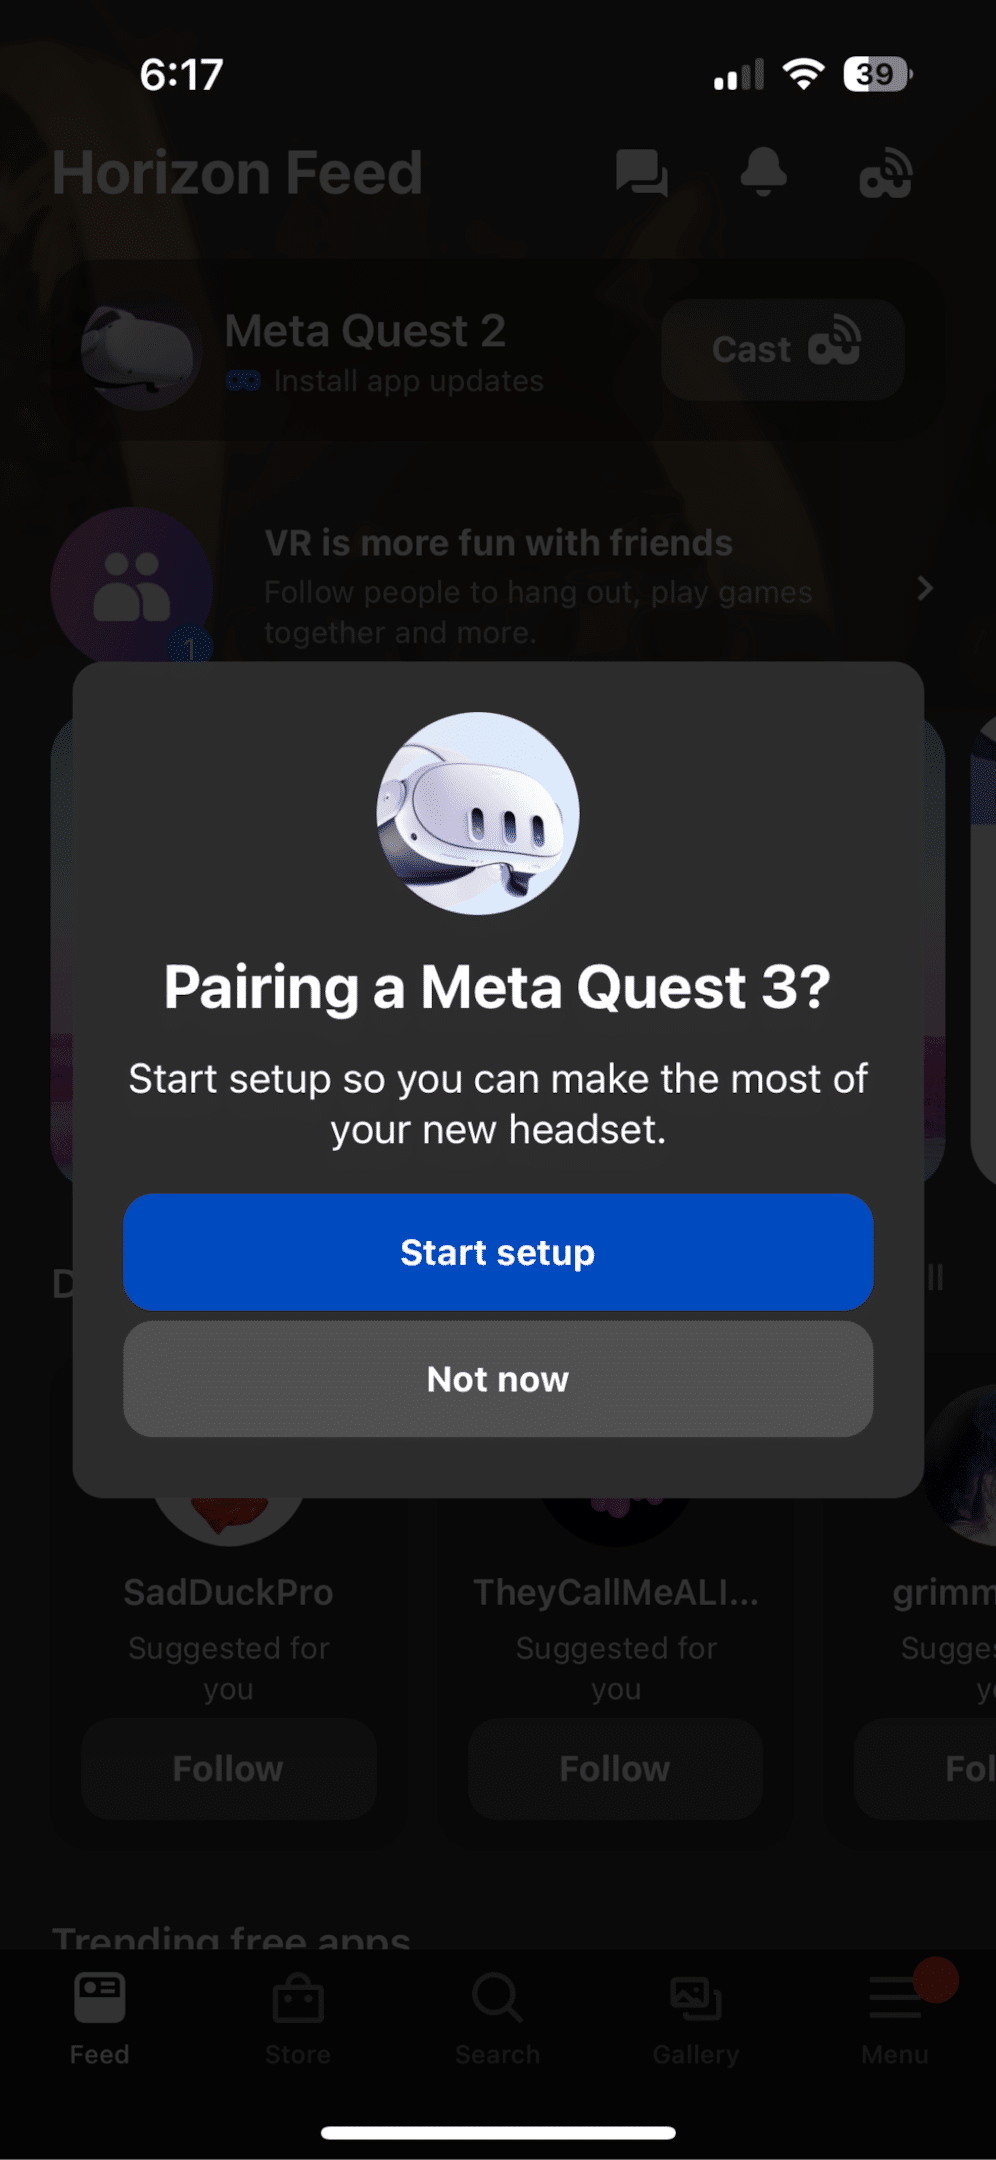
Download and Continue Pairing on Your Phone
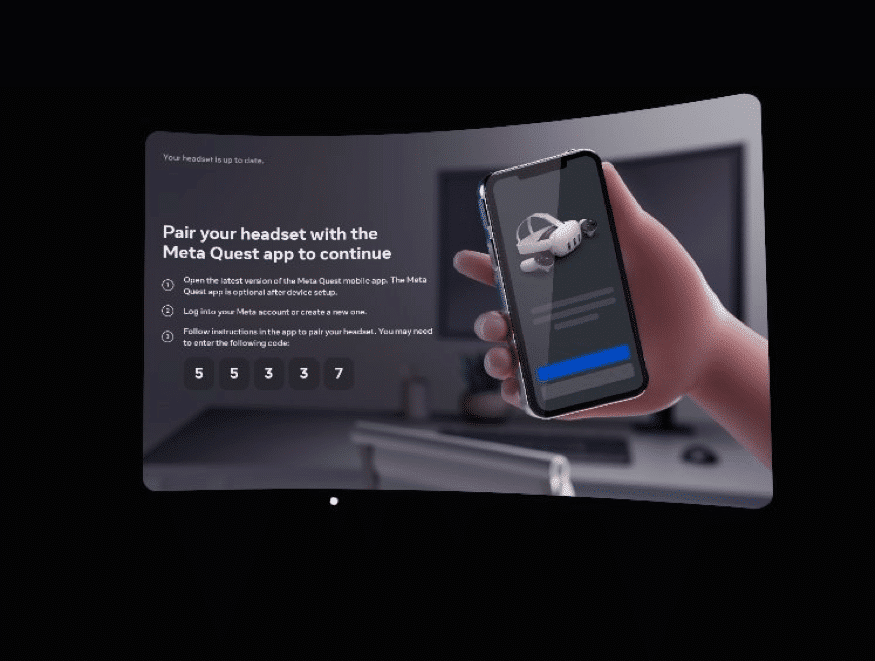
When you download and open up the Meta app on your phone, you’ll first have to log in. The app will detect the Meta Quest 3 you are trying to pair. Click on Start Setup to continue.
Synchrone Your App With Headset
To synchronize your app with the headset, enter in the code on your headset into your mobile phone.
Share Additional Data (Or Not)
Select whether or not you want to share data and analytics about your experience with the company.
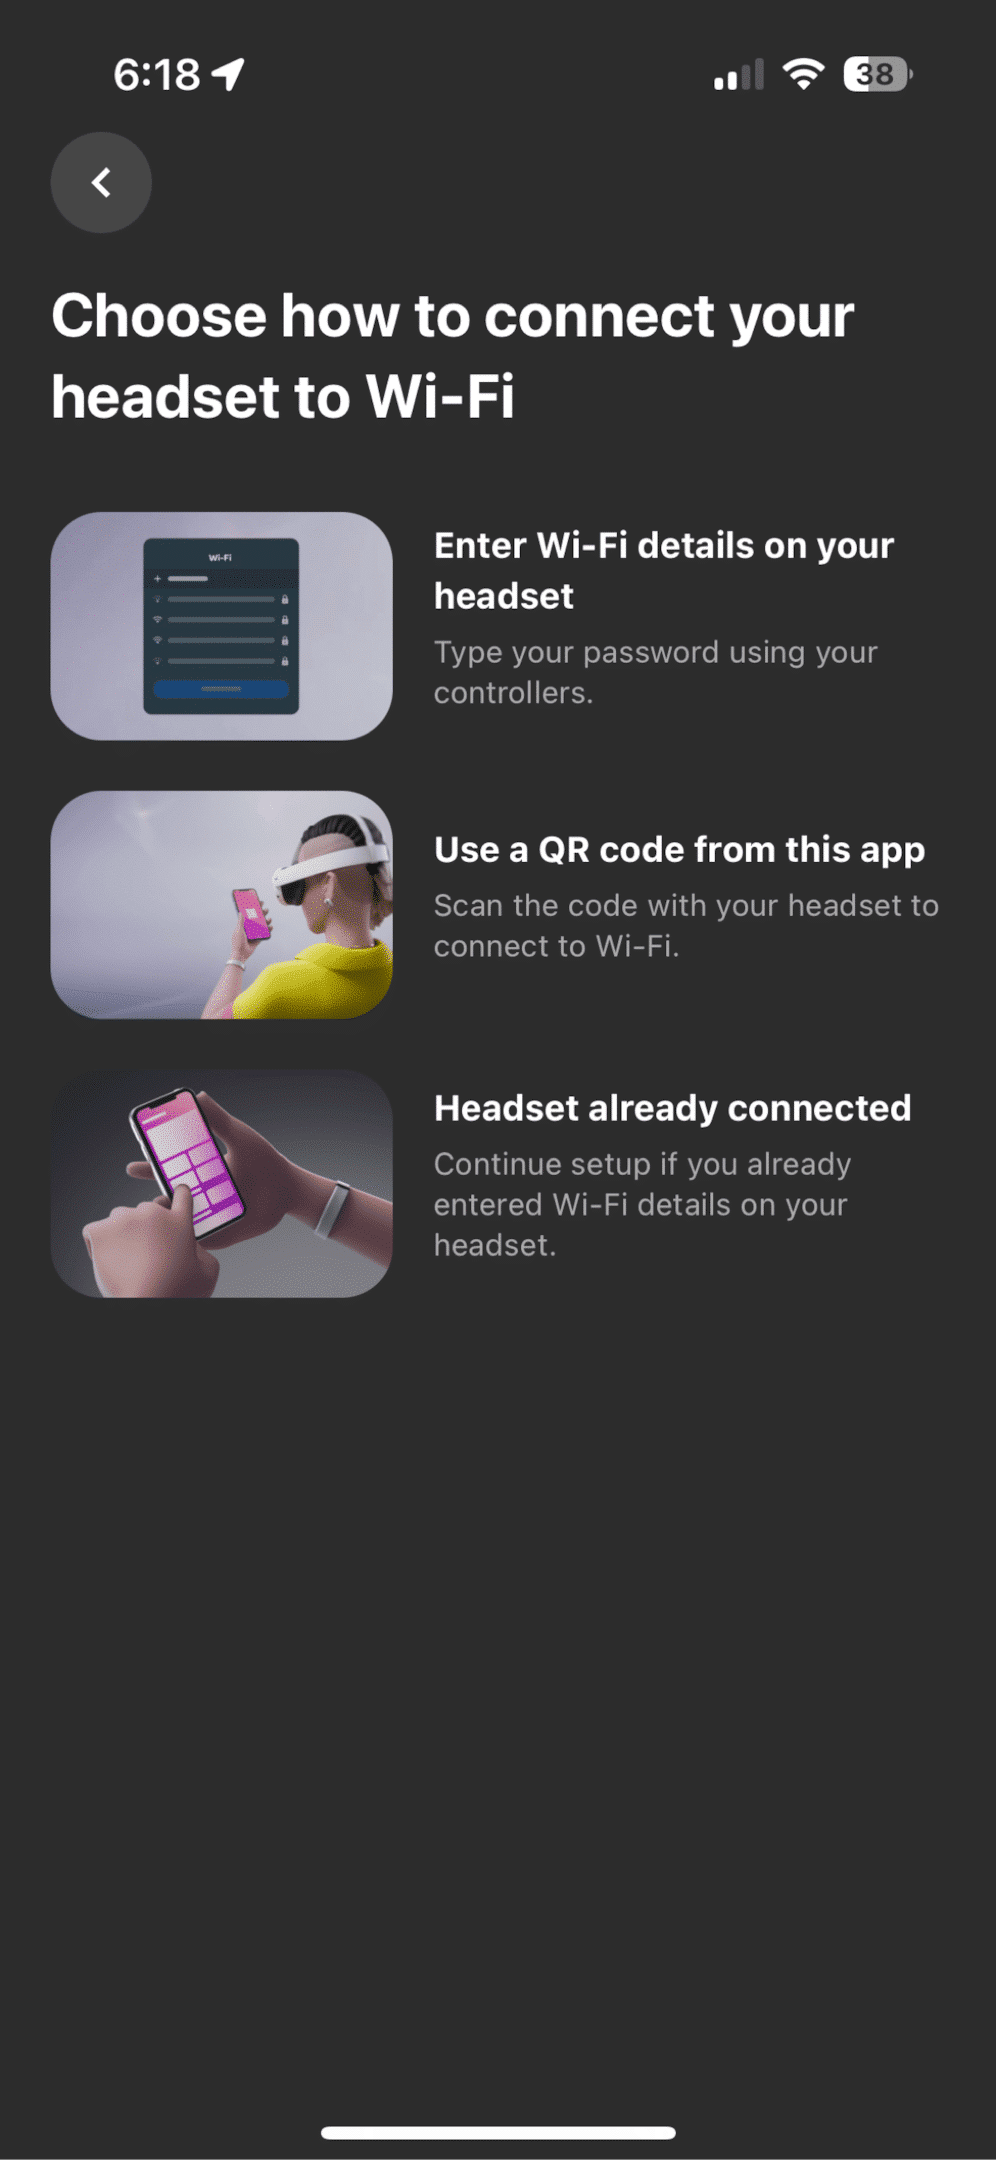
Select How to Connect Your Headset to Wi-Fi
To connect your new Meta Quest to your wi-fi network, you can manually enter the information, or you can scan a QR code in your headset. Choose the QR code options – it’s the one I used and is pretty slick!
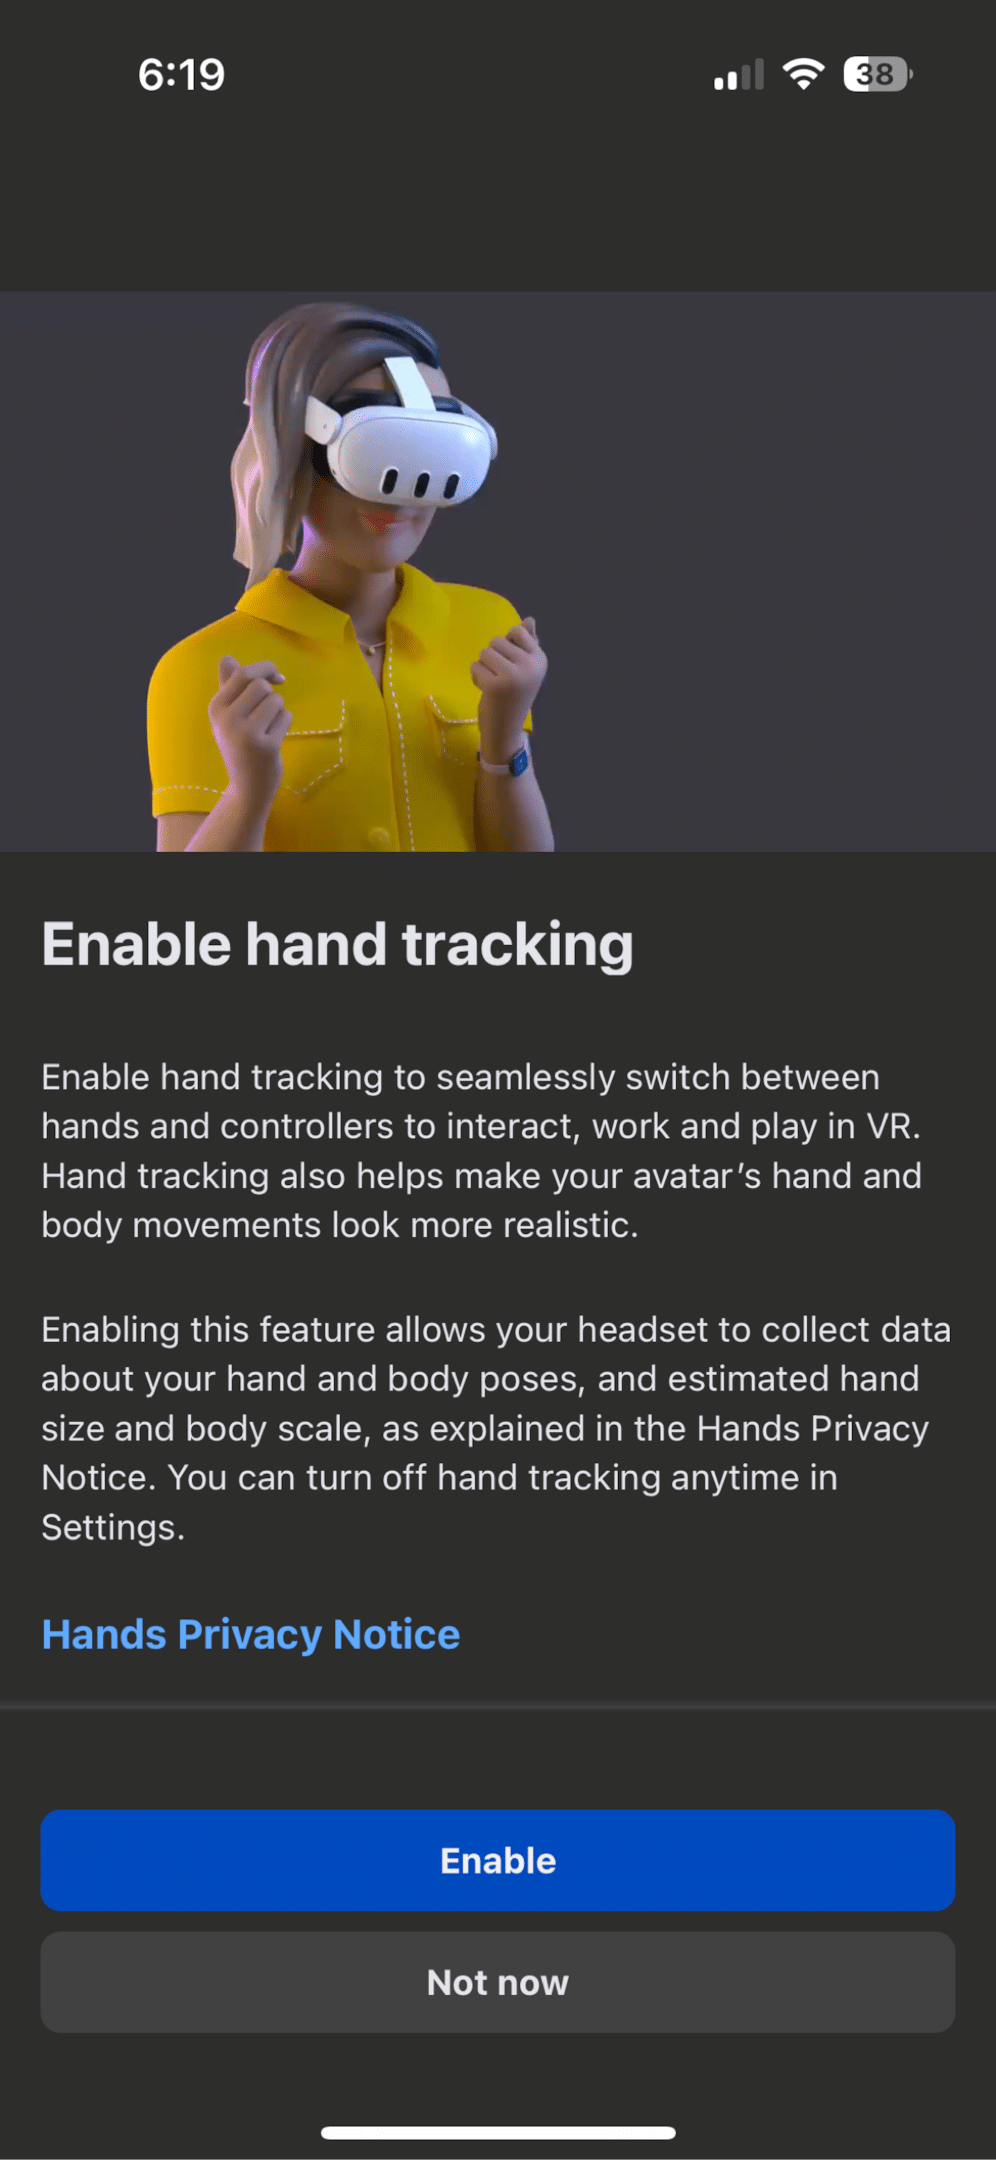
Enable Hand Tracking
Enable hand tracking by default in your headset here in the next step.
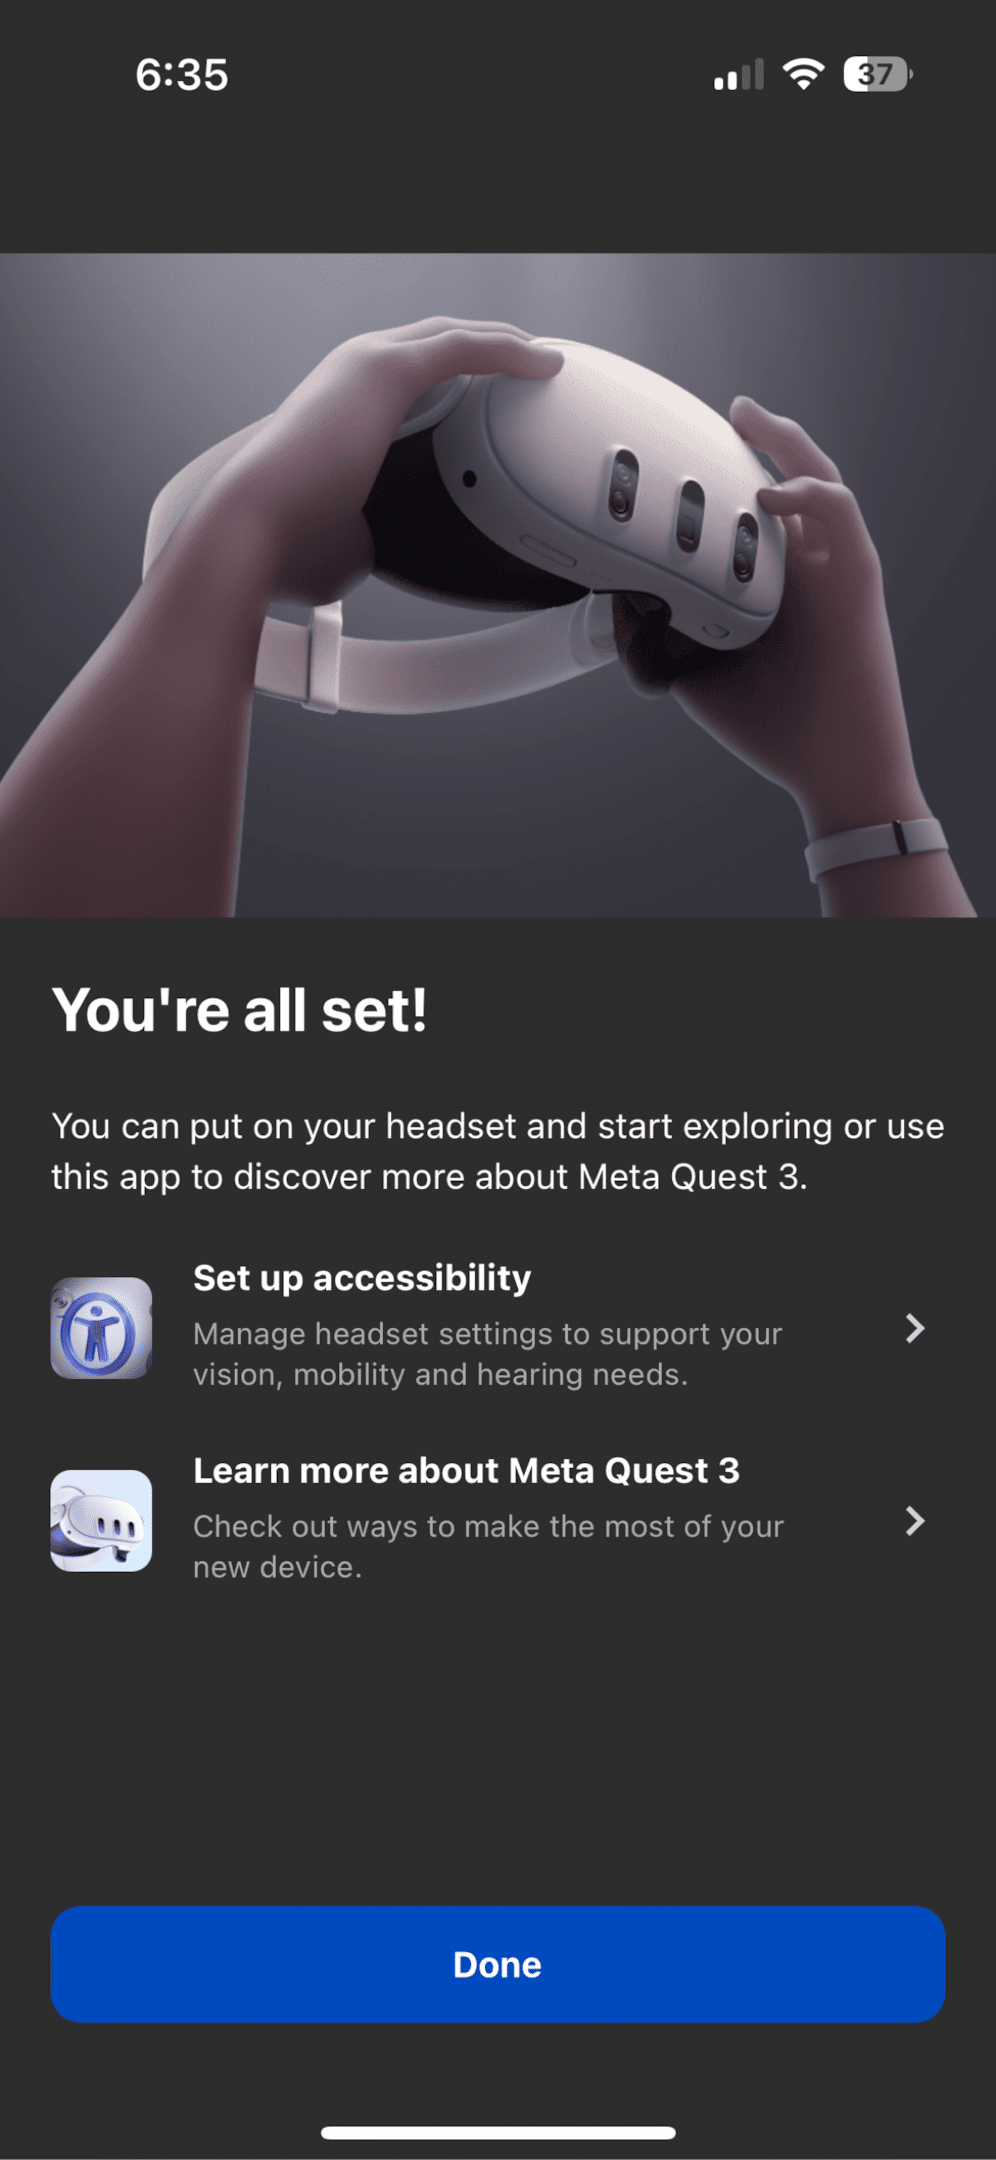
Wait for Pairing to Complete
Wait for your settings to synchronize with the Quest headset. When it is complete, you will get the “You’re All Set” message and you can put your VR headset back on your head.

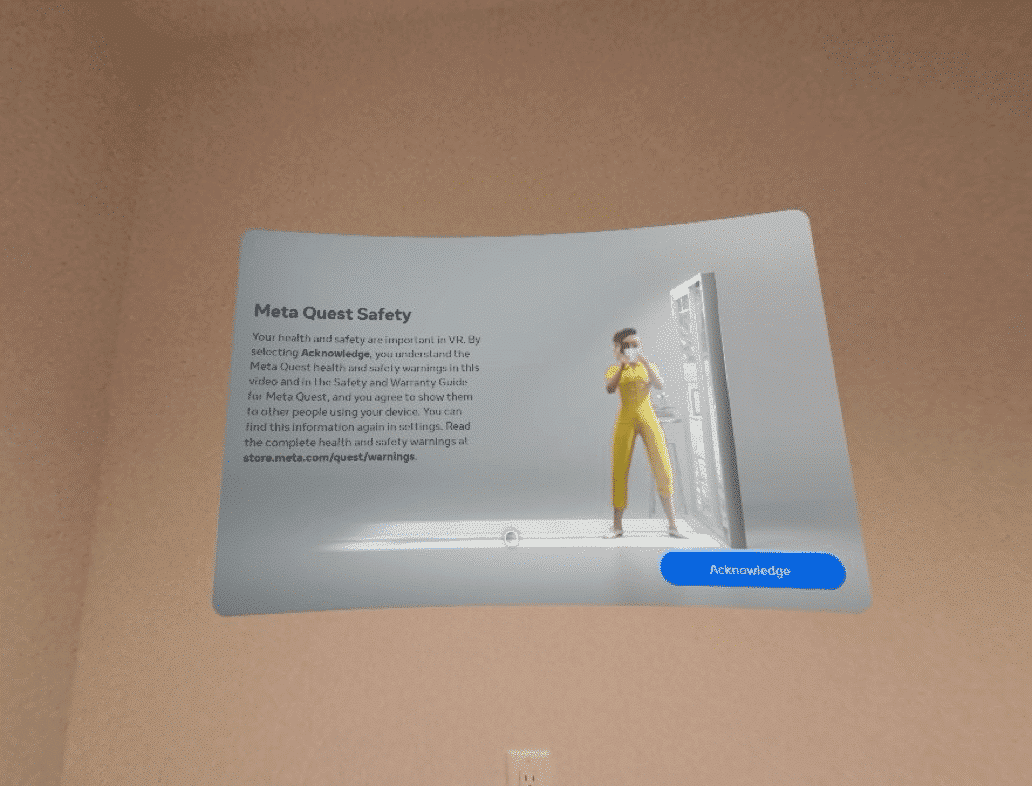
Confirm the Safety Message
Acknowledge the safety message in your headset.
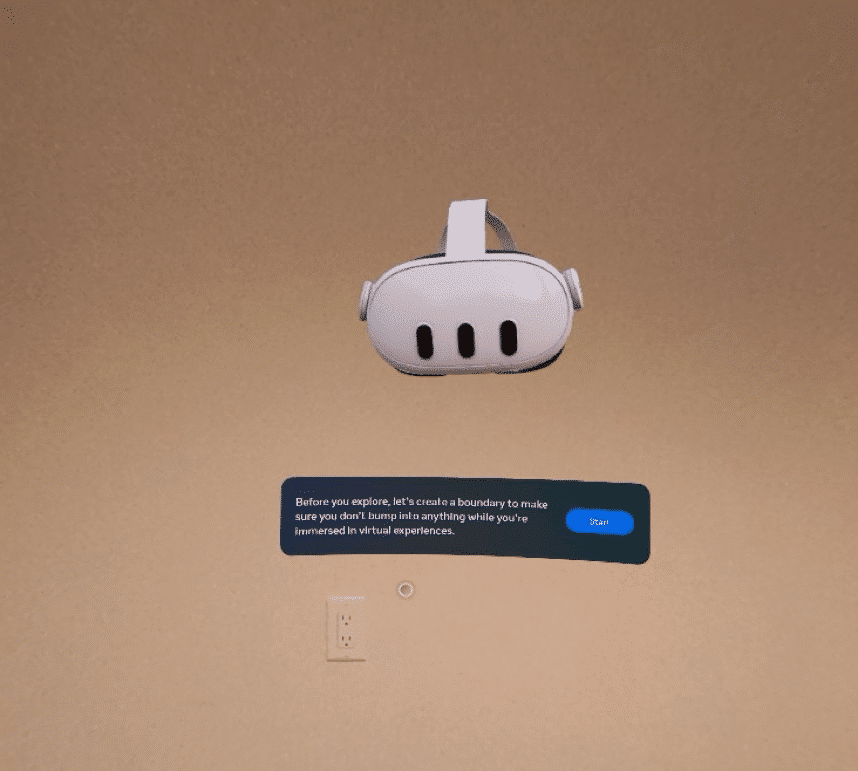
Create Your Boundary
Next, you have to let your Quest scan your environment and create a boundary for you to play in. Unlike the Meta Quest 2 or 1, your boundary is now automatically created and you don’t need to draw it on the floor yourself anymore.
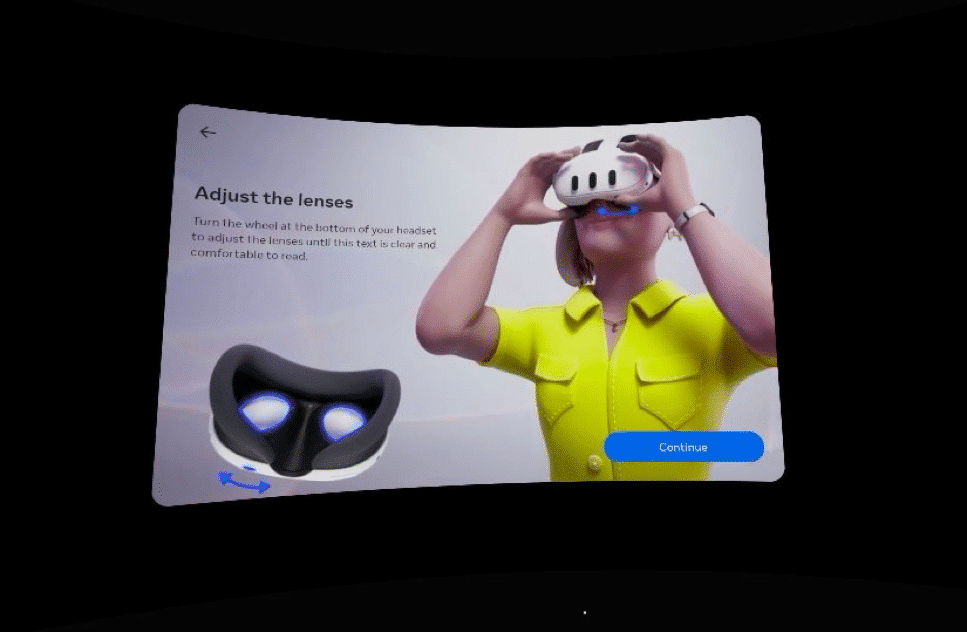
Adjust Your IPD
Use the dial on the bottom of the headset to adjust your lenses until they are the optimal distance across your face and in the center of your eyes.
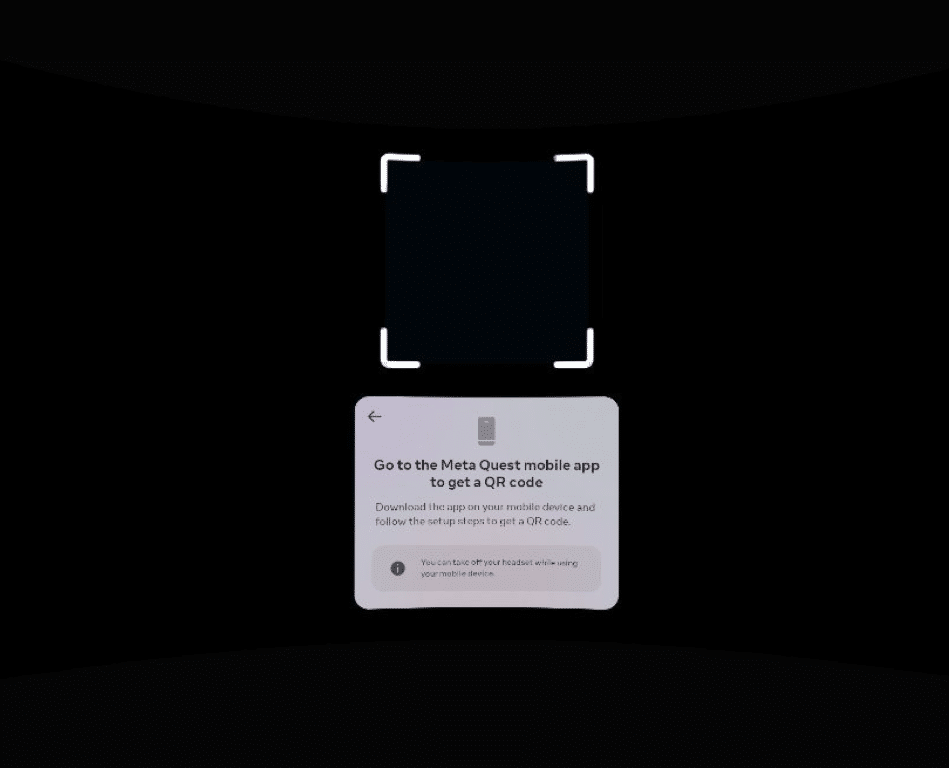
Connect to Wi-Fi
Select the QR code option in your headset (the same as on your phone earlier). Your headset will open up a white box that you can place your phone in front of the read the wi-fi QR code and complete the setup.

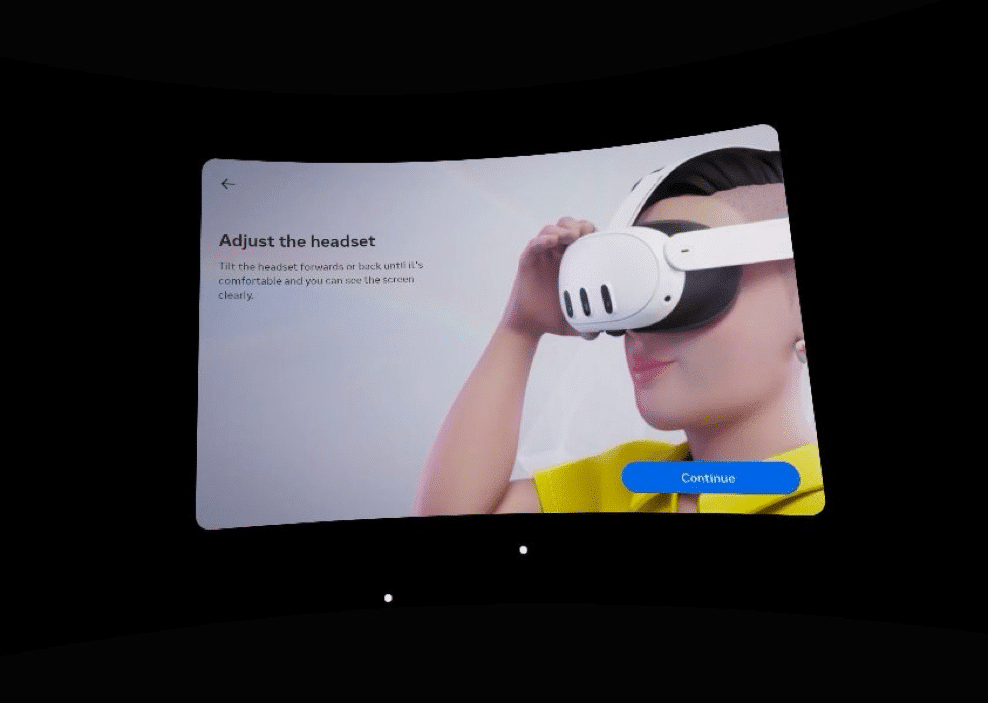
Adjust Your Headset Angle
As one final step, you can adjust the angle of your headset to sit better on your face.
And that’s it! You’ve just completed the Meta Quest 3 setup. The headset will take you to your home environment where you can browse the internet, install and buy games, or adjust your settings more.
What’s Next
After you setup your Meta Quest 3, there are a few things you can do next. Here are my top suggestions.
Install New Games
Check out some virtual reality games by buying and installing them from the store on your headset.
Need some inspiration?
Here are some guides that might help:
Buy Some Accessories
Check out our Meta Quest accessories guide for the top things you should buy to improve your VR experience.
Setup Oculus Quest Link or Air Link
Do you plan on playing a lot of PC VR games on the Quest? Follow our guides to get your gaming PC working with the headset:
Congratulations! You have set up your Meta Quest 3 and are ready to explore virtual and mixed reality in its highest quality yet.