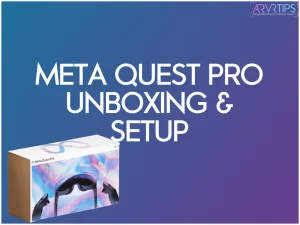
Did you just receive your Meta Quest Pro and you want to make sure that you are setting it up right? Or maybe you have it in your shopping cart and you want to know what to expect. In this unboxing guide, I’ll walk you through the entire Meta Quest Pro setup guide and give you some tips and tricks for what you should do first.
At the bottom of this guide is a full unboxing video for the Quest Pro.
How to Buy the Meta Quest Pro
You can buy the Meta Quest Pro on Amazon worldwide or from the official Meta website.
To make it easy for you, you can check out the specs and buy your Meta Quest Pro from the box below.
Meta Quest Pro Overview
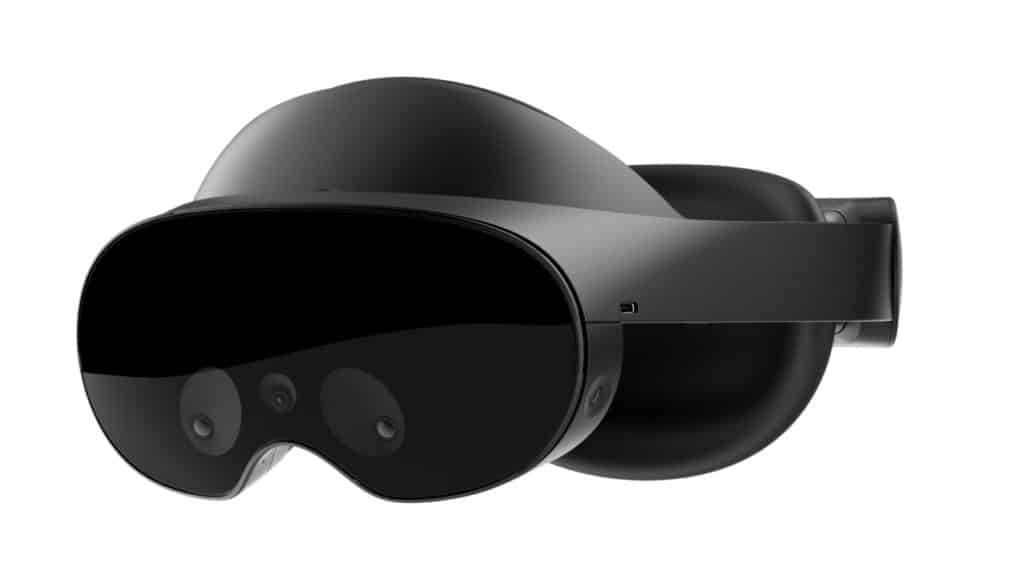
The Meta Quest Pro is a high-end VR headset that features color passthrough technology and is powered by a Qualcomm XR2+ chipset. It is an upgrade over the Quest 2, delivering pancake lenses in the display with 40% smaller size and an experience that blends the virtual and the real world.
The Quest Pro also features high-resolution sensors for eye tracking and face movement, and some productivity enhancement for people who work in VR.
The Meta Quest Pro has a solid build, a comfortable design, and a fit adjustment to accommodate different head sizes. The headset has impressive specs, including:
- 256GB of storage
- 12GB of RAM
- 1,920 by 1,800 pixels (per eye) resolution.
The Pro uses a backlight system that delivers improved contrast over the Quest 2. It was officially announced at Meta Connect 2022 and is available for purchase at a price tag of $1,499.99 USD.
Meta Quest Pro Unboxing: What’s in the Box?
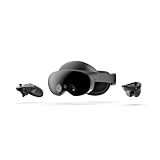
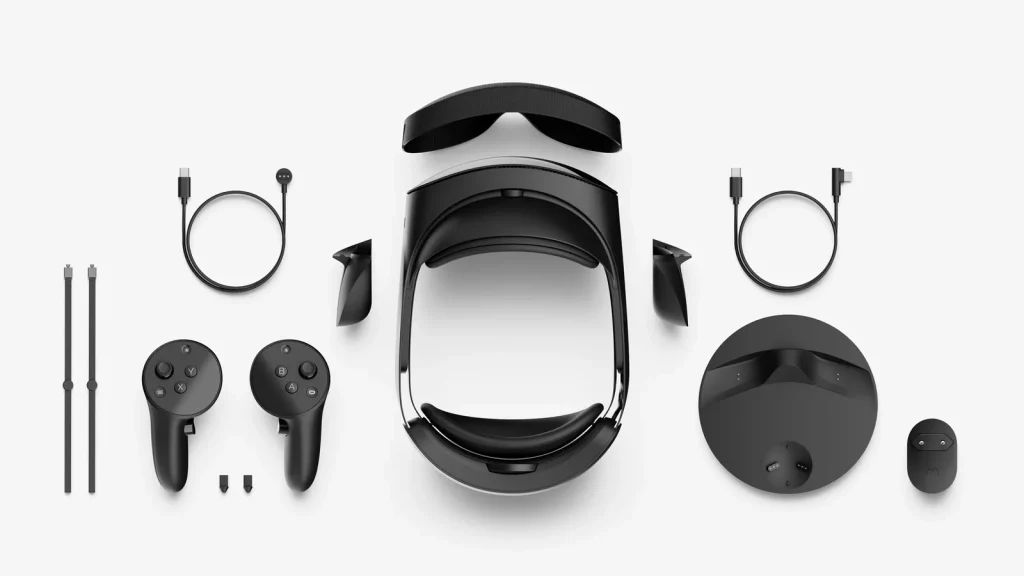
Once you receive and open up the Meta Quest Pro package, you will find the following:
- Meta Quest Pro VR headset
- (2x) Touch Pro Controllers – The controllers come with rechargeable batteries, built-in sensors for tracking, improved ergonomics, and an upgraded haptic system.
- (2x) Stylus Tips – This Quest Pro accessory is mounted to the bottom of the Touch Pro controllers and allows you to comfortably write and draw in VR.
- (2x) Partial Light Blockers – The headset is designed so that while in VR, you will still be aware of the physical environment around you. In other words, you won’t be fully immersed in VR if you use the Meta Quest Pro without the partial light blockers. They are designed to block out the outside world.
- Charging Dock – You can use the charging dock to simultaneously charge the Quest Pro and the two Touch Pro controllers at the same time.
- (2x) Wrist Straps – You can attach this accessory to the bottom of the controllers for extra security.
- Protective Cover – The protective cover will help further protect your headset, whether in transit or at home.
- (2x) Charging Cables & Adapter – You can use the charging cables and adapter to charge your headset and Touch Pro controllers whenever you are far away from the charging dock.
The headset and all of the accessories above come with the headset when you purchase it.
How to Setup the Meta Quest Pro
Find below a step-by-step guide on how to setup the Meta Quest Pro.
Unbox the Hardware
The first step is to bring out the package’s headset, controllers, and other accessories. The Meta Quest Pro can come with any battery life from the factory, so it’s a good idea to plug it in and charge it for a few hours before you go any further.
Turn on The Headset
Once you have the Meta Quest Pro charged, the next step is to turn on the headset. You can turn it on by pressing and holding the power button for at least two seconds.
The first time you turn on the Quest Pro, you will go through a couple of setup windows that will guide you on adjusting the headset for head and eye alignment.
Put on Your Headset
The shape of the headset looks like a halo. The Meta Quest Pro has an adjustable strap. You can adjust the strap to fit your head using the knob at the back of the headset.
You can also stretch the front of the headset a bit to fit on your head.
Install Meta Quest On Your Smartphone
The next step is to install Meta Quest app on your smartphone, which you can download from the Apple App Store or Google Play Store.
Launch the app and create or login to your account. You can create a Meta account or connect your social media account.
Pair Your Headset With The Meta Quest App
Once you have successfully installed Meta Quest on your smartphone, the next step is to pair your headset with the Meta Quest app. To pair your headset, enter the pairing code displayed on the headset into the Meta Quest app, and the two will sync.
Create Your Guardian Boundary
Creating your guardian boundary is the last step in the setup process. It’s very important to set up your guardian boundary so you won’t hit the wall or any objects within your range while in VR.
To create your guardian boundary, lower your controller to the floor to set the floor level and press the trigger button. After that, draw your play space by pressing and holding the trigger button and draw along the boundary of the playing area.
You will see a red warning whenever your hands reach outside of the guardian boundary.
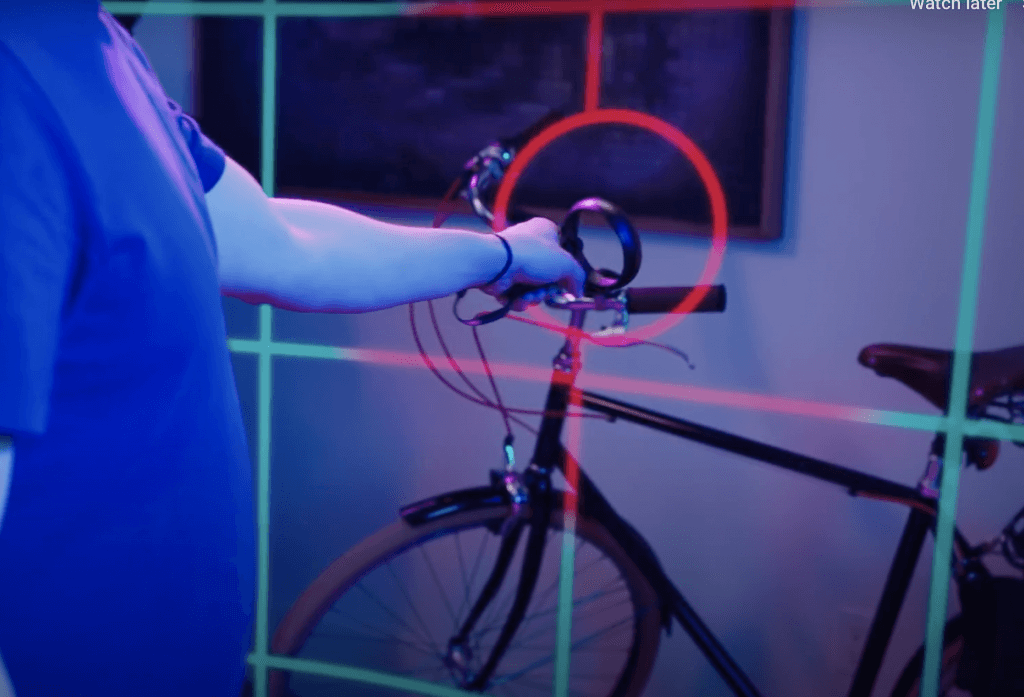
After creating your guardian boundary, the system will automatically take you to a beautiful environment where you can play games from the library, browse the store, and connect with other players.

Meta Quest Pro First Impressions + Tips and Tricks
After unboxing the Meta Quest Pro and putting it on, you will immediately notice is the sturdy build and build quality. It’s premium, solid, and won’t easily break if it mistakenly falls off your hands. The head strap is not flimsy, which was the first thing I thought when I got my Quest 2.
The cushion in the front of the headset makes the device very comfortable. You can stretch the front of the headset or adjust the knob located at the back of the headset for a perfect fit.
The following tips and tricks will help you better explore the Meta Quest Pro:
- Use a dry optical lens microfiber cloth to clean the lenses instead of chemical or liquid cleaners.
- Protect the Quest Pro from sunlight. Exposing the lenses to direct sunlight can burn holes within seconds in the display. You can use a case to safely store the headset if you need to take it outside.
- Activate passthrough while playing games to stay in touch with the physical environment around you. It might take a little bit of time to get used to the ambient light that the headset lets in. Try out the hardware with and without the included light blockers.
- Use alternative VR stores. Instead of relying on the official Oculus Store alone, you can explore alternative VR stores like Sidequest or App Lab. This expands the number of games that you can install on the headset from in the hundreds to thousands.
- You can stream your VR experience on an external screen if you have a TV that supports Chromecast. Activate screen sharing from the Quest app on your phone.
What’s Next?
Our website has a ton of tips, tricks, and tutorials on things you can do with your Quest Pro Headset. Here are some of the most popular ideas:
- Go and review our list of the best Meta Quest games you can play today.
- Buy and install games that support VR mods and customize things exactly how you want! I recommend Bonelab or Blade and Sorcery: Nomad.
- If you have a VR-ready PC but don’t want to buy a wired Link cable, check out Oculus Air Link. It allows you to play PCVR games over your wireless network and it works great.
- Take a look at the top Meta Quest accessories you can buy. The third-party head straps will not be compatible, but plenty of the audio, comfort, and other cleaning accessories are good to check out.
Quest Pro Accessories
Buy any of these accessories to increase the comfort and quality of your Quest Pro:
Carry Case
This carry case has inner pockets and a hard outer shell. It can accommodate one headset, cables, and two Touch Pro controllers.
No products found.
Meta Quest Pro Full Light Blocker
The Quest Pro comes with partial light blockers that block you from seeing the physical environment. However, it won’t make you fully immersed in VR. You can purchase the Meta Quest Pro full-light blockers to stay fully immersed in VR.
This accessory will be available from November 22nd.
Meta Quest Pro VR Earphones
The Quest Pro has 3.5MM headphone ports where you can easily plug in your earphones for improved audio.
Oculus Link Cable
You can purchase the link cable to enable you to connect your headset to a VR-ready PC to launch more powerful apps or games from SteamVR or the Rift store.
Meta Quest Pro Unboxing Video
Want to see the Quest Pro virtual reality headset in more detail? Check out this unboxing video for yourself!

