This is the ultimate tutorial and setup guide on how to install DeckHD in the Steam Deck. I’ll walk you through the entire process to install DeckHD into your hardware shell and some crucial things you can expect.
Once it is in your hands, you can follow this tutorial to help you install it.
On the fence? Read our complete DeckHD review.
Lets check it out.
What is DeckHD?
DeckHD is a screen upgrade mod designed for the Steam Deck gaming device, offering a resolution boost to 1200p and better color accuracy. The upgrade is priced at $99 and includes anti glare coating and improved touch panel responsiveness. It enables users to experience enhanced visual quality, versatility in higher resolution choices, improved color immersion, and cost-effective repair.
However, the increased resolution may impact performance and battery life, with running games at the native 800p resolution on the new display being suggested to restore battery life and offer color accuracy benefits.
DeckHD is an alternative to buying the new Steam Deck OLED.
What’s Included in the Box?
The box itself for the DeckHD screen is quite slick. It is all black, with a picture of the Steam Deck on the top.
Sliding up the box reveals a protective foam cover that covers the upgraded display screen. After that, there is more foam and additional packaging. Underneath this is a plastic bag with all the tools required to install the new screen, including a screwdriver and suction cup.
Also included is a set of replacement adhesive strips. Lastly, there is an extra LCD ribbing cable, which is slightly different from the stock one in the Steam Deck.
Required Tools
All required tools are included in the plastic packaging inside the box. The main tools required include:
Screwdriver
Flathead tool
Blue pick
Suction cup
Adhesive Strips
How to Install DeckHD into the Steam Deck
Prep Your Steam Deck
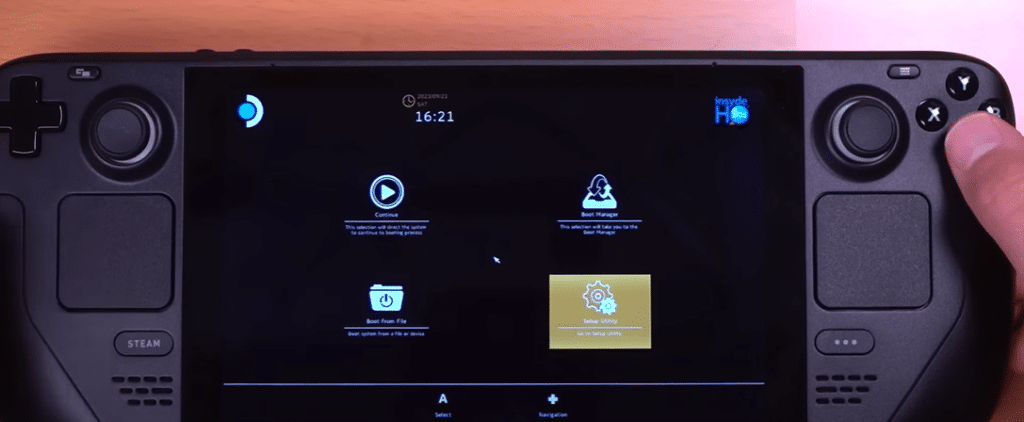
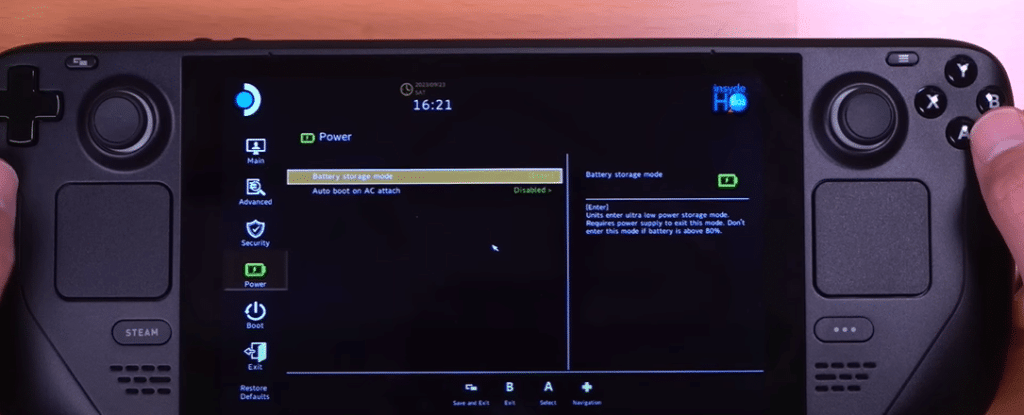
First, you need to prep your Steam Deck for the modification. To do this, you must put the Steam Deck into battery storage mode to ensure you don’t accidentally turn on the Steam Deck during disassembly.
Hold the power button and volume up button down simultaneously to bring you into the bio settings screen. Then go into the Setup Utility in the bottom right. Go to the Power menu, battery storage mode, and click yes. The console will shut down, and if you try to power on the device, it will not allow you to.
Remove the Existing Steam Deck Screen
Place your Steam Deck face down into the case, allowing you a nice flat surface to hold the console in place. The analog sticks will also be secured.
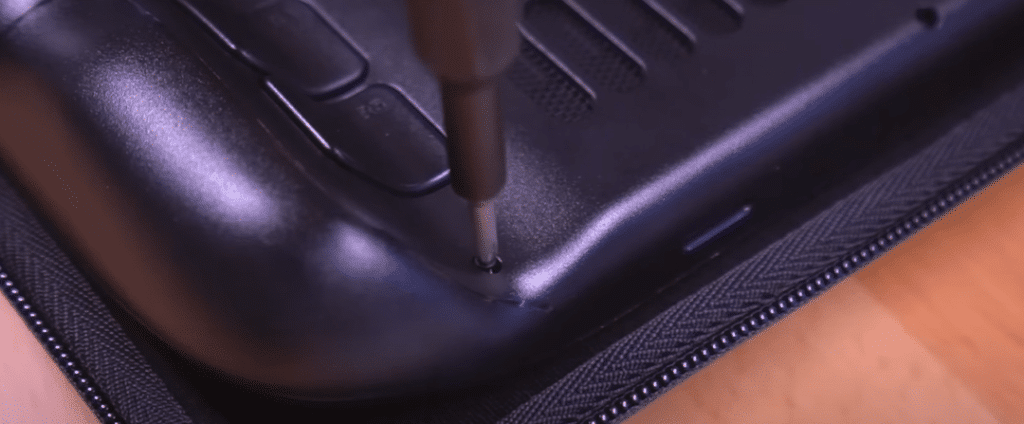
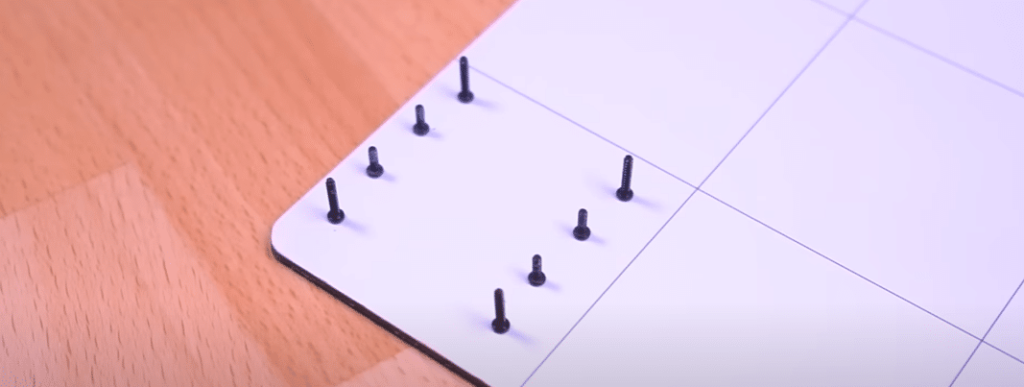
Using the provided screwdriver, remove the six existing screws on the back of the device. Keep these screws organized as they are all different sizes, and you will want to ensure you know where they go when re-assembling.
Once the screws are out, use the flat head provided in the back to pry apart the console, starting around the triggers. Once inside, remove the black metal plate by taking out the screws and setting them aside.
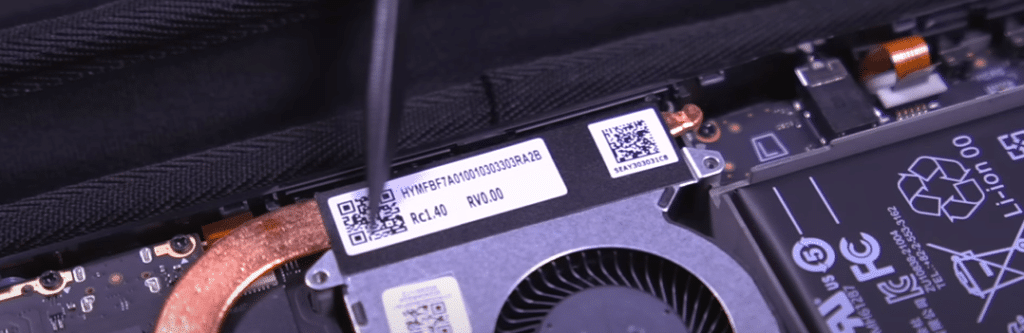
After the plate is off, you can remove the battery from the motherboard by gently pulling it free.
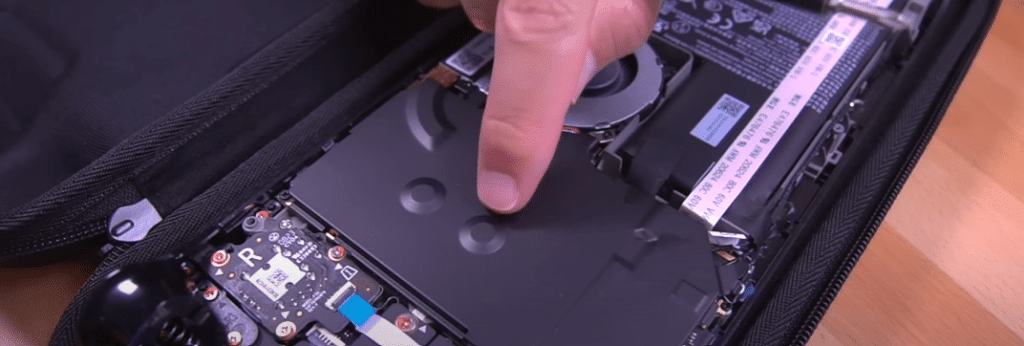
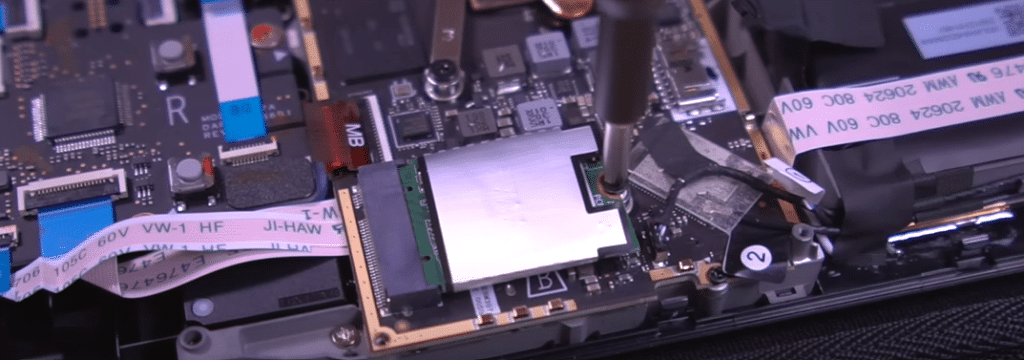
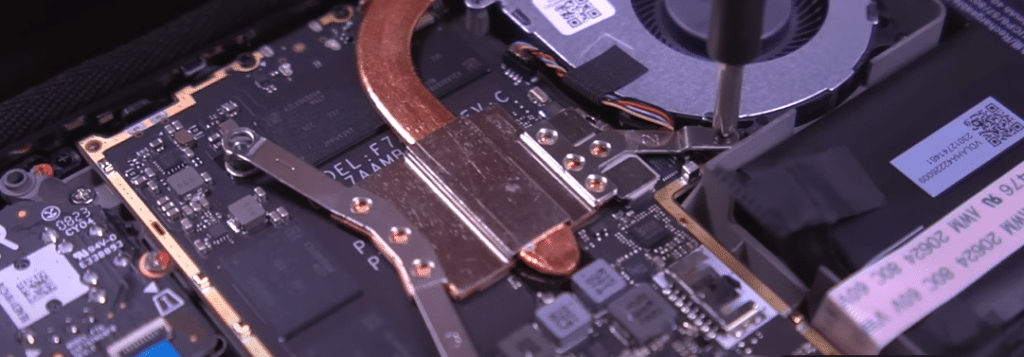
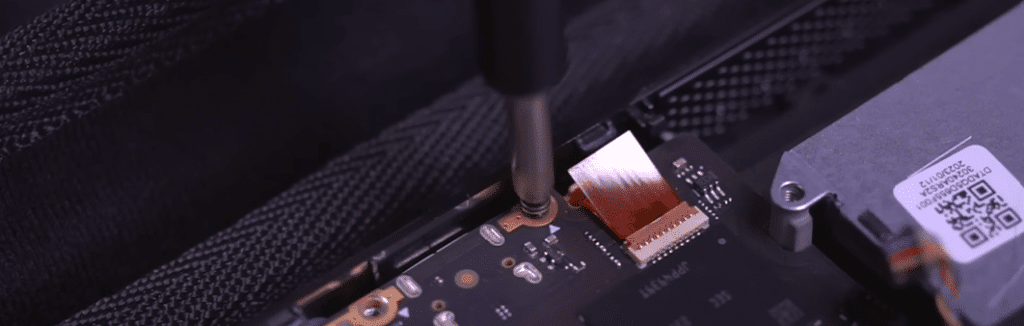
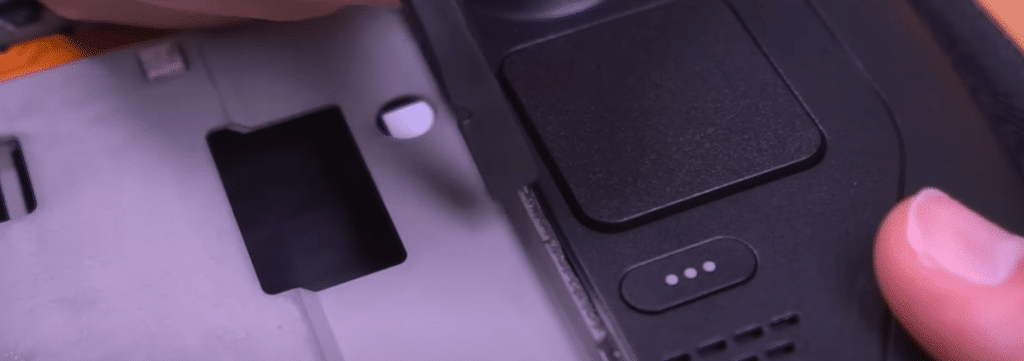
Next, remove the SSD by removing the one screw holding it in place. Remove the sticker that is holding the fan assembly and heat sync together. Lift the heat sync out and then disconnect the fan. Disconnect the speaker as well as the two antennas underneath the plastic cover.
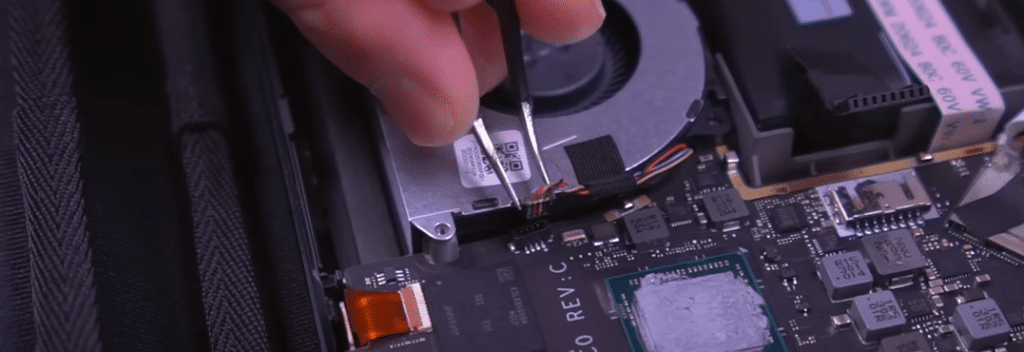
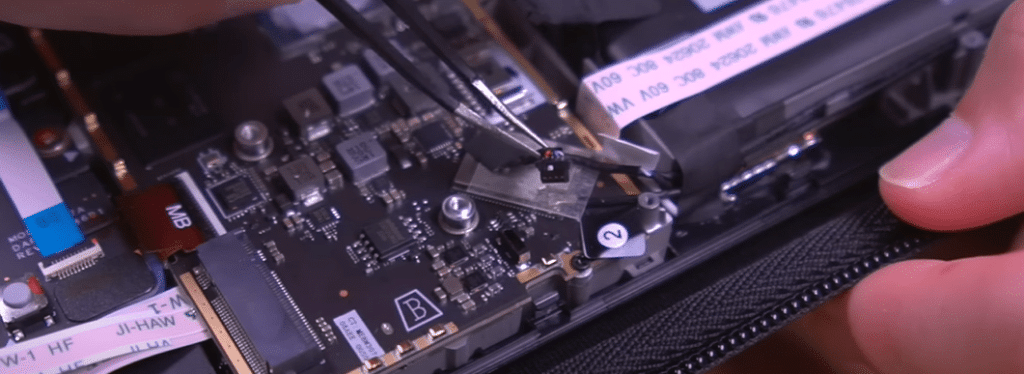

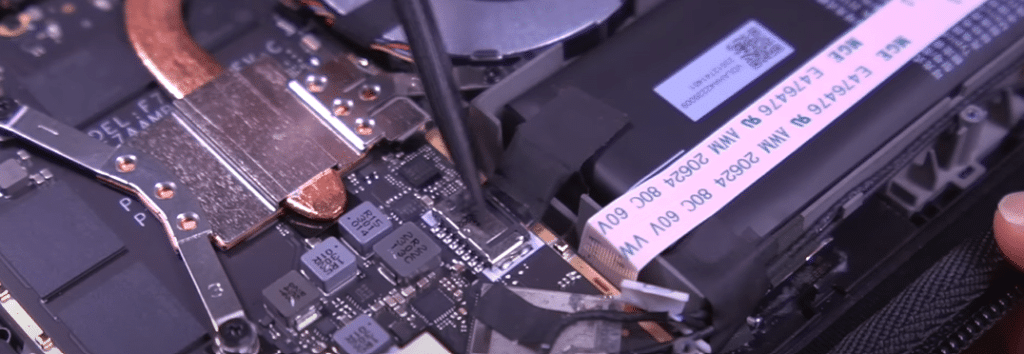
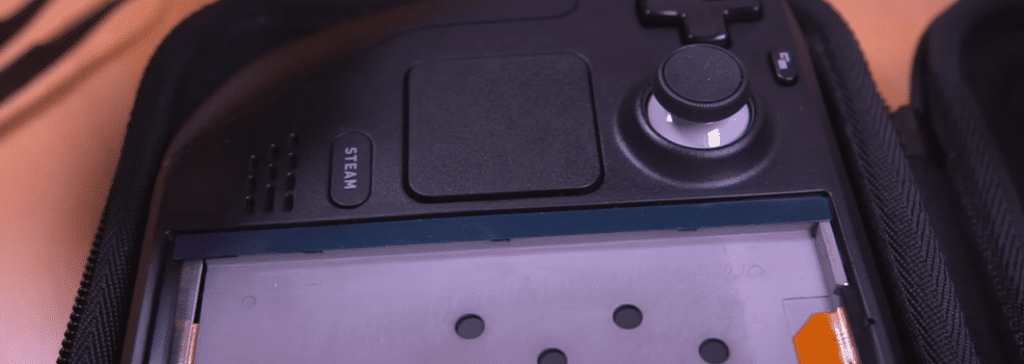
Locate the LCD ribbing connector and flip the tab up. Do the same with the controller ribbing cable. Now you can un-fasten the screws that are holding the motherboard in place.
There is one last ribbing cable you have to loosen as well. Lift out the motherboard once all cables and flaps are removed.
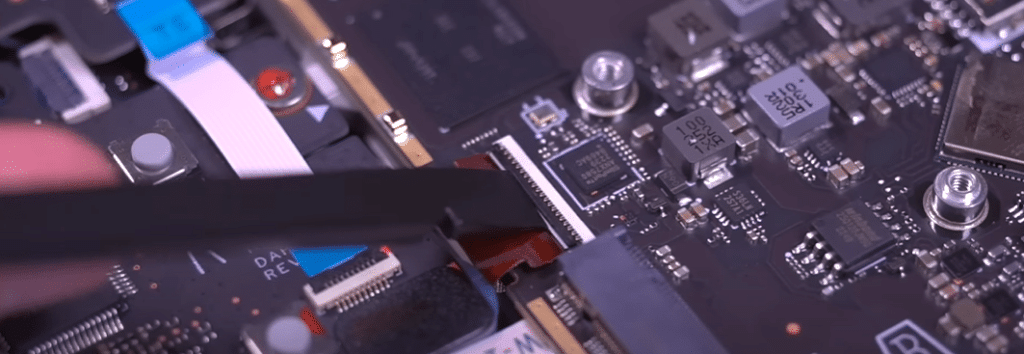

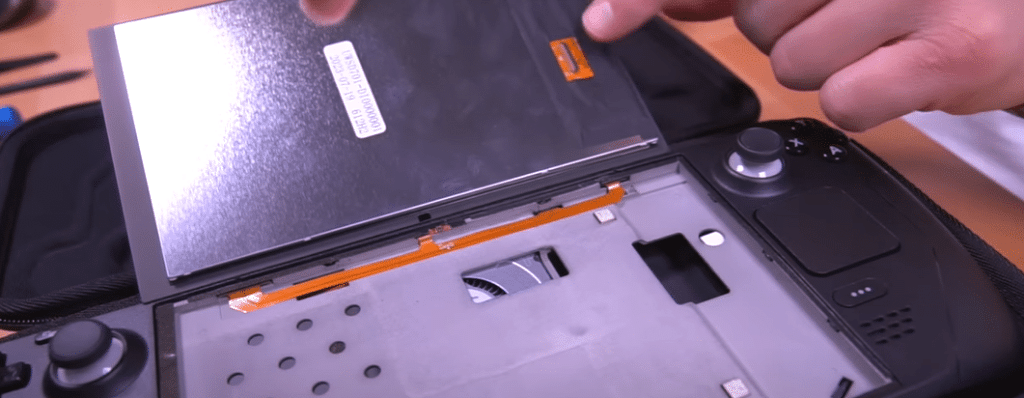
Next, you can remove the LCD ribbing cable. The DeckHD box comes with a replacement that you will use. Once complete, temporarily place the back onto the console and flip it over so the screen faces up.

Removing the Existing LCD Screen
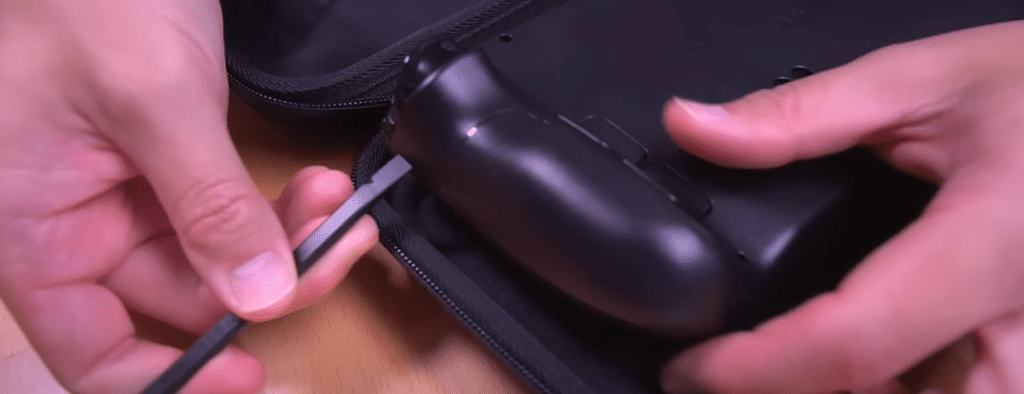
This can be the trickiest part of the installation. I recommend using a heating pad or a hairdryer to loosen the adhesive holding the screen in place.
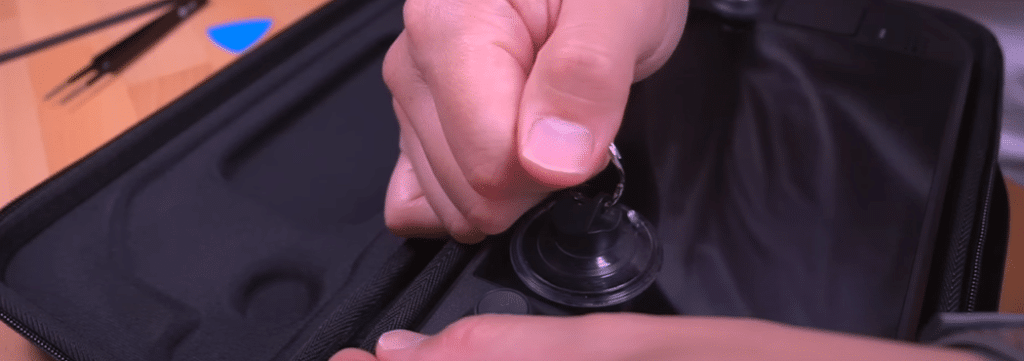
Be careful, as excessive heat can cause damage to the console. Once done, use the included suction cup to try and lift the screen enough to insert the included blue pick. Once the pick is in, slide it across the top of the screen to loosen it.
You must complete this step on the three remaining sides of the screen.
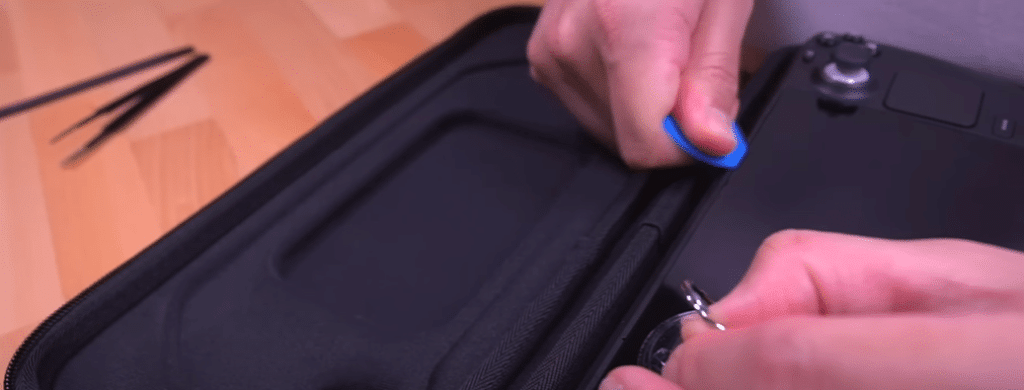
After removing the screen, some leftover adhesive residue will be along where the screen sat. Use the provided flathead to remove this.
Installation of the New Upgraded Display DeckHD Screen
Take the included adhesive strips and put them along the side of where the screen will sit. They are all cut to size, so use the smaller ones for the sides and the longer ones for the top and bottom. Remove the adhesive cover on each strip.
Before putting the upgraded display on, ensure the LCD connector is on the correct side with the opening on the Steam Deck. Carefully place the new screen into place.
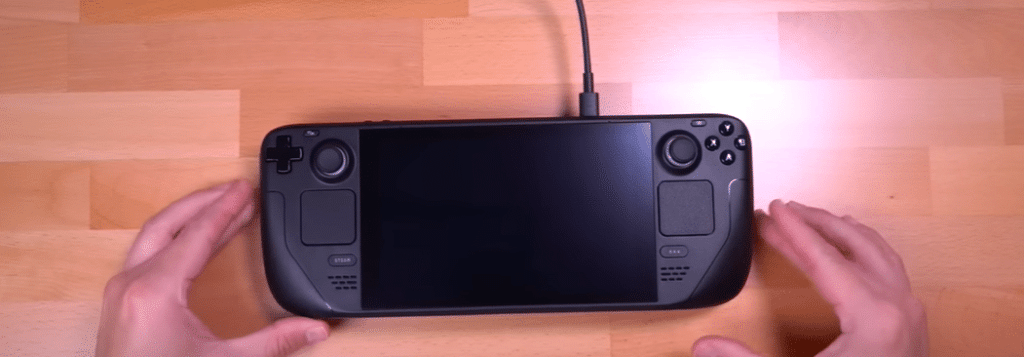
Once that is done, you must flip the console back over, put it into the carrier, and re-connect everything in reverse order. Once everything is connected, you must plug it into power to get it out of battery storage mode.
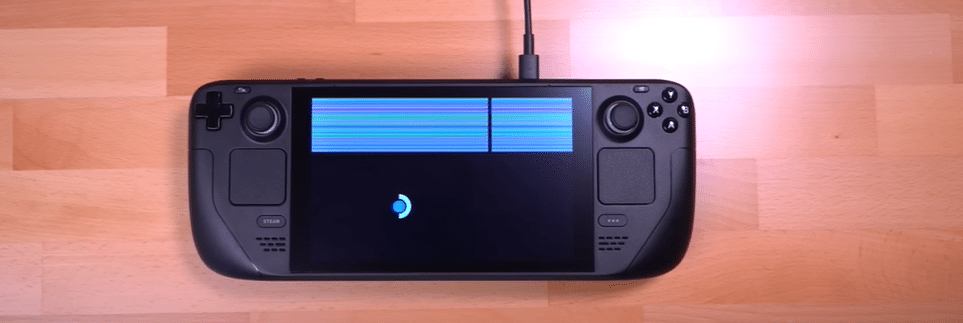
Using Your New DeckHD Screen
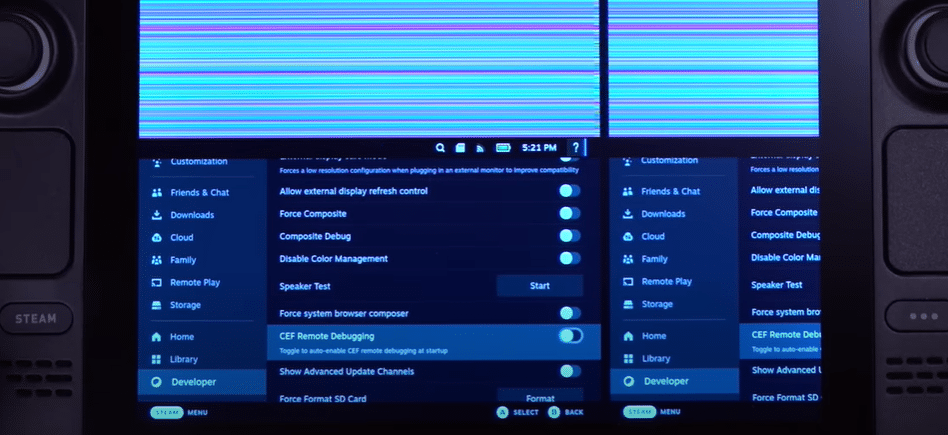
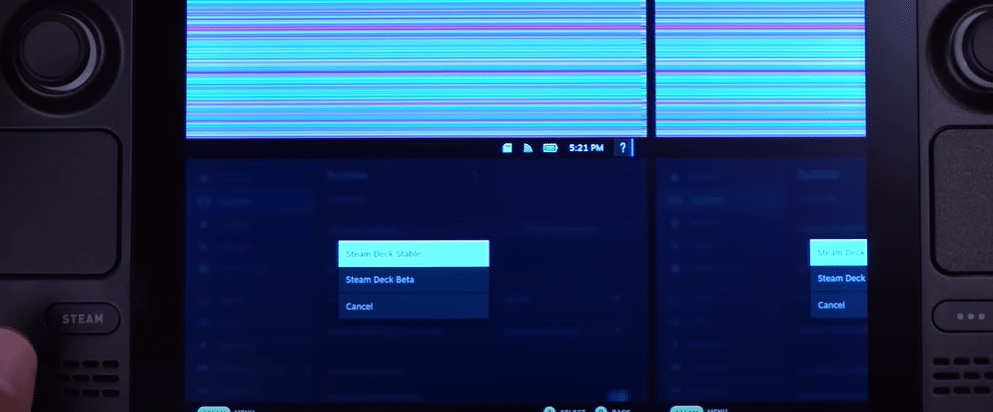
The screen will look funky when the Steam Deck powers on. Head into settings and scroll down to the Developer tab. Go over, scroll down to where it says Show Advanced Update Channels and click that on.
Then scroll back to System Settings and change the Steam Deck Update Channel from Stable to Beta. This will cause the unit to restart and potentially install updates.
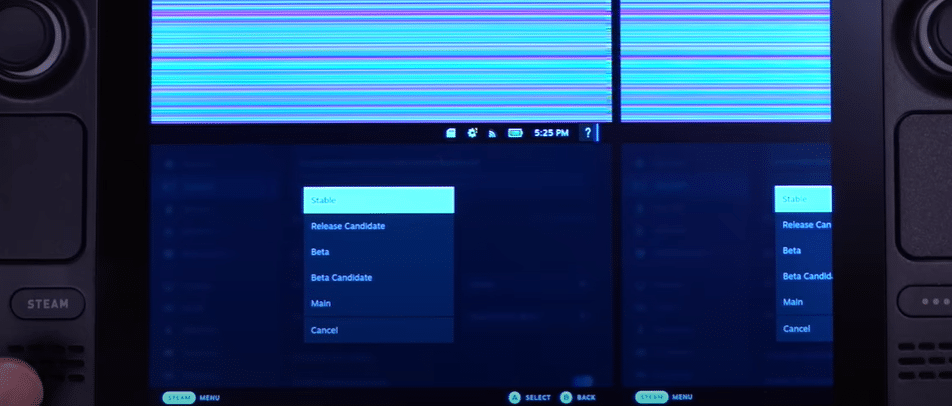
Once complete, go to the OS Update Channel in System Settings and change it to Main. Apply any other system updates it asks for.
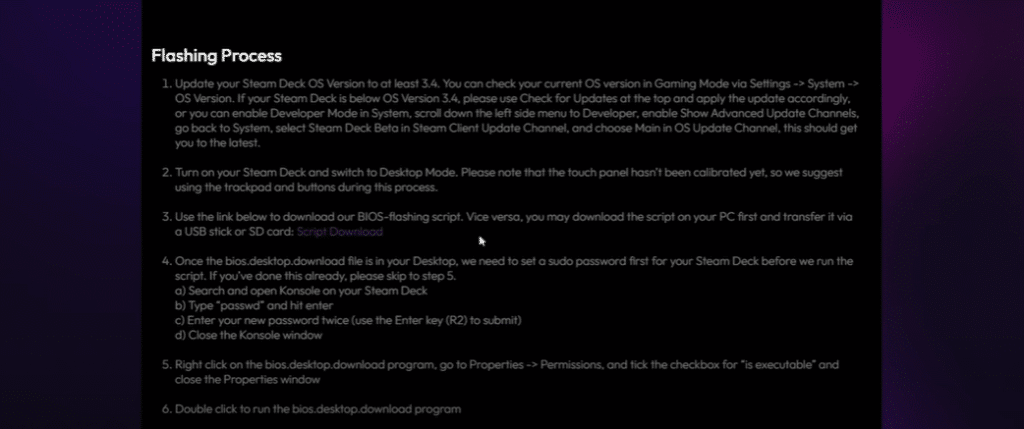
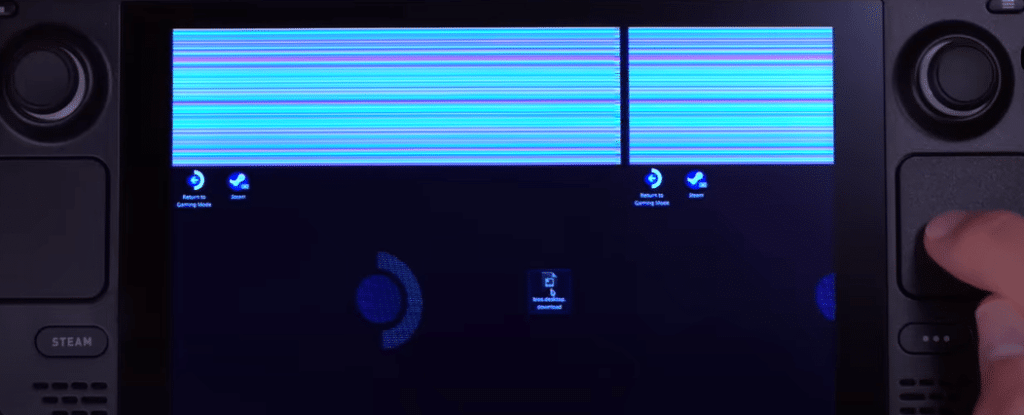
Once this is done, head into Desktop Mode. You must go to the DeckHD website and download the Bios Update Script. Run the script once downloaded and transferred to your Steam Deck’s desktop.
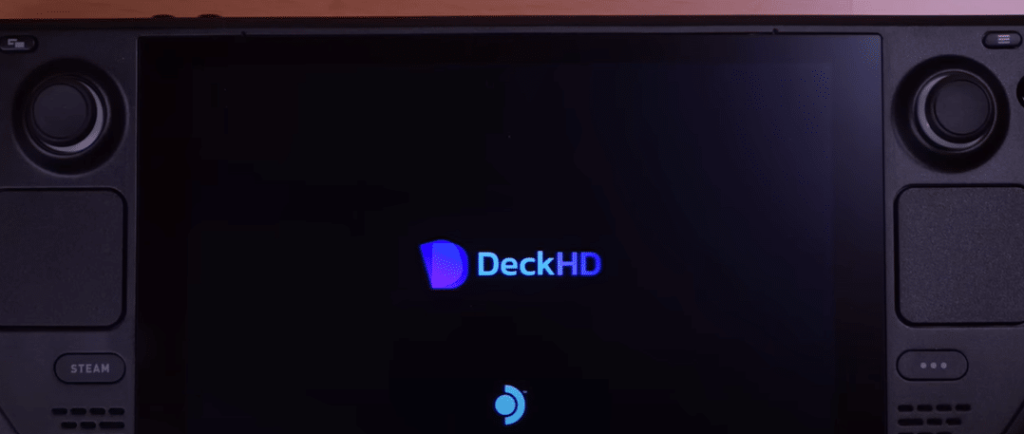
This will restart the device; if all goes well, you will see the DeckHD logo appear. Let it load up, and you are good to go.
Conclusion
With some time and patience, you can install DeckHD and upgrade the display on your LCD Steam Deck. It’s not as slick as the official OLED version, but DeckHD is the best aftermarket screen.
Click here to buy your DeckHD today.