This is the ultimate guide to installing Windows on Steam Deck. I’ll give you step by step instructions on how to get your Windows install up and running.
Plus, I’ll go over common questions and options, like single boot vs dual booting, installing Windows on the internal hard drive vs MicroSD card vs USB drive, and more.
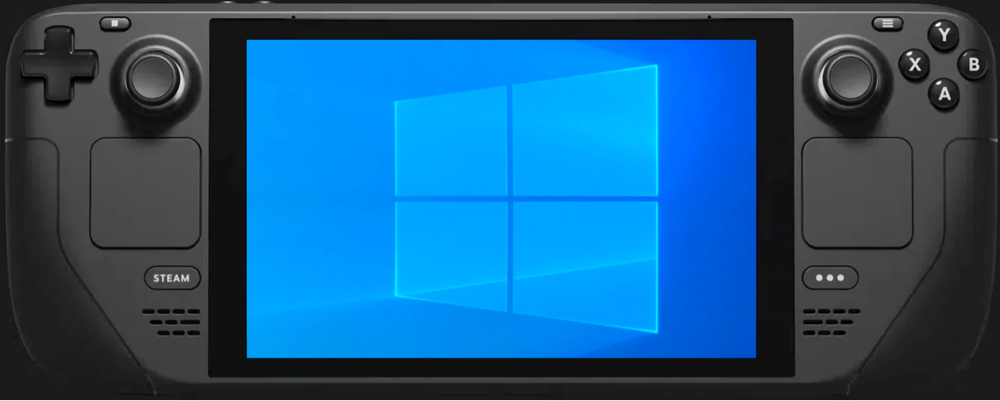
Simply put, it is pretty easy to install Windows on Steam Deck and the compatibility between hardware and software works great. Installing Windows is a good way to play games that are not supported by the Linux OS (such as Call of Duty).
If you don’t see a reason why you would need Windows, then you are better off doing nothing.
Also Read: Steam Deck tips every owner should know.
Table of Contents
Reasons to Install Windows on Steam Deck
There are three main reasons why people run windows on the Steam Deck:
- They want to play games that are not compatible with the Linux-based Steam operating system. This includes games designed for Windows only and games that have anti-cheat software included, such as Call of Duty.
- They want to use their Steam Deck as their main Windows to computer, usually in Desktop mode.
- They are more familiar with the Windows user interface and prefer it over Steam.
All of these reasons are valid depending on what you need.
Replacing Steam OS vs Dual Booting
When you go through the Windows installation process, you can either replace the Steam OS outright or enable dual booting.
If you’ve already committed to running Windows on Steam Deck, then replacing the Steam OS will give you a simple path forward. Here are some considerations and facts that will be true once you are setup:
- Everything you do will be in Windows.
- You won’t take up storage on your internal hard drive from two operating systems.
- Any game that has Windows support in the Steam store will work on your Deck.
- Due to compatibility issues, not all games will work perfectly with the Steam Deck’s controls. You will be able to customize and set things up yourself.
If you go with the dual boot option, then here are some considerations and facts:
- You will need to learn how to boot into either OS and keep track of which files can be accessed by each.
- You will have to go into each operating system periodically and check for updates.
- You will have maximum compatibility and the ability to run games in Windows or Linux mode.
- There is a little extra setup process to go through.
If you do go with the dual boot option, you can choose to set this up on the Steam Deck’s SSD internal storage or on an external MicroSD card or USB stick.
There are pros and cons to installing Windows in these ways, so I’ll go over that next.
Dual Boot Windows on the Internal SSD vs MicroSD Card vs USB Flash Drive
Dual booting on the Steam Deck’s storage requires no additional hardware and is easy to do. Once setup, you will be able run either operating system from the internal storage. You will choose each time you restart the Deck.
The main drawback to running both OS’ on the internal hard drive is that you take up valuable hard drive space for audio drivers, bluetooth drivers, and other Windows system files. If you only purchased the 64 GB version of the Deck, you will have very little room to store games on it.
As a positive, running off of the internal storage will be the fastest option and you will not experience any slowdown.
The Deck does support dual booting off of a MicroSD card or USB stick as well. In this case, you will install Windows on your external card, plus it into your Deck, and choose to run Windows each time you restart your Deck.
The only drawback to this solution is that it takes a little extra time for your internal hard drive to access files on an external drive and vice versa. For most people and basic games, this will not be an issue.
My personal recommendation is to dual boot from the MicroSD card, which has a dedicated port on the bottom of the Deck. If you choose to use a USB drive, you will to connect a USB C hub to your Deck every time you want to dual boot and this is less convenient.
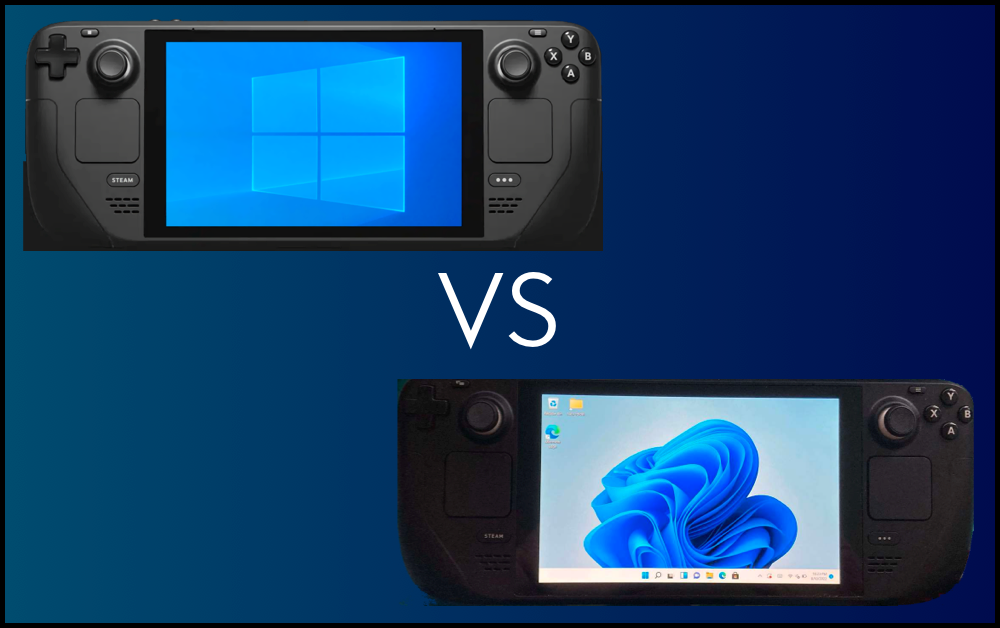
Which Windows Version? 10 vs 11
In theory, Windows 11 should work better because it is newer than Windows 10. However, this is not the consensus from the Steam Deck community!
Windows 11 appears to have some issues with wi fi drivers and other system issues that prevent compatibility for the Deck. Until better support is released, I recommend using Windows 10. It was released back in 2015 and has fixed most of its bugs.
How to Install Windows on the Steam Deck (Dual Boot Method)
Prepare SD Card
First, make sure you have a USB Type C flash drive or microSD card with plenty of storage. Format it so there is nothing else on there.
Plug your USB device into your computer.
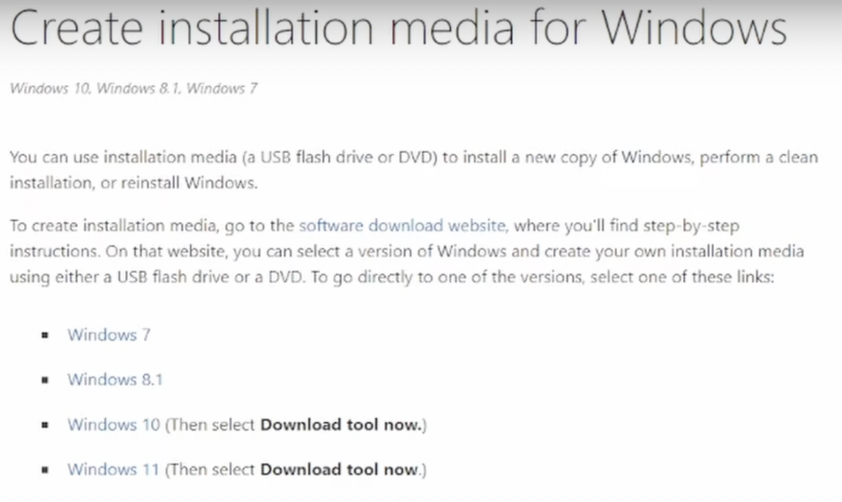
Download Media Creation Tool and Rufus
Launch the Windows Media Creation Tool and download your Windows 10 ISO file.
Windows 11 is also supported, but there are a few known glitches with the newer operating system. For this reason, I recommend using Windows 10 with the Steam Deck..
You will also want to download a program called Rufus from their website Rufus.ie. This program allows you to create a bootable ISO file on the USB or microSD card for Windows.
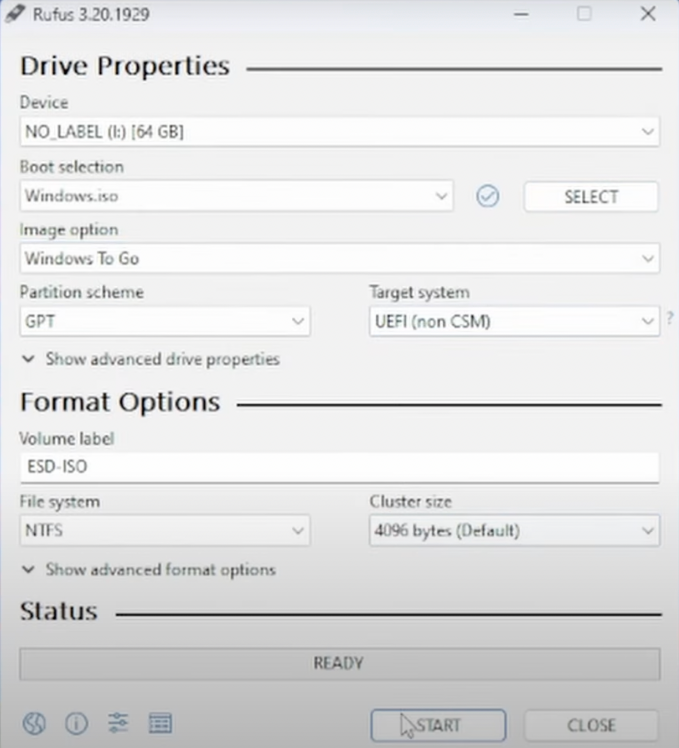
Create Your Windows 10 USB Boot Drive
Launch Rufus and select your Windows ISO file beside “Boot Selection.” Change the image option to “Windows To Go” and click Start.
Download Steam Deck Windows Drivers
Make sure you download the Steam Deck Drivers for Windows, available on the Valve website. You want to install these drivers as soon as you enter Windows on the Steam Deck for the first time.
Click here to access the Windows Drivers for the Steam Deck.
Download the following:
- APU Driver
- Wi-Fi Driver
- Bluetooth driver
- SD Card reader driver
- Audio Drivers (2 files)
Once you have everything you need loaded on to it, you can take your USB Type C or microSD card out of your computer and plug it back into the Steam Deck.

Install Windows
Boot up your Steam Deck by holding down the power button and the volume down button at the same time. When you hear the chime sound, you can take your finger off of the volume down button, and you should open up a boot manager screen.
Scroll to the bottom and choose the USB or microSD card, and this will start booting into Windows on the Steam Deck. Follow the instructions to setup and activate Windows for the first time.

Install Drivers
Once you have launched into Windows, you need to install all of the driver files so that everything works nicely. You can simply double click on the batch files to install those drivers easily. For the INF files, you can right click and select Install in order to get them loaded onto your Windows 10 installation.
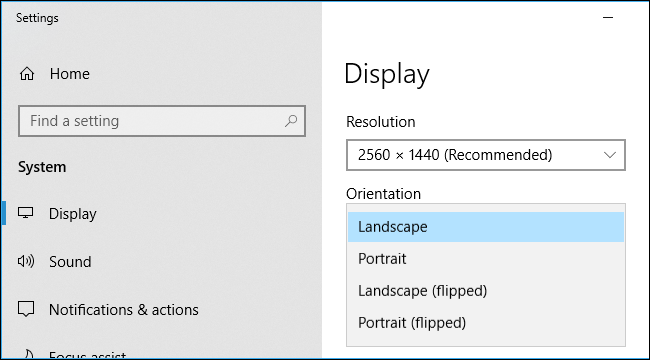
Change Your Display Orientation to Landscape Mode
Lastly, you will need to change your display from Portrait mode to Landscape mode in the Windows display settings. Click the Start button and then type in Settings. Select Settings > System > Display and then you can change your orientation to Landscape Mode.
You can now download Steam and take steps to play your games in Windows.
You also now have the option of switching between SteamOS and Windows. When you shut down your device, hold the volume down button when you power it up to access the boot manager screen again.
Frequently Asked Questions (FAQs)
Does Windows 11 Work Well on the Steam Deck?
Windows 11 does work generally well on the Steam Deck, but there are a few known compatibility issues. Windows 10 is more reliable at this time and has better support for software and hardware drivers in the Deck.
Which version of windows desktop works best on the Deck?
Currently, the best version of Windows for the Steam Deck is Windows 10. It has full support for all Steam drivers and is compatible with all Windows games and apps.
Conclusion
As you can see above, there are a few different ways that you can install Windows on the Steam Deck. You can choose to overwrite the default Linux OS or dual boot Windows on the internal SSD or on an external MicroSD card or USB device.
Once you have Windows up and running, you can install Steam on it and begin installing any compatible games that you have (Steam and non Steam games).
Windows has good support for a standard keyboard layout and all controller functions will map correctly as well.
If you have any trouble installing Windows on Steam Deck, comment down below and we will try to help you out!