Do you need a little help setting up your Steam Deck for the first time? Or maybe you want to check out the process while you wait for yours to arrive. Either way, I’ll show you how to setup your Steam Deck with step by step pictures below for everything single step.
This setup guide is for a brand new Deck that has arrived in the mail. You’ll go through this step before you install any Steam Deck accessories, such as a screen protector or protective case.
The pictures below are taken by me during every step of the setup process!
If you have any questions, comment down below and let us know.
Still need to buy your Steam Deck? Click here to head to the official store.
How to Setup Your Steam Deck
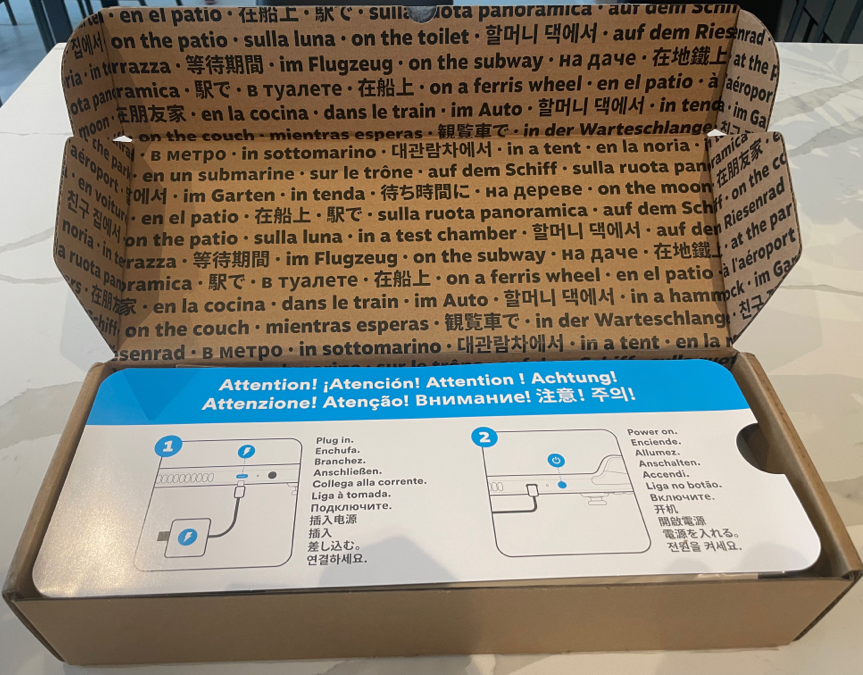
When you first receive your Steam Deck in the mail and take it out of the protective mailing case, you’ll be greeted with the box below. Valve could have done better on the packaging, but that’s just my opinion!
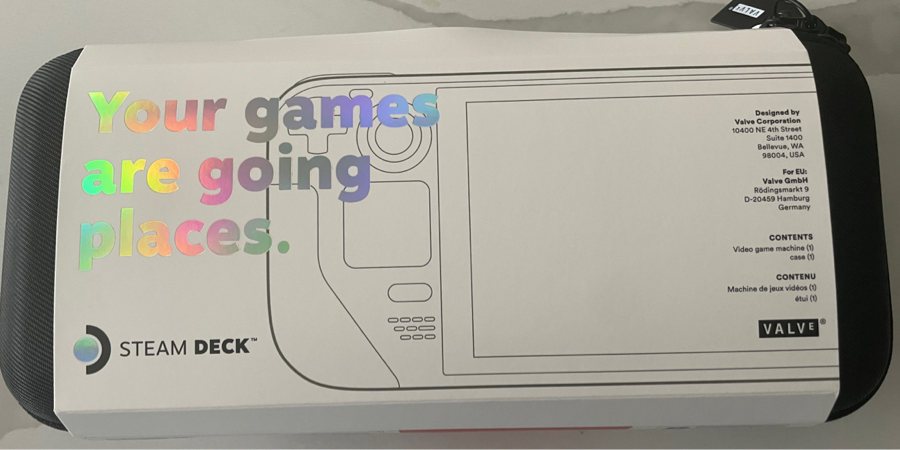
Remove your Deck from the box and take off the plastic wrap. The console sits in its default carrying case with a paper protective sleeve that reads, “Your games are going places”.
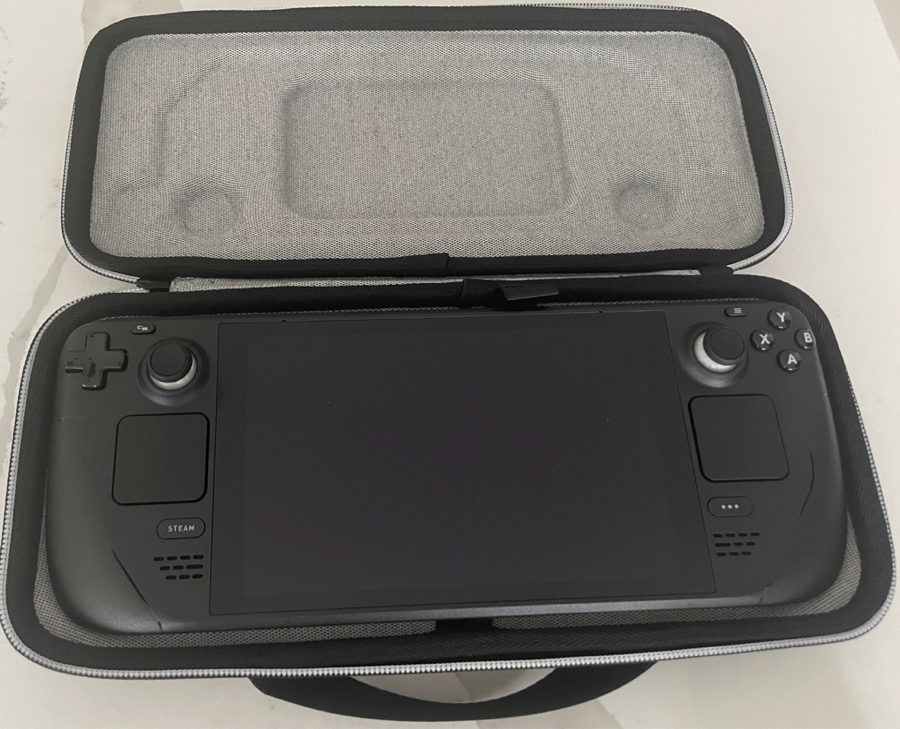
Take off the protective sleeve and throw that in the recycling bin or keep it as a keepsake. You’ll be left with the Deck inside of its carrying case. On the back side of the case (not shown in the picture below) is a little slot with a carrying case for your charger.

Unzip your case, and you’ll see your Steam Deck for the first time. Take a good look because not we’ll show you how to set it up!
Plug your Deck in and charge it while you go through the setup process. This way, it will be charged and ready to go when you can play Steam games for the first time.

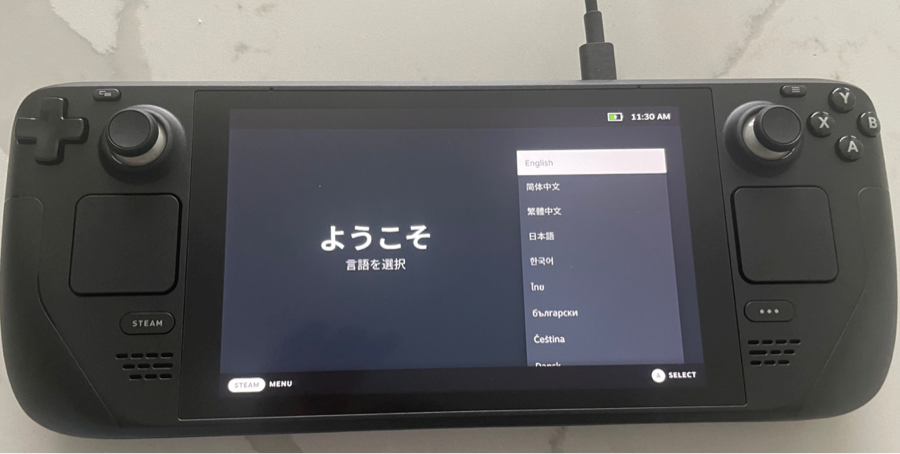
Hold the power button to turn it on for the first time. The first thing you’ll have to do is set your default language. Make your selection by tapping on your language on the touchscreen or by using the left analog stick to select your language and then pressing the A button.
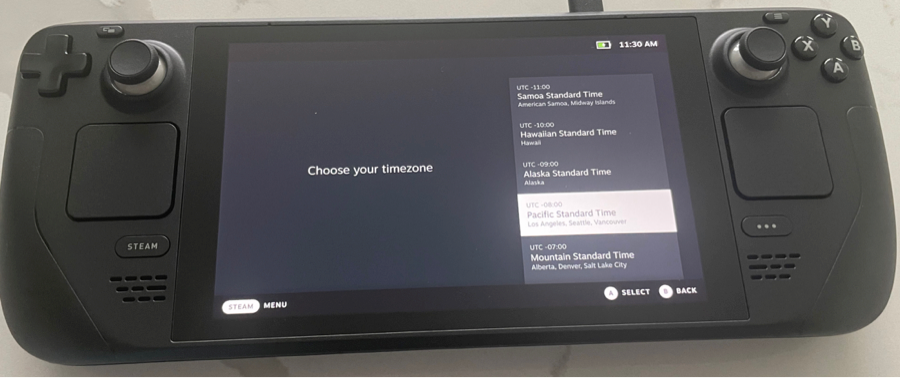
Next, you’ll have to choose your timezone, either with the touchscreen or the analog stick and A button again.
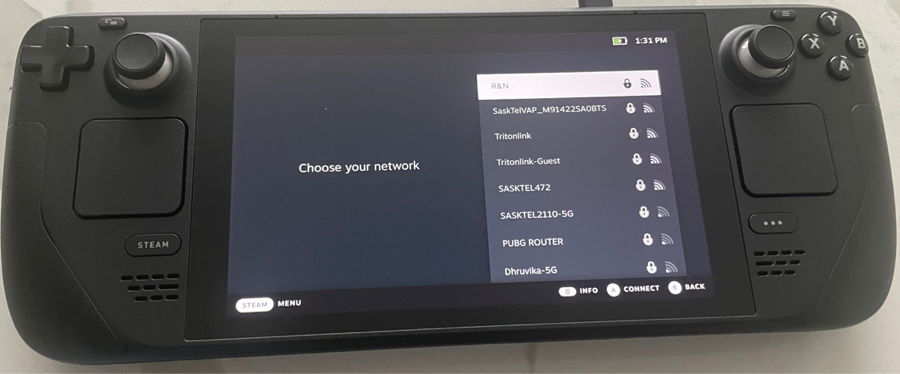
Select your home wi-fi network from the list. You’ll have to enter in your password using the virtual keyboard that pops up.
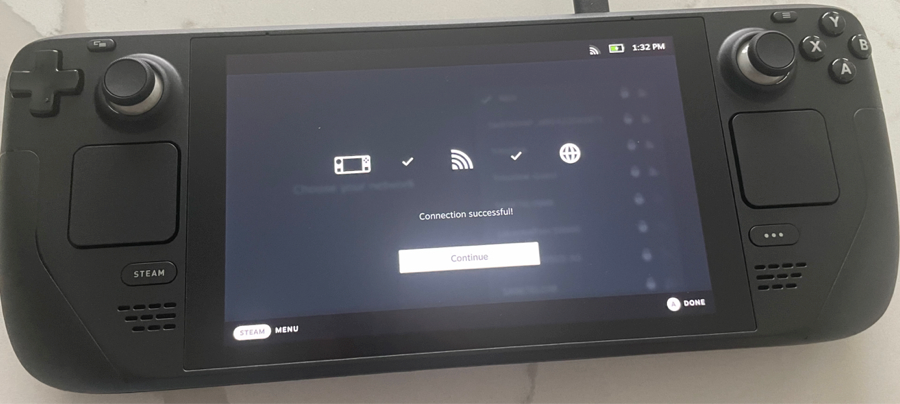
When the Steam Deck has connected to your network, it will give you a Connection Successful message.
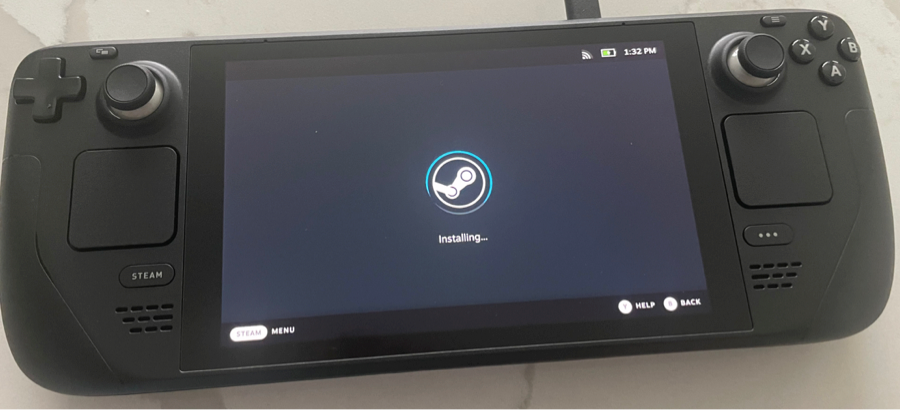
Next, your Deck will install the SteamOS operating system automatically. This can take a few minutes and you don’t have to touch anything while it goes through its process.
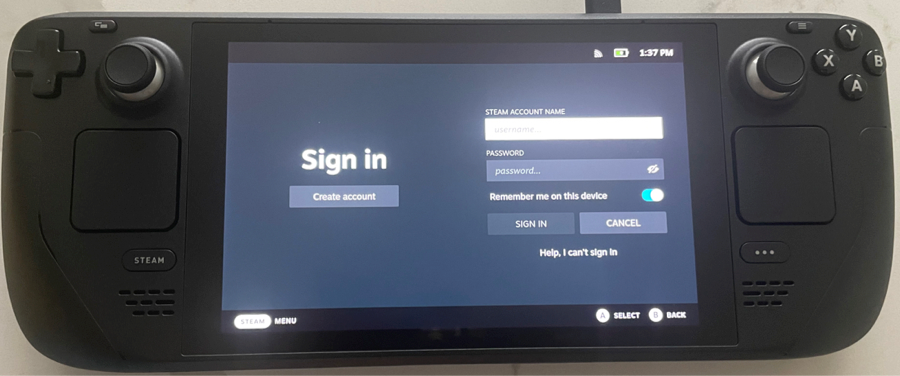
When SteamOS is done installing, you will be greeted with a Sign In page. Enter in your Steam username and password and then tap on or select the Sign In button.
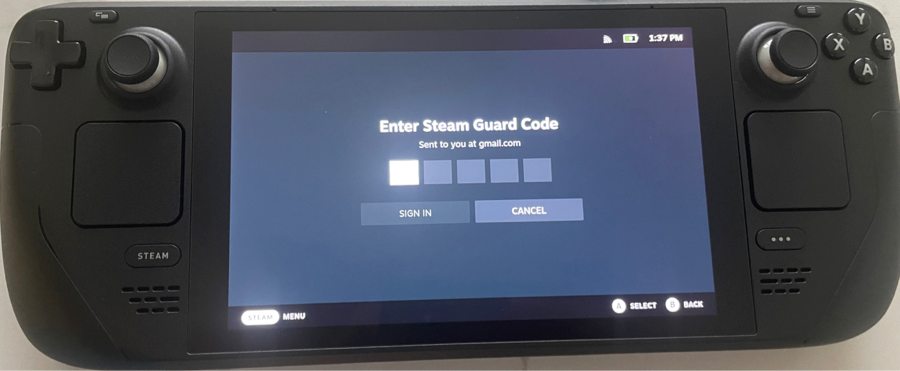
If you have Steam Guard enabled on your account, you will receive a five-character code in the email associated with your account. Enter in the code here and select Sign In to verify your account.
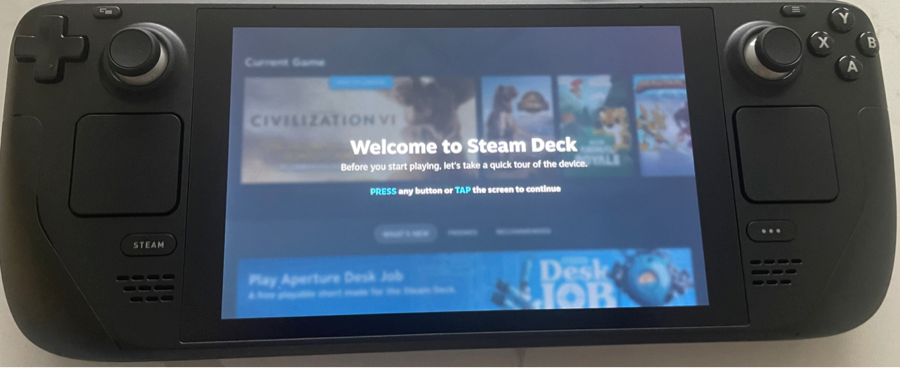
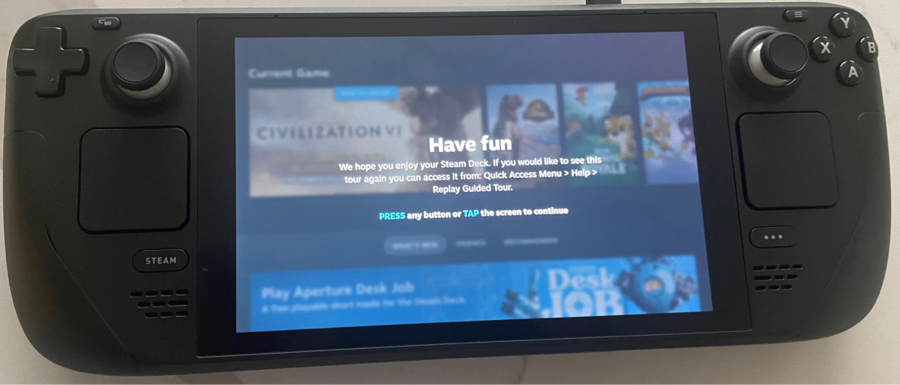
Voila! You will see the welcome screen for the first time. Because this is your first time setting up the Steam Deck, the portable console will walk you through a tutorial, which you can tape or click through.
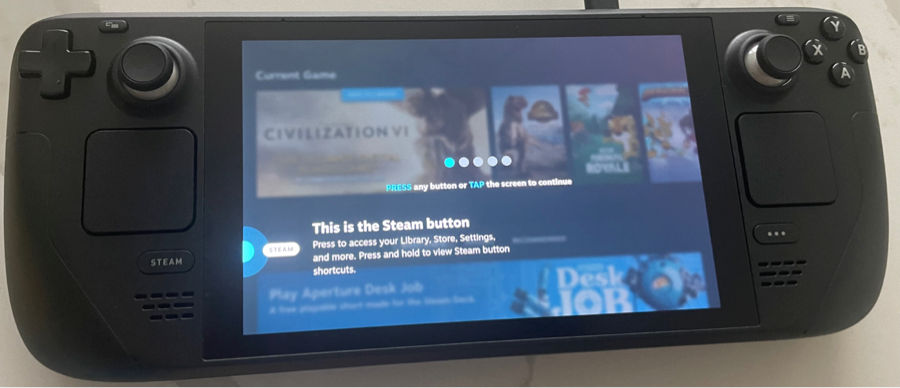
First, the device lets you know about your Steam button to exit your game back to your library. It is most similar to the home button on an iPhone.
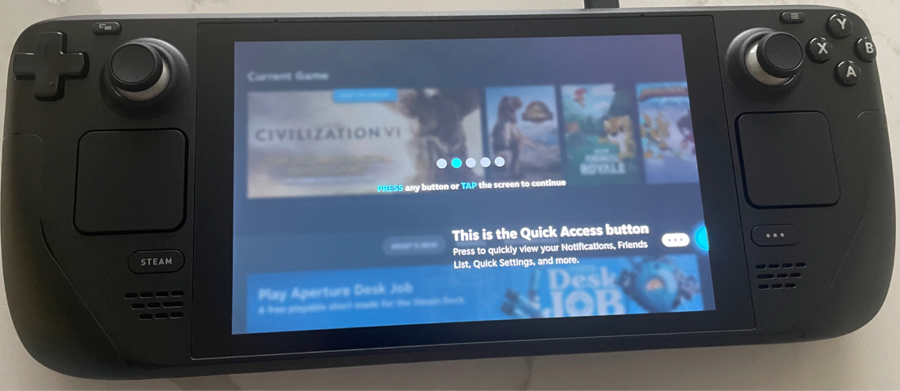
On the right side is the Quick Access button. This option will pull open your quick settings, which allows you to adjust your brightness, airplane mode, sounds, graphics, and other system options on your console.
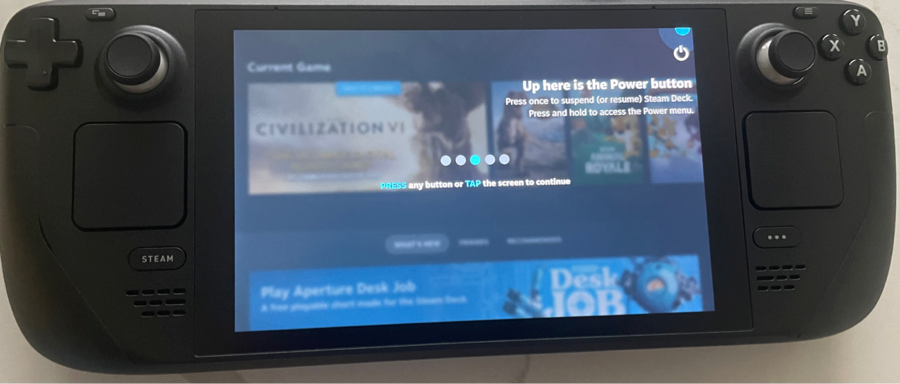
On the top right side of the console is the power button. If you tap this button, you can put your console to sleep – even in the middle of a game. If you hold the power button down, the options window will appear and let you shut down, sleep, and a few other options.
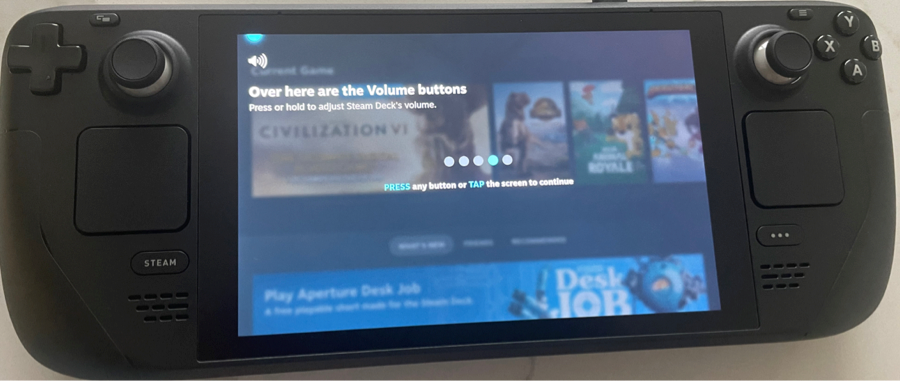
On the top left of the console are your volume buttons. You can raise and lower the speakers with at any time with these.
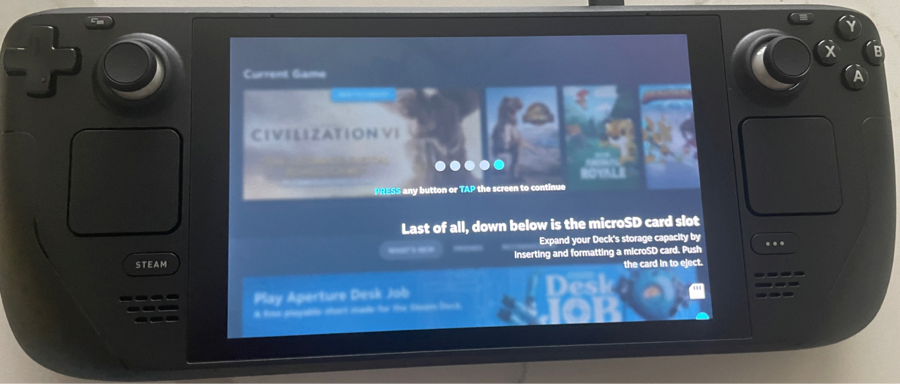
Finally, the bottom-right of the console features a micro SD slot. If you want to expand the space of your Deck, you can insert a Micro SD card into this slot and follow the instructions on the screen to format it.
The setup tutorial is finished! Tap the middle of the screen to complete your setup.
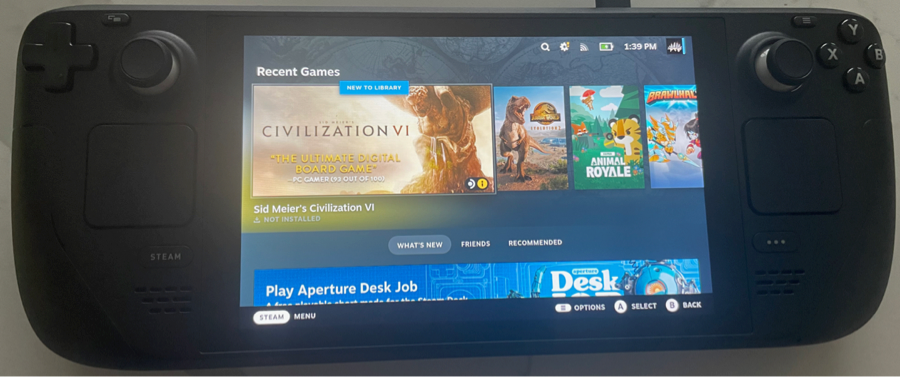
And with that, you have just completed the Steam Deck first time setup! Your home screen will already contain all of the games you have in your library. You must go into them and download them onto your Steam Deck hard drive before you can play them.
Want us to show you some Steam Deck tips for new players? Comment down below and let us know what you would like to see!